Fundraiser Nonprofit Pro Documentation
Your awesome theme / template documentation
Introduction
- Theme Name : Fundraiser Nonprofit Pro
- Author : misbahwp
- Support Forum : https://www.misbahwp.com/pages/community/
- License : GNU General Public License v3 or later
- Discription : For any non-profit, NGO, charity organization, or fundraiser, you will find this Charity Donation WordPress Theme absolutely suitable. It brings you a range of choices for the layout that you can pick and start designing your website on your own. You will never need to touch the coding part as it brings you a Live Theme Customizer and a user-friendly theme options panel for bringing changes to the default layout that will help you et a customized website. Its impressive full-screen event displays retina-ready pictures of your work and accommodates Call to Action Buttons (CTA) that will guide the users and also take care of the conversion part.
How to Establish the Theme
Setup Theme
Template installation is very simple process.
You can also install your theme using WP Admin
he first task is to log in to your WordPress admin area. Next, click on
1. In dashboard click on Appearance >> Themes
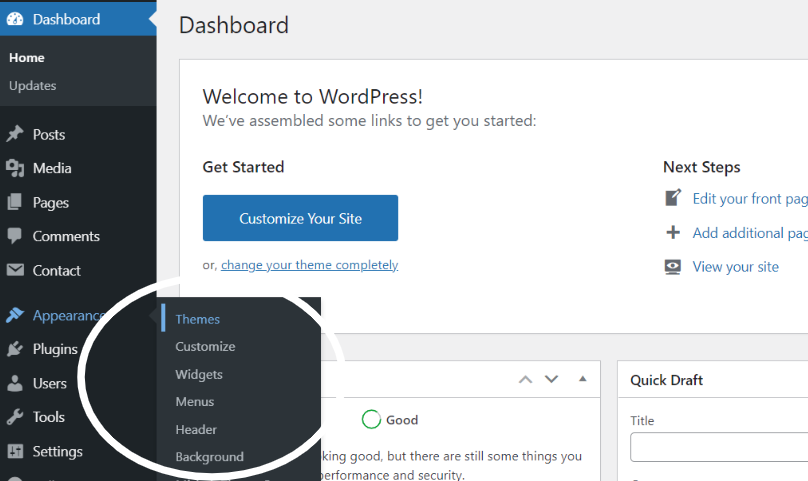
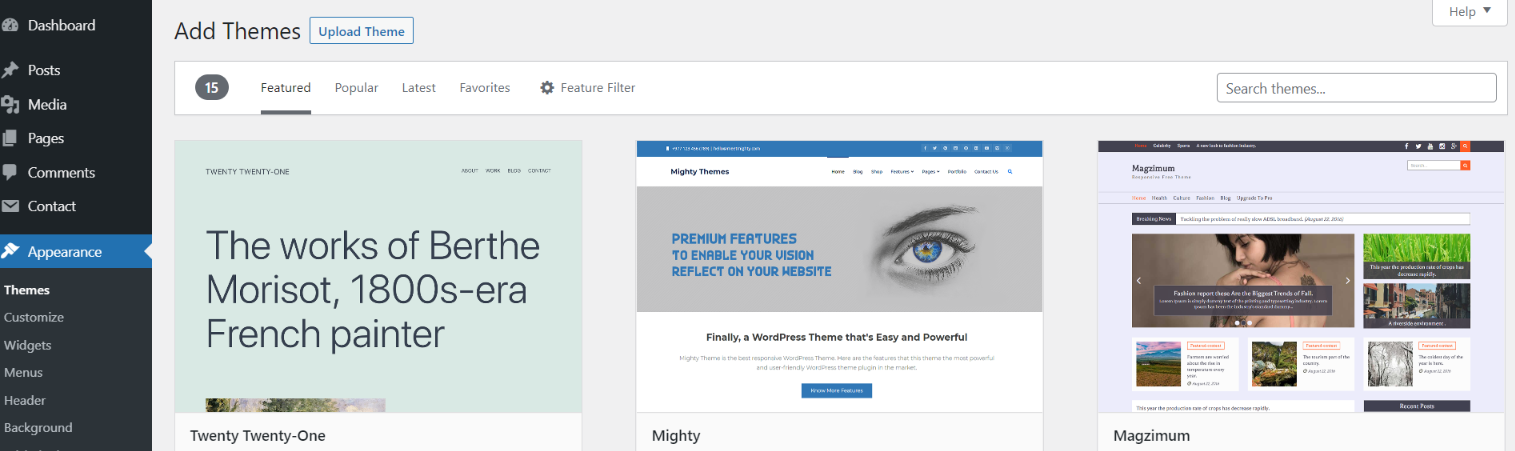
2. Click on the Add New button at the top of the themes page once page is loaded
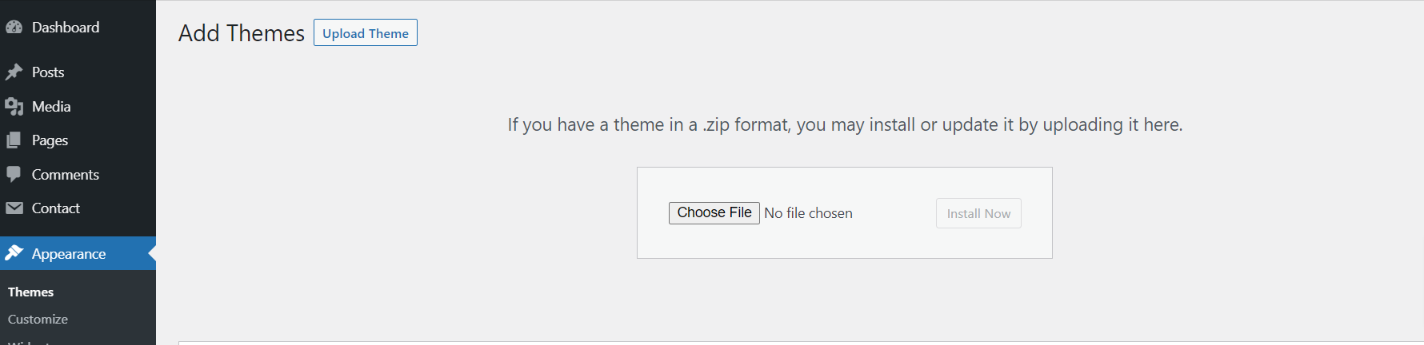
3. Click the button labelled as 'Upload Theme'.
Select the fundraiser-nonprofit-pro.zip theme from the Browse Button, then click the Install Now button
5. WordPress will now install your theme and display a success message, as well as a link to activate or to see the live preview. Congratulations on completing the installation of your theme.
Demo Importer
Follow below instructions to setup fundraiser-nonprofit-pro theme.
In the Dashboard, go to Appearance >> Get Started >> Activate
Once you are on the Fundraiser Nonprofit Pro themes setup, click on the start button.
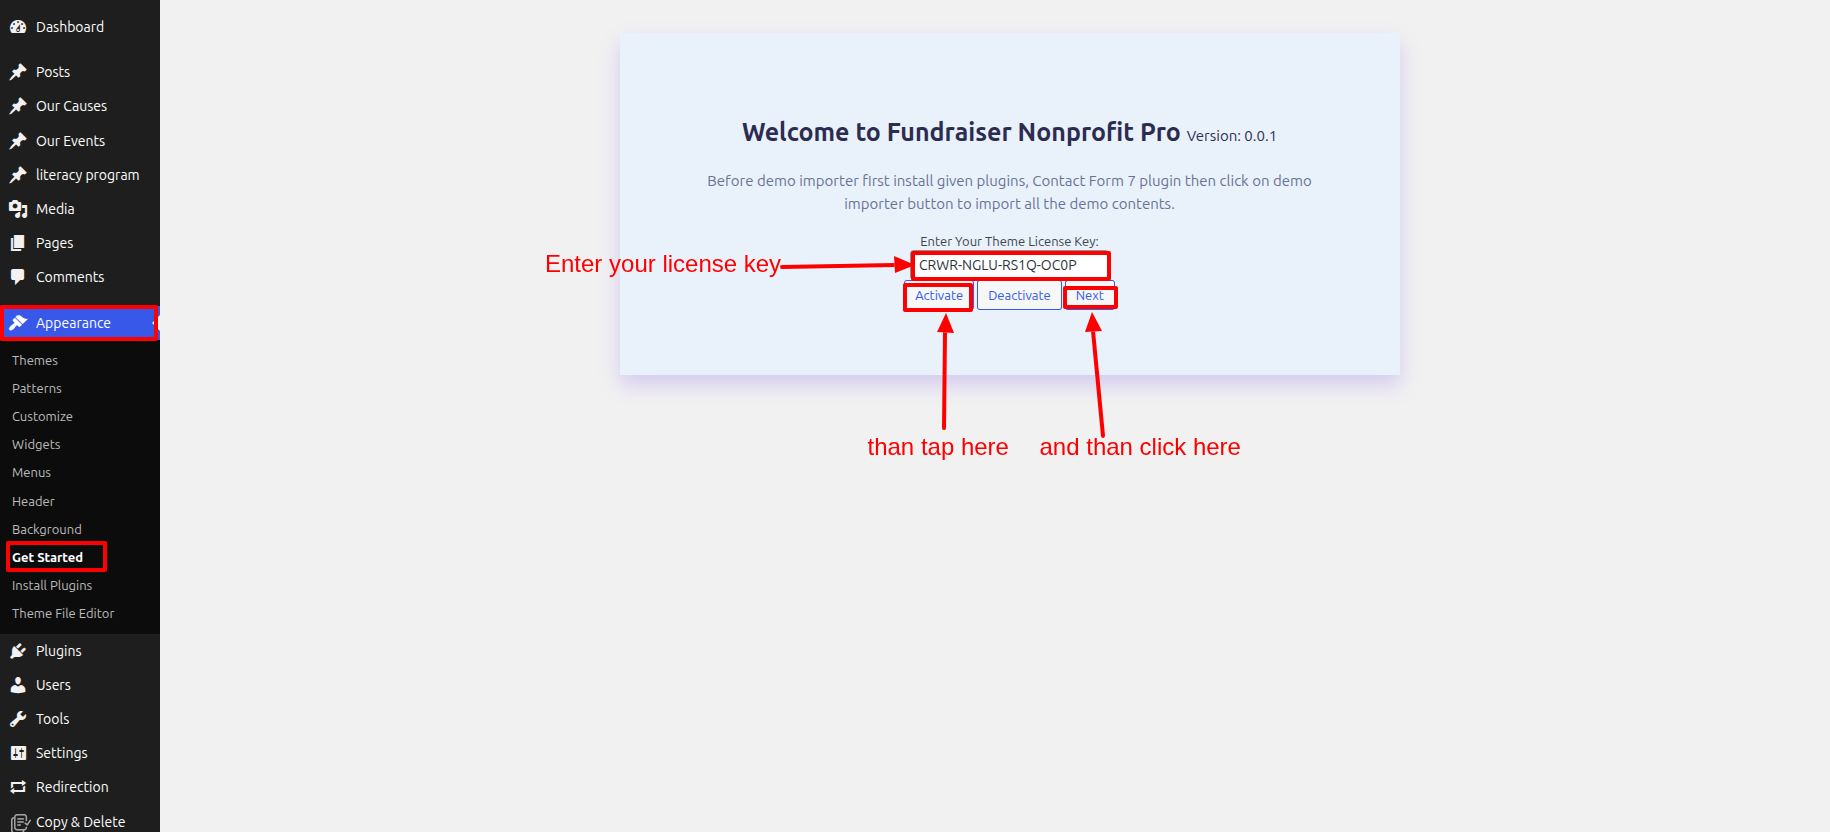
In the Dashboard, go to Appearance >> Get Started >> Run Importer
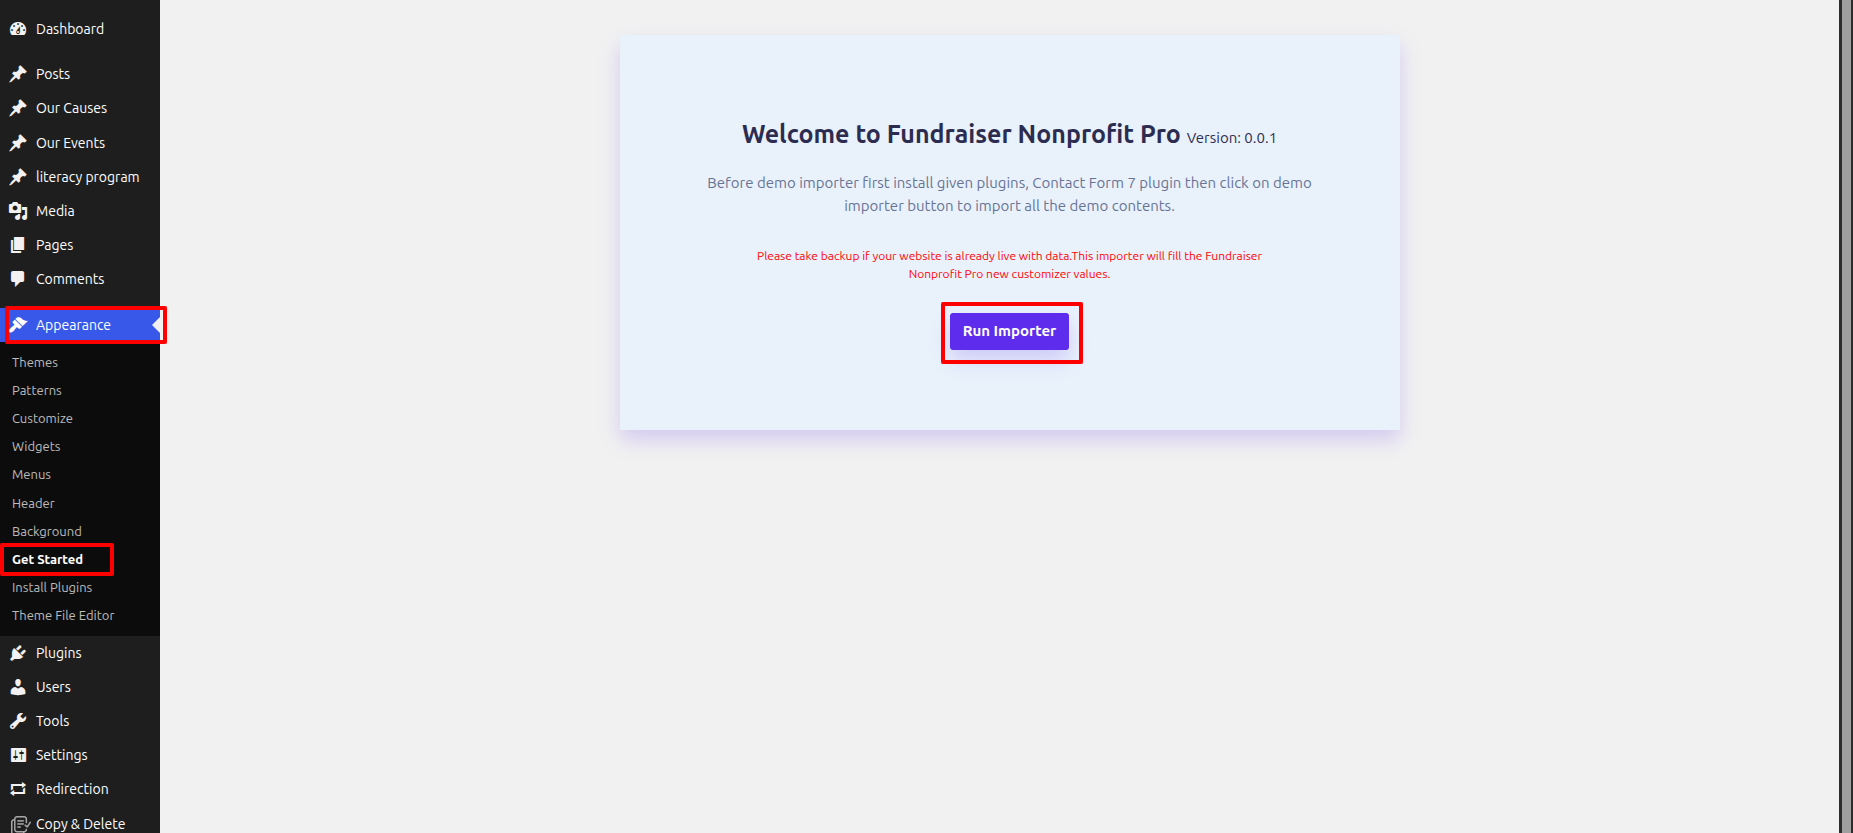
As the demo importer process finish then check your site, all the content will imported and theme will display like live demo.
Necessary Plugins
When you initially activate the theme, you'll be asked to install these plugins on your Dashboard. You can ignore the message if you don't want to install these plugins on theme activation, and if you change your mind later, you can install them manually.
In the Dashboard, click on Plugins >> Install Plugins.
Contact Form 7
Plugin download link Contact Form 7
Setup Menu
Setup Menu
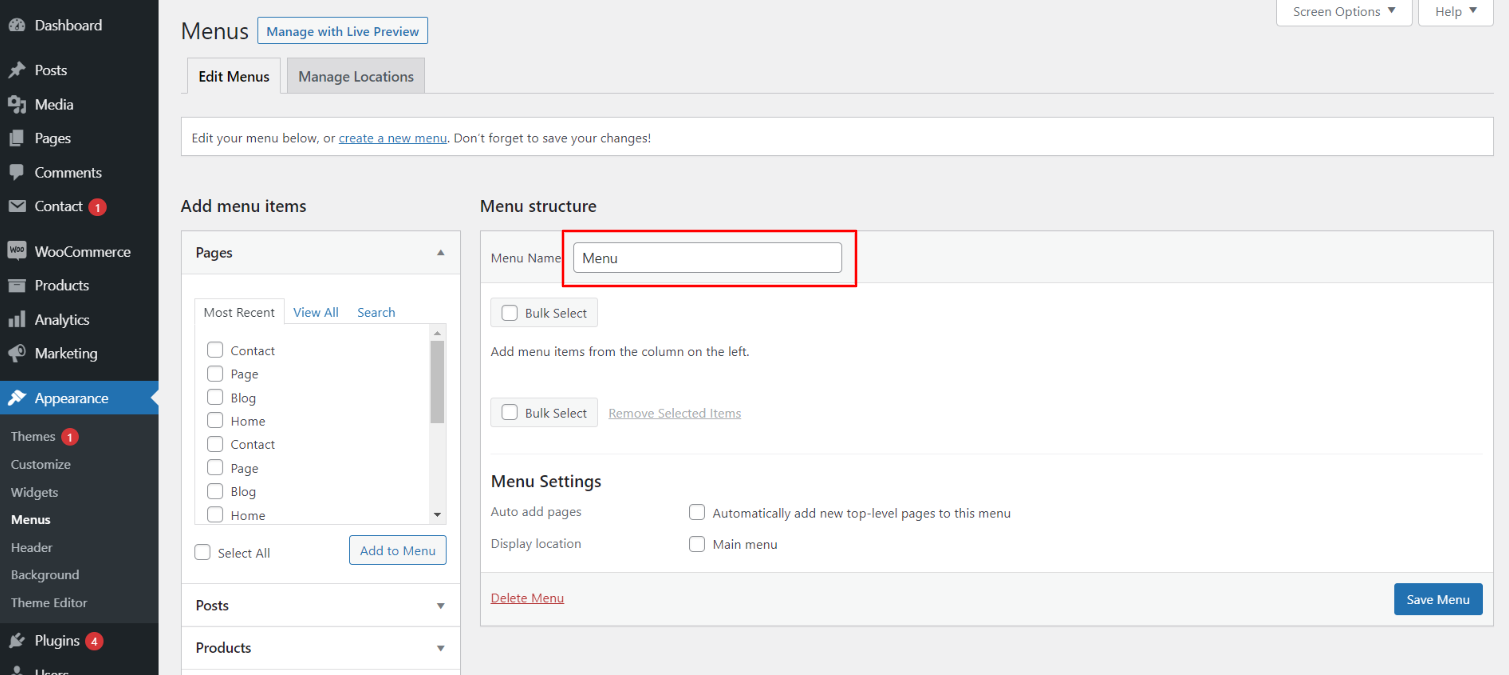
In the dashboard, go to Appearance >> Menu
From the 'Appearance' menu on the left-hand side of the Dashboard, select the 'Menus' option to bring up the Menu Editor.
Select Create a new menu at the top of the page. Enter a name for your new menu in the Menu Name box. Click the Create Menu button.
Your new custom menu has now been defined.
Adding Items to a Menu
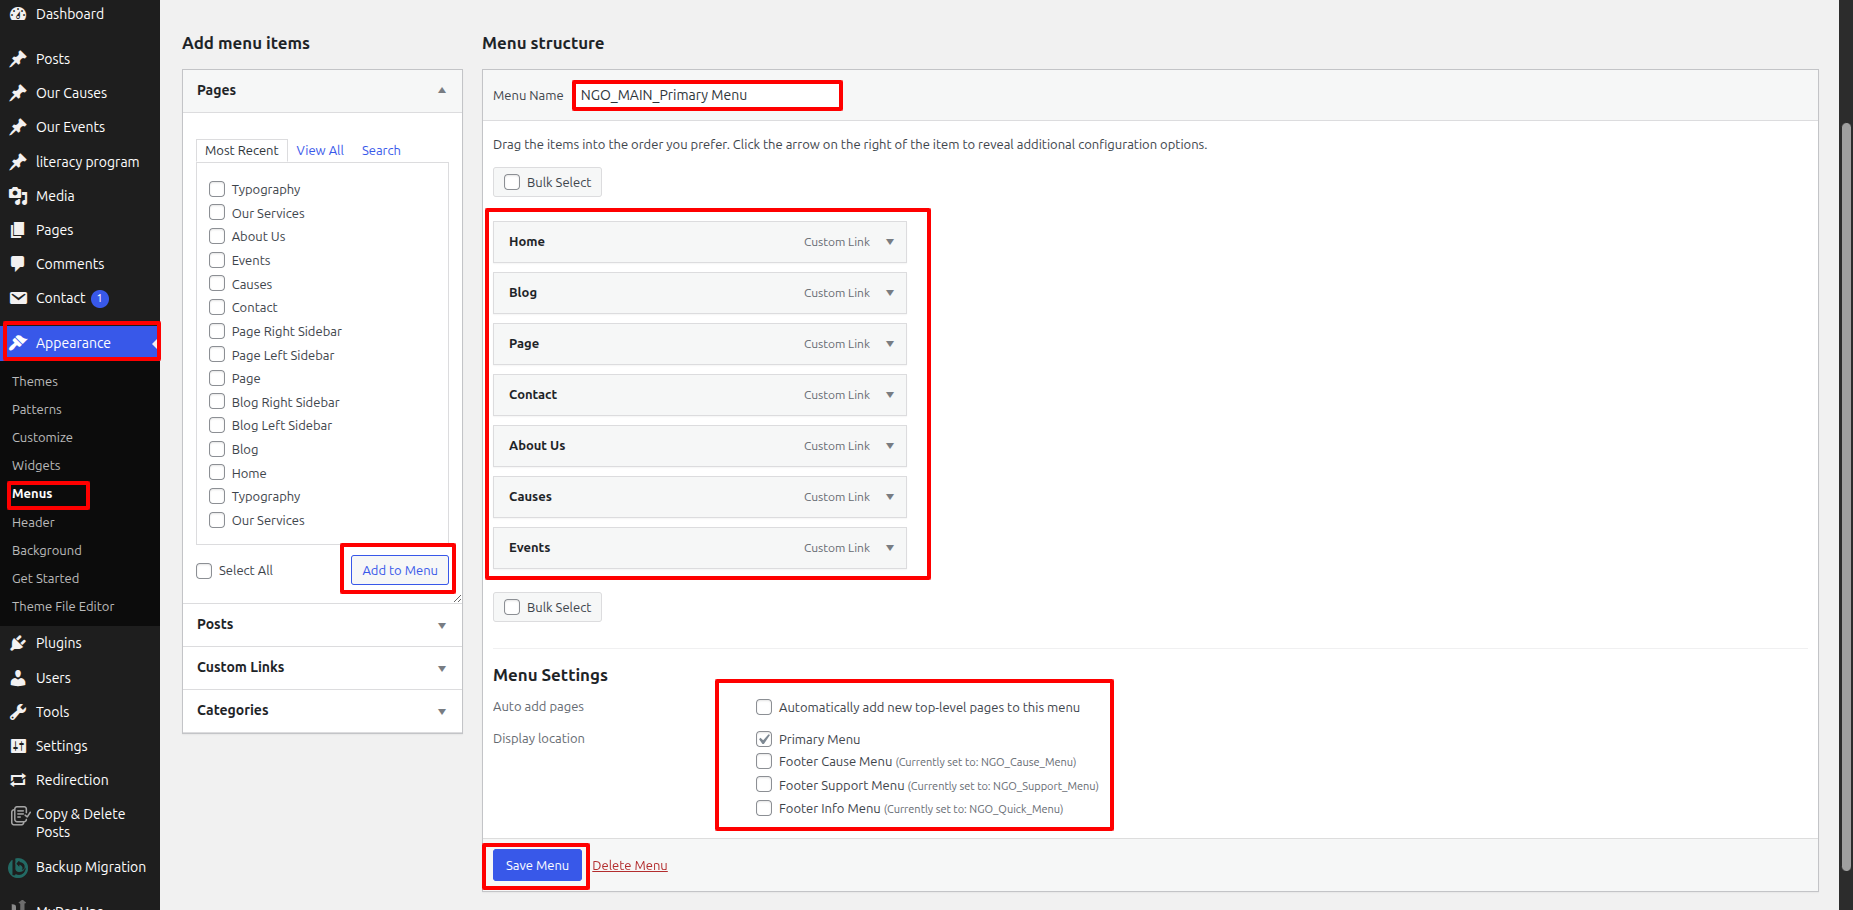
Select the Pages that you want to add by clicking the checkbox next to each Page's title.
Click the Add to Menu button located at the bottom of this pane to add your selection(s) to the menu that you created in the previous step.
Click the Save Menu button once you've added all the menu items you want.
Your custom menu has now been saved.
In front end, it will look like this.

Fundraiser Nonprofit Pro Theme Setup
Logo Setup
In order to proceed with Theme Logo setup, you can set site title and tagline, follow the instructions given below.
In the Dashboard, go to Appearance >> Customize >> Site Identity >> Logo Or Set Title and Tagline You can also Enable / Disable Site Title and Tagline
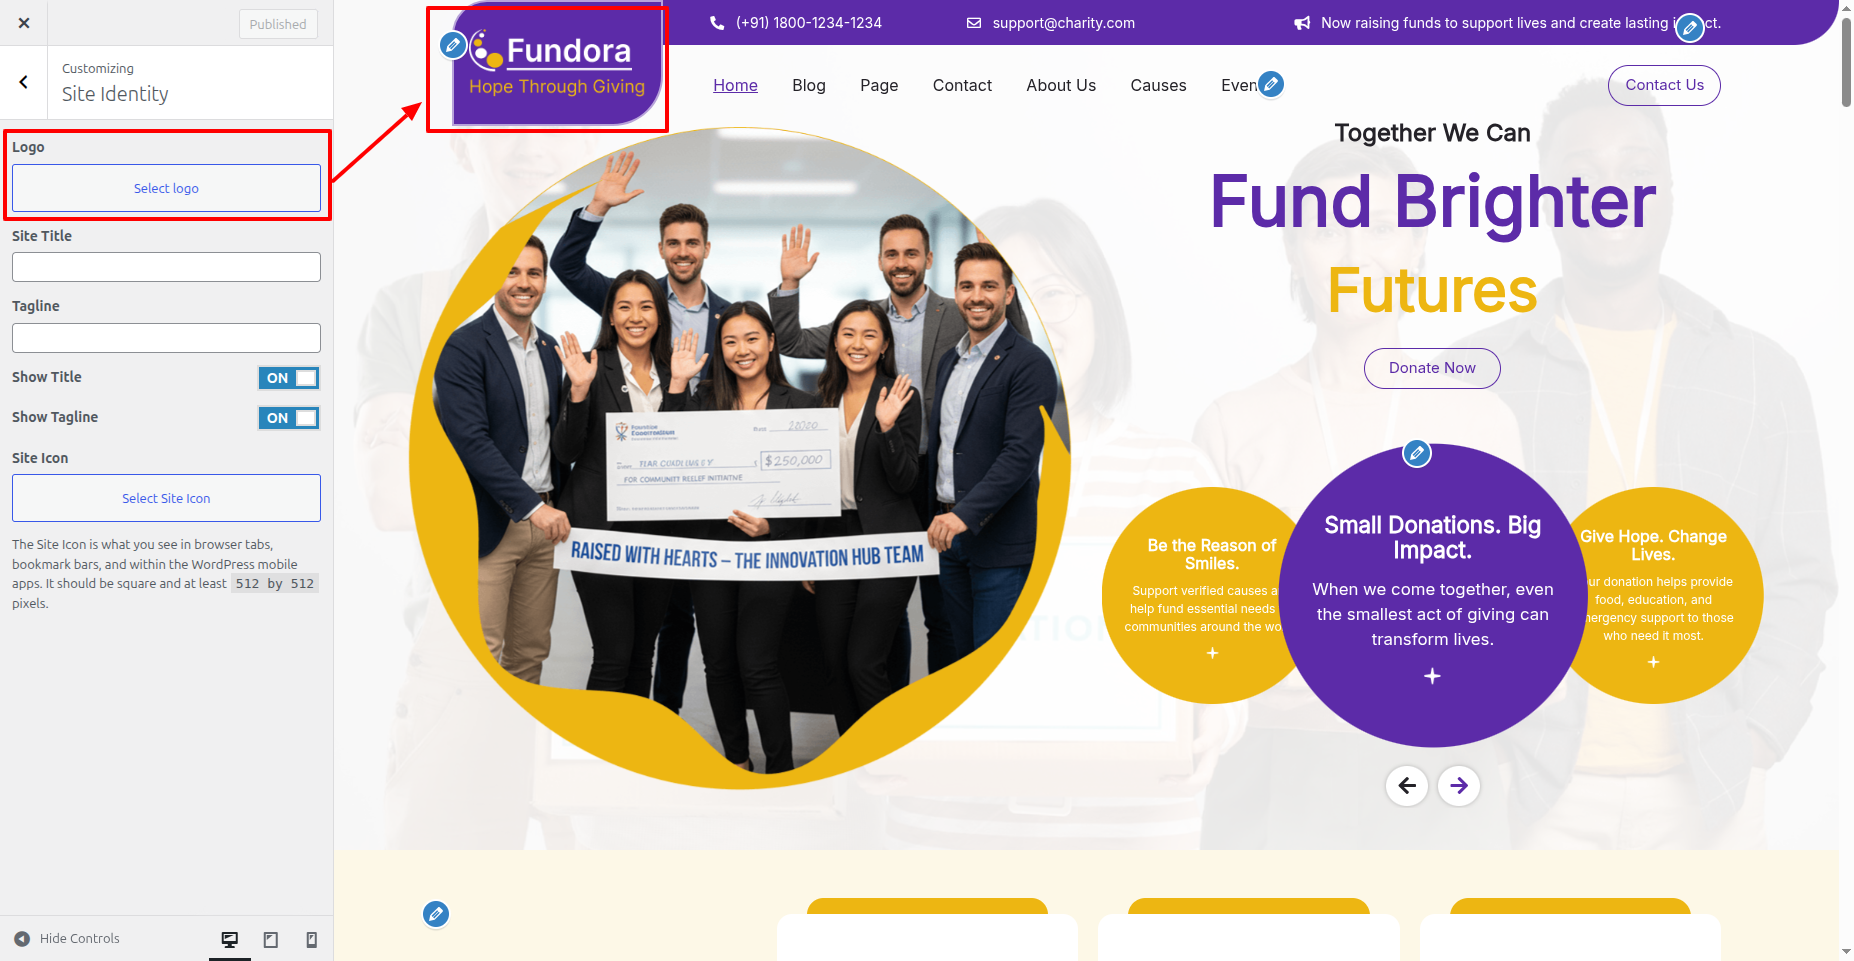
In front end, it will look like this.

Topbar Setup
In order to proceed with Theme Topbar setup, follow the instructions given below.
In the Dashboard, go to Appearance >> Customize >> Theme Settings >> Topbar Option >> Topbar Settings
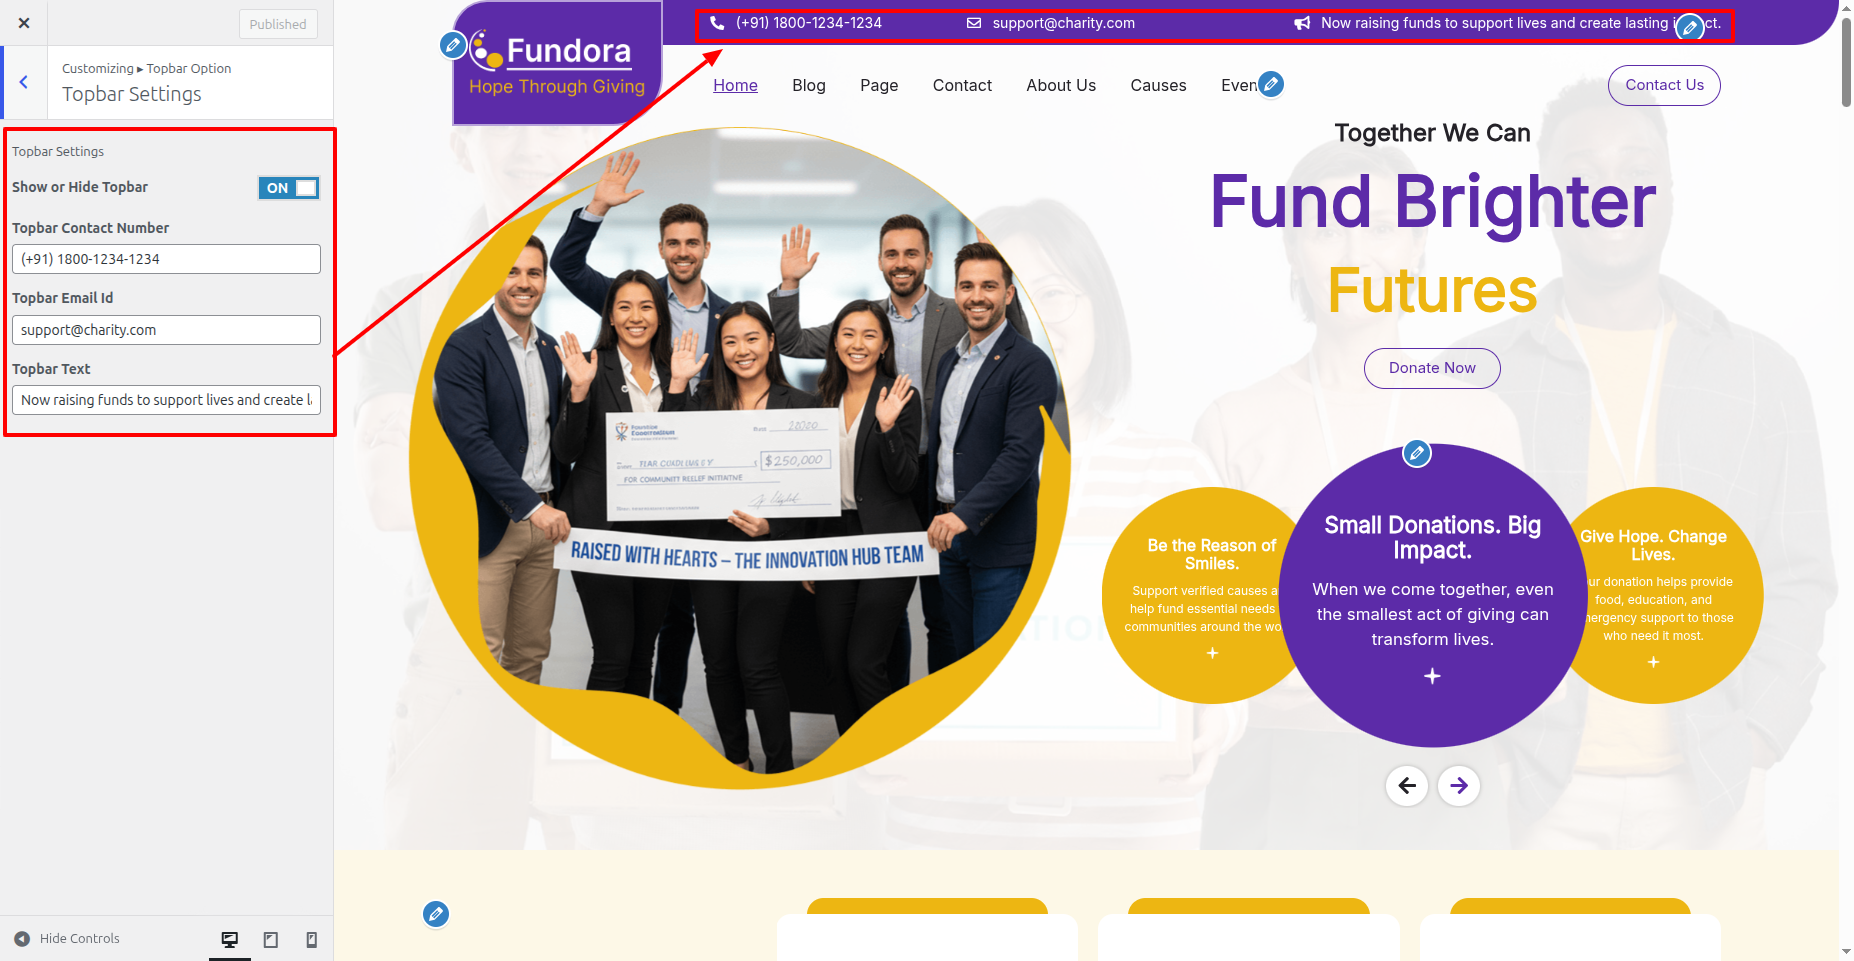
In front end, it will look like this.
Header Setup
In order to proceed with Theme Header setup, follow the instructions given below.
In the Dashboard, go to Appearance >> Customize >> Theme Settings >> Header Option >> Header Settings
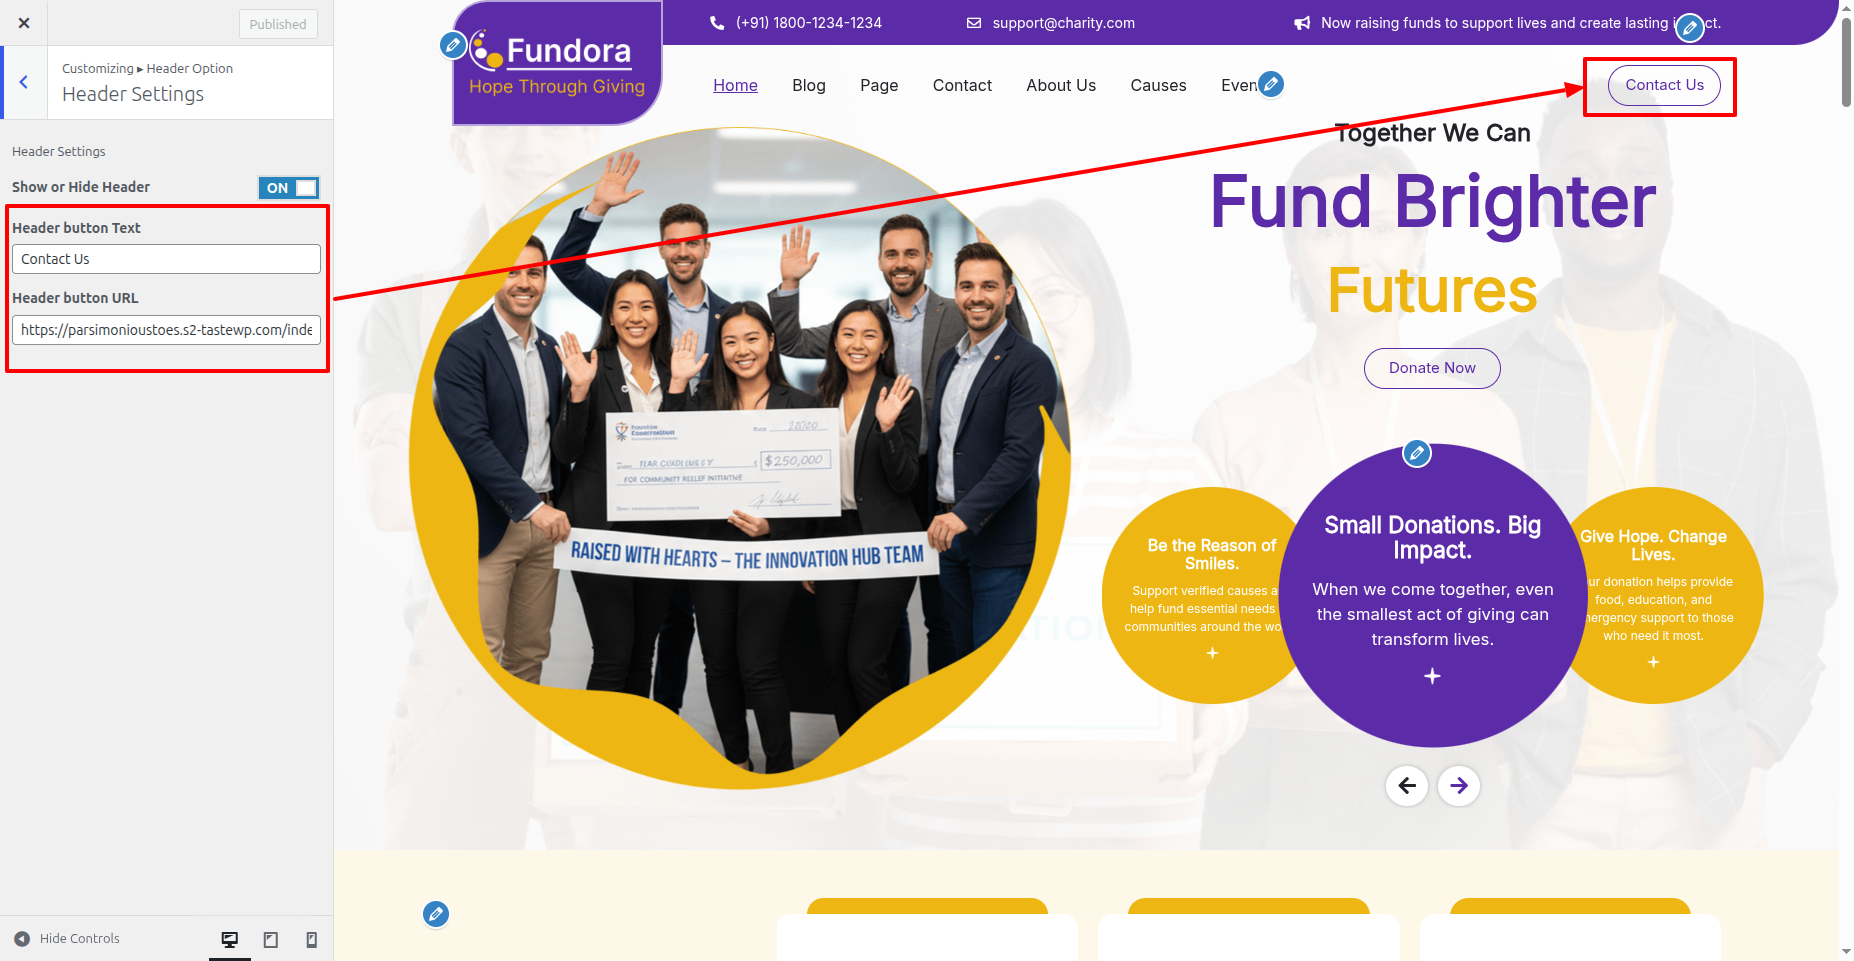
In front end, it will look like this.
Slider Section
Slider Settings
In order to proceed with Theme Slider Settings , you can set slide show , follow the instructions given below.
In the Dashboard, go to Appearance >> Customize >> Theme Settings >> Slider Option >> Slider Settings
Select number slides to show. You can set heading and content. You can set button text with button url link. You can choose from this options for each Slider option.
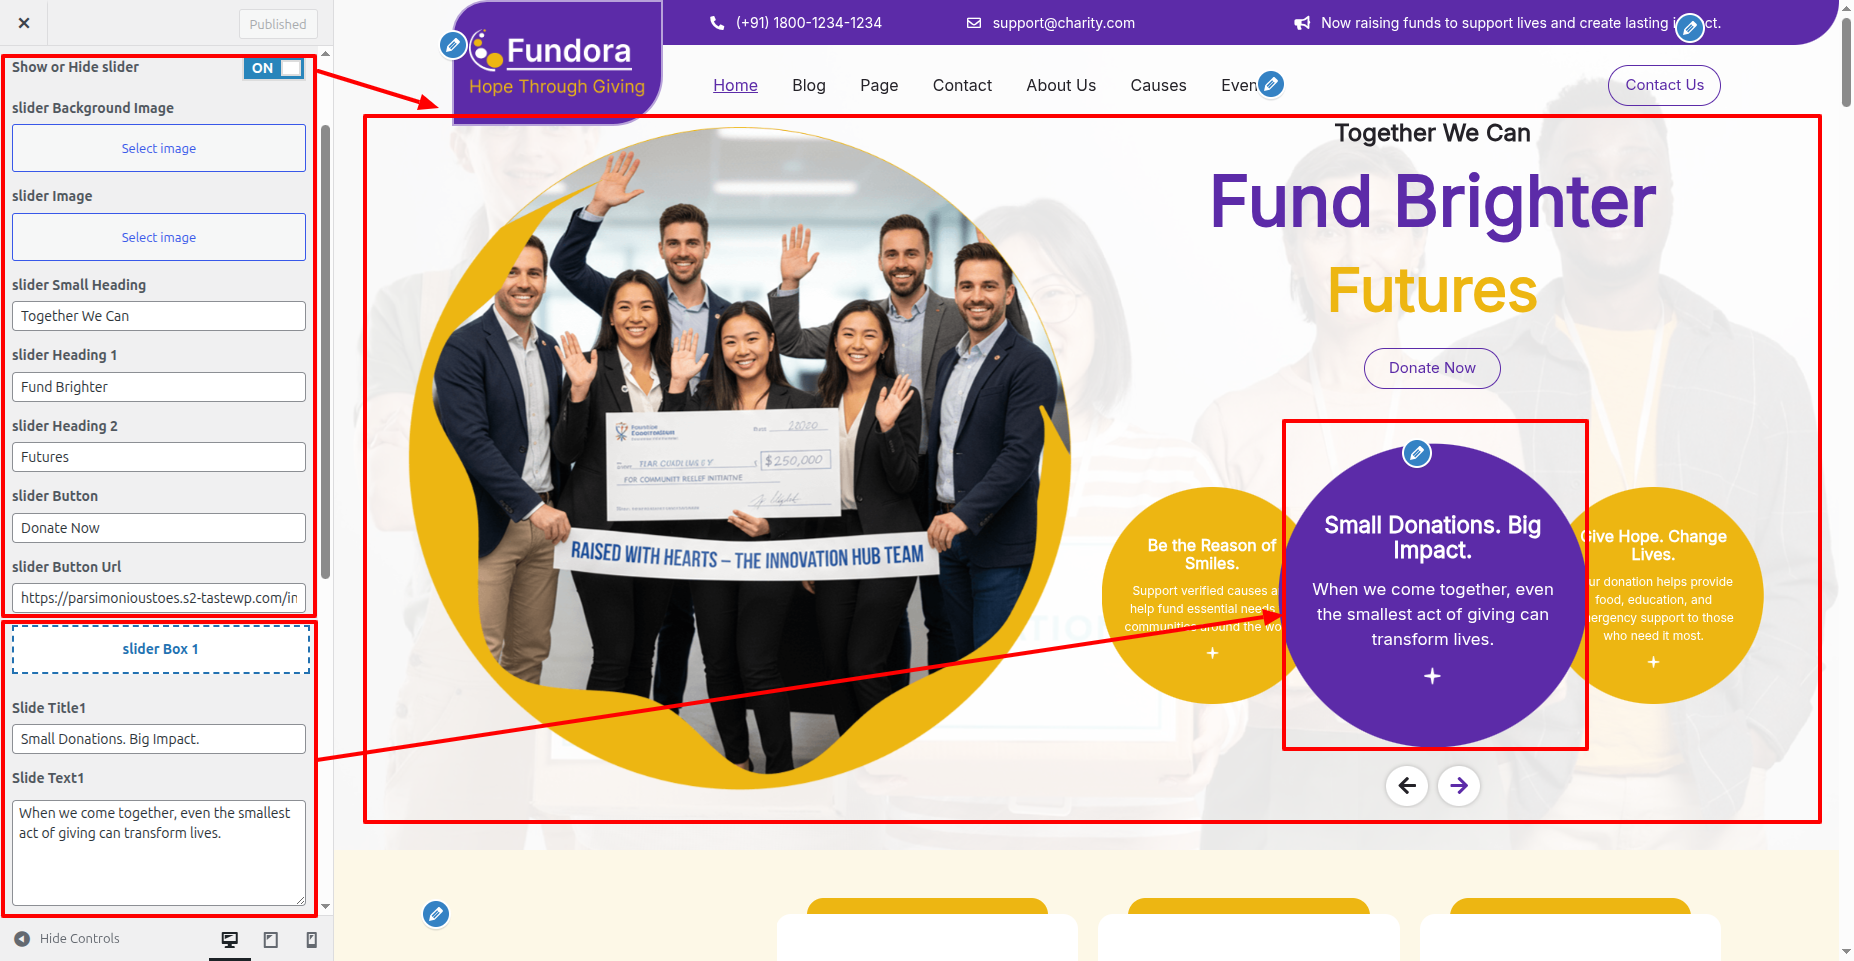
In front end, it will look like this.

Service Section
Service Settings
In order to proceed with Service Settings follow the instructions given below.
In the Dashboard, go to Appearance >> Customize >> Theme Settings >> Service Option >> Service Settings
You can set heading and content for this section.
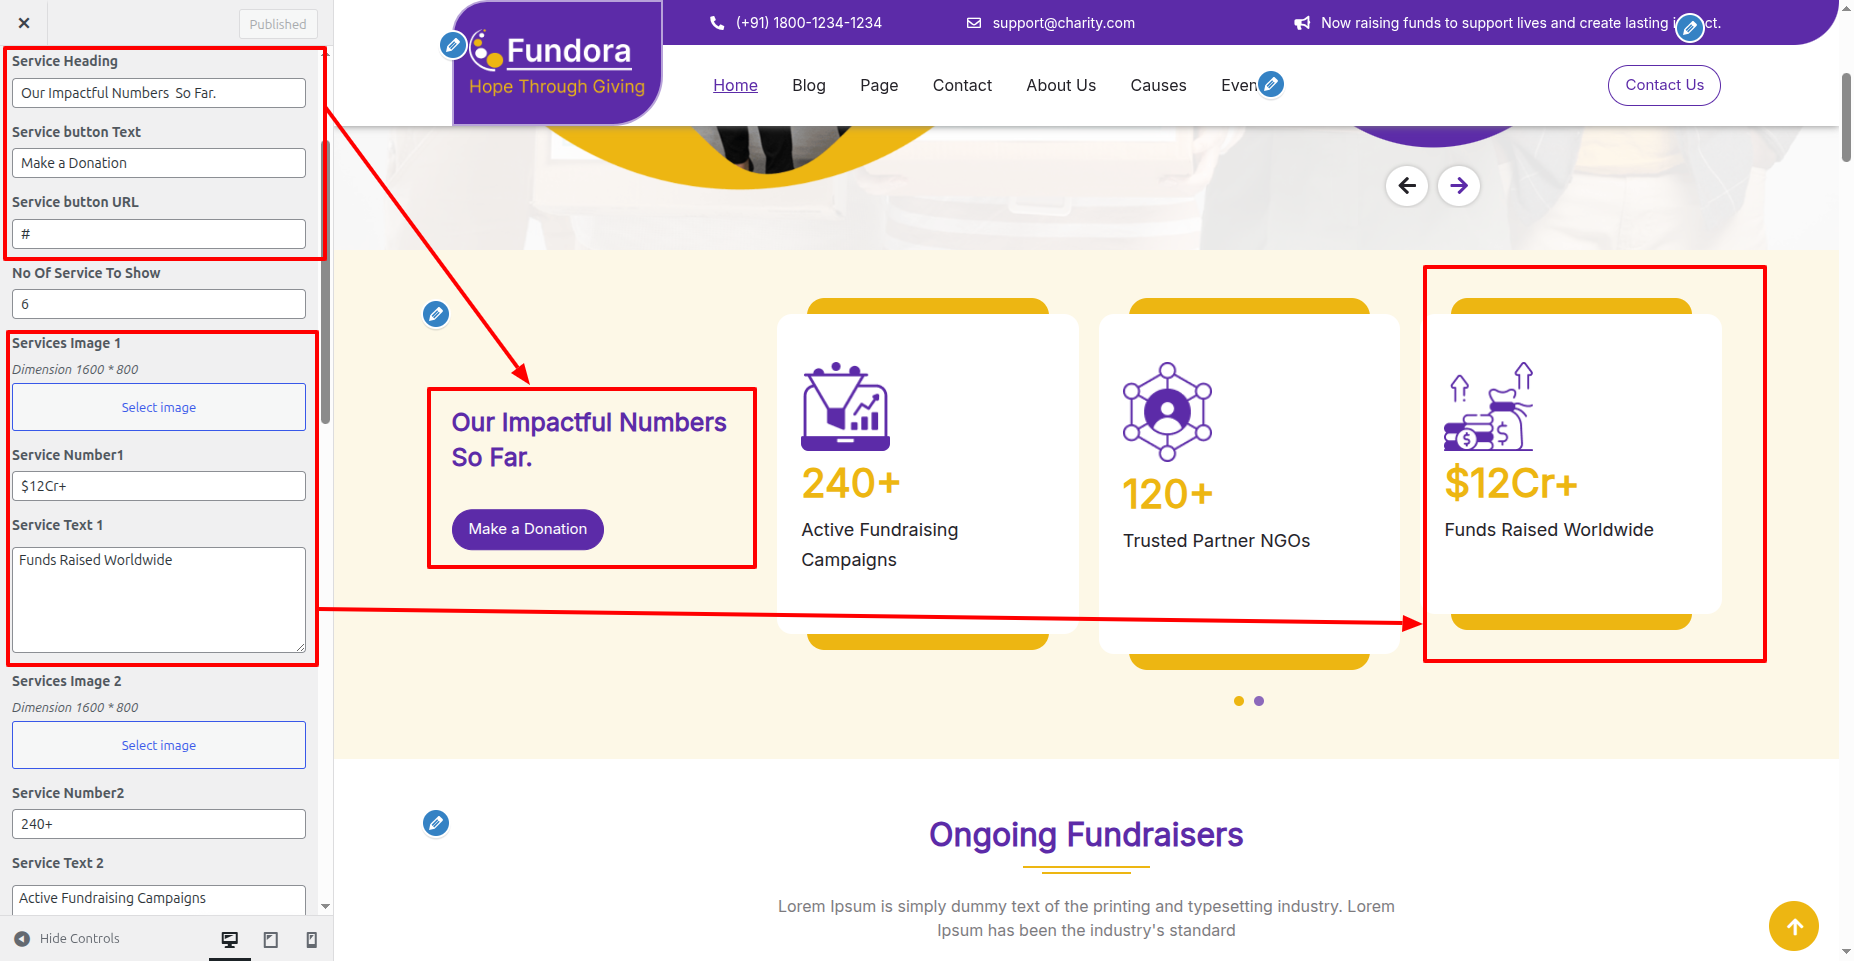
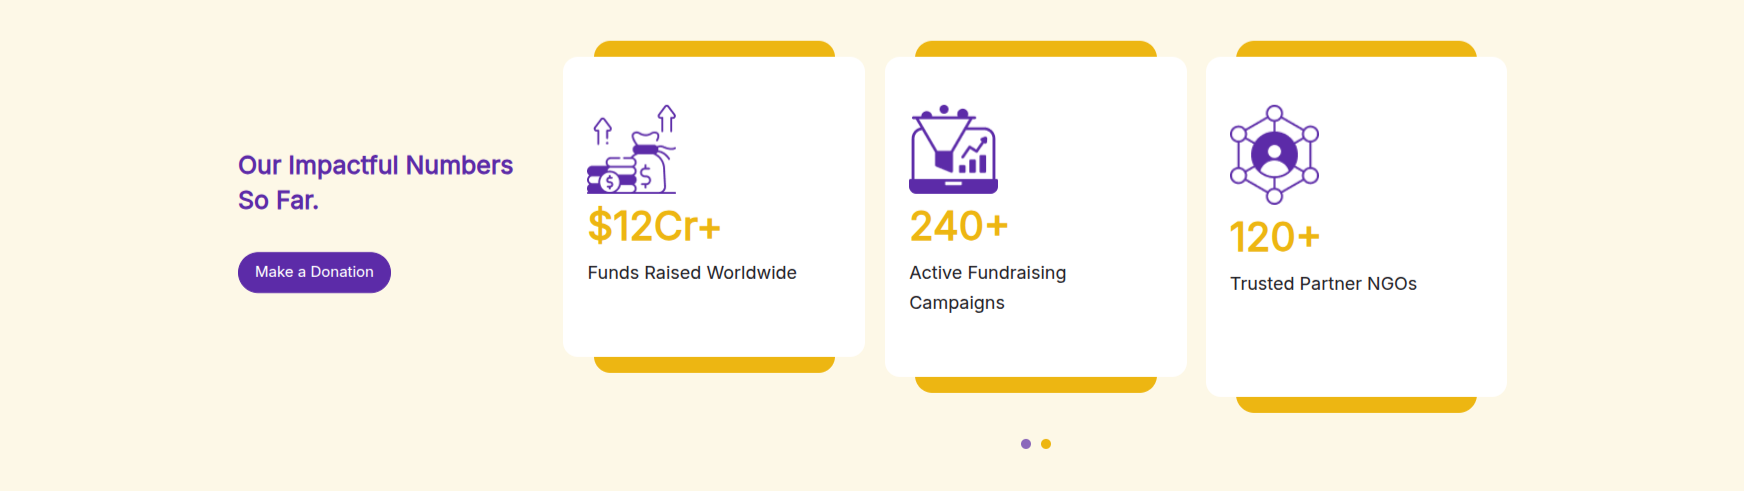
In front end, it will look like this.
Our Causes Section
Our Causes Settings
Important Step:- Fundraiser Nonprofit Pro Posttype plugin is necessary for creating a Experts for sections.
Fetch Our Causes
In the Dashboard, go to Our Causes >> Add New Post
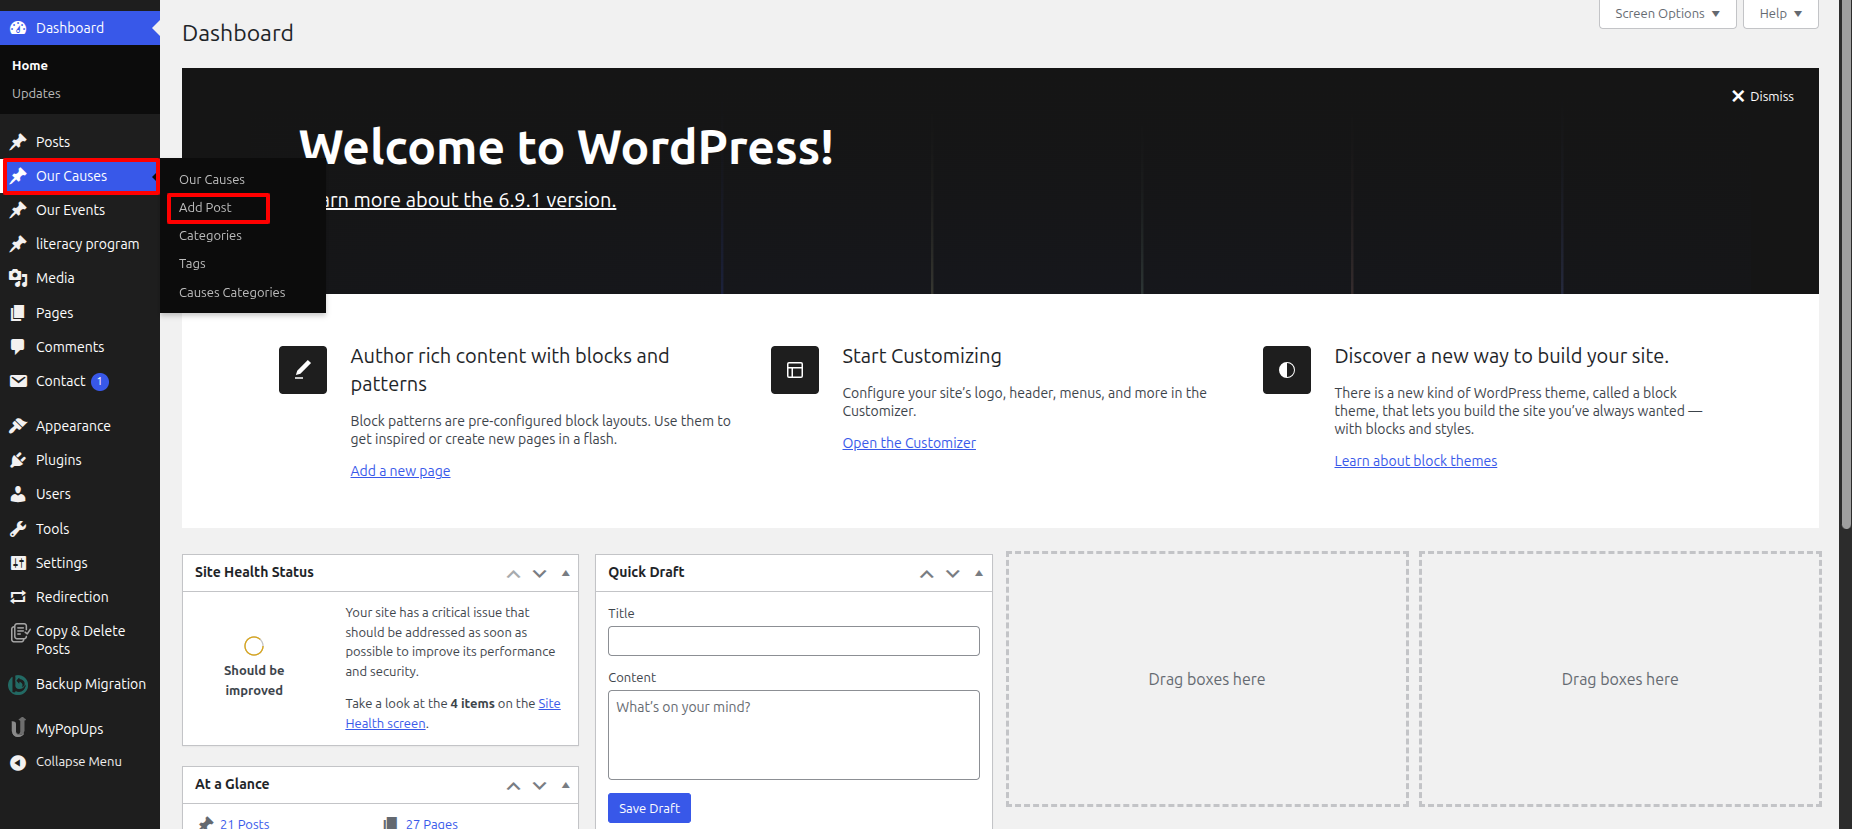
To proceed with Our Causes, you should first choose the Our Causes title, content, and featured image choose the category in which you want Our Causes to appear.
Follow the instructions given below to setup Our Causes.
In the Dashboard, go to Our Causes >> Add New Post
Once you have done with this you will see the Our Causes on your front page.
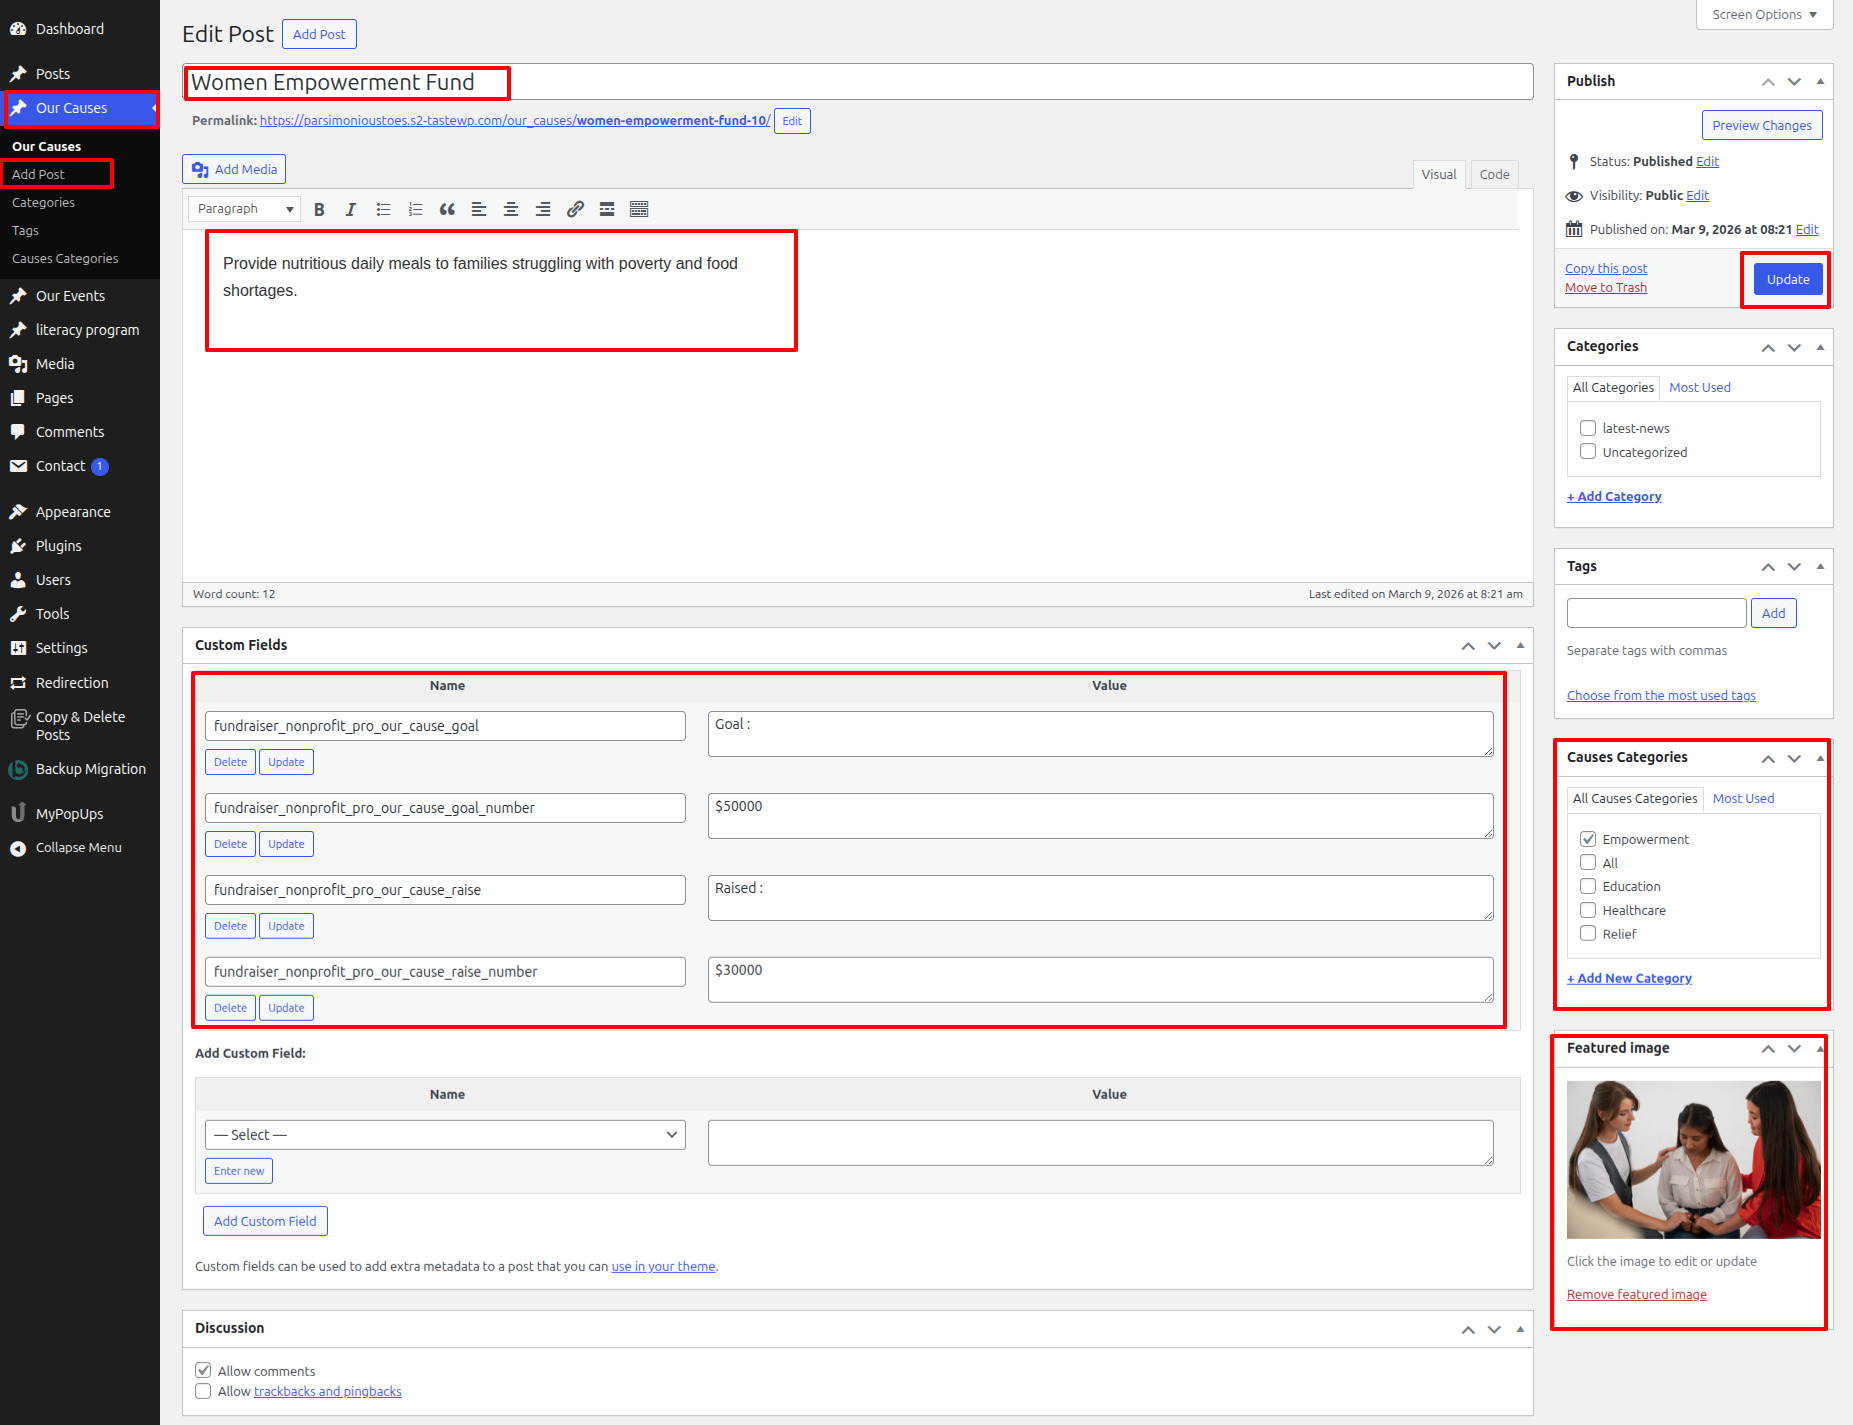
Once you have done with this you will see the Our Causes on your front page.
In order to proceed with Our Causes Settings follow the instructions given below.
In the Dashboard, go to Appearance >> Customize >> Theme Settings >> Our Causes Option >> Our Causes Settings

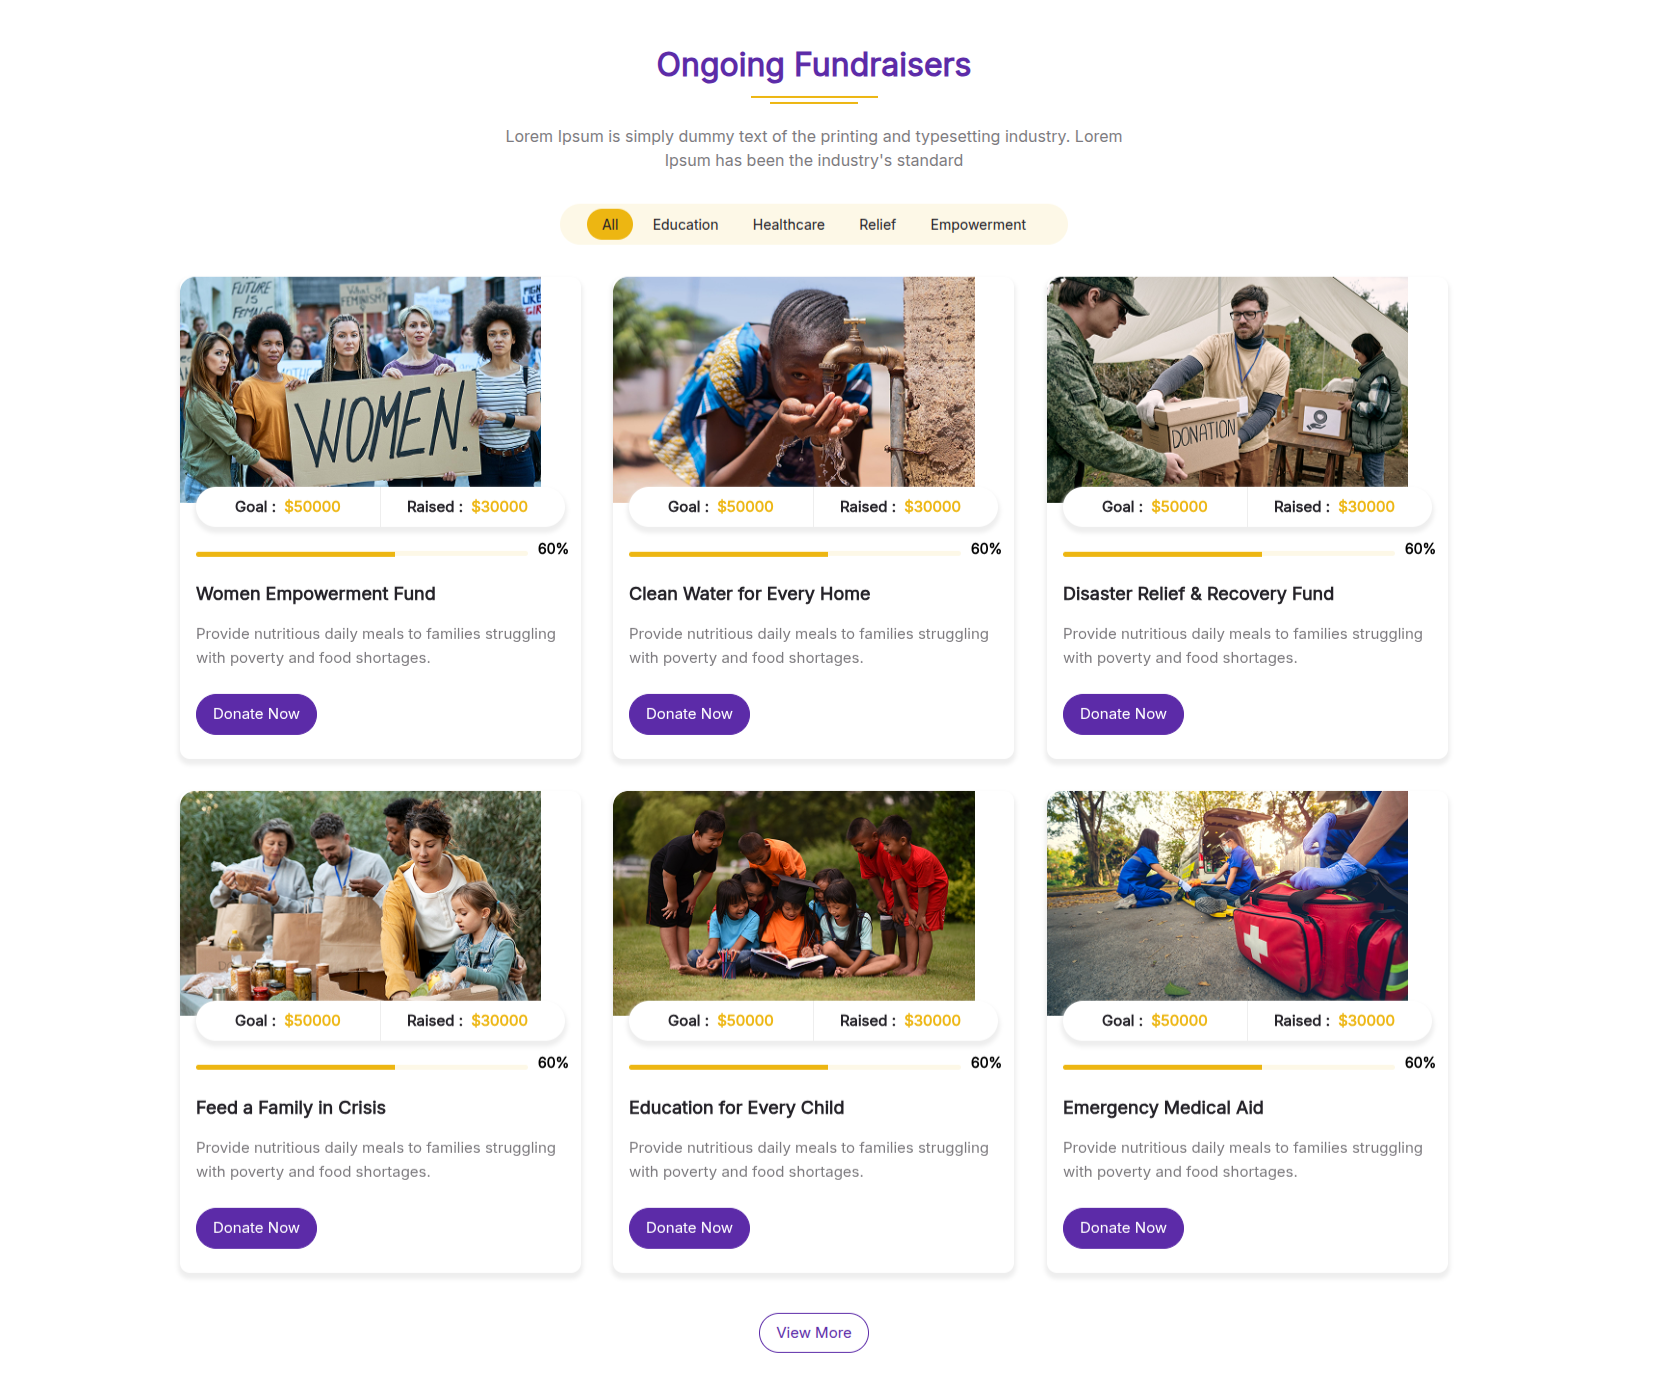
In front end, it will look like this.
Map Section
Map Settings
Important Step:- Contact Forms 7 plugin is necessary for creating a Experts for sections.
Fetch Map
In the Dashboard, go to Contact >> Add Contact Forms
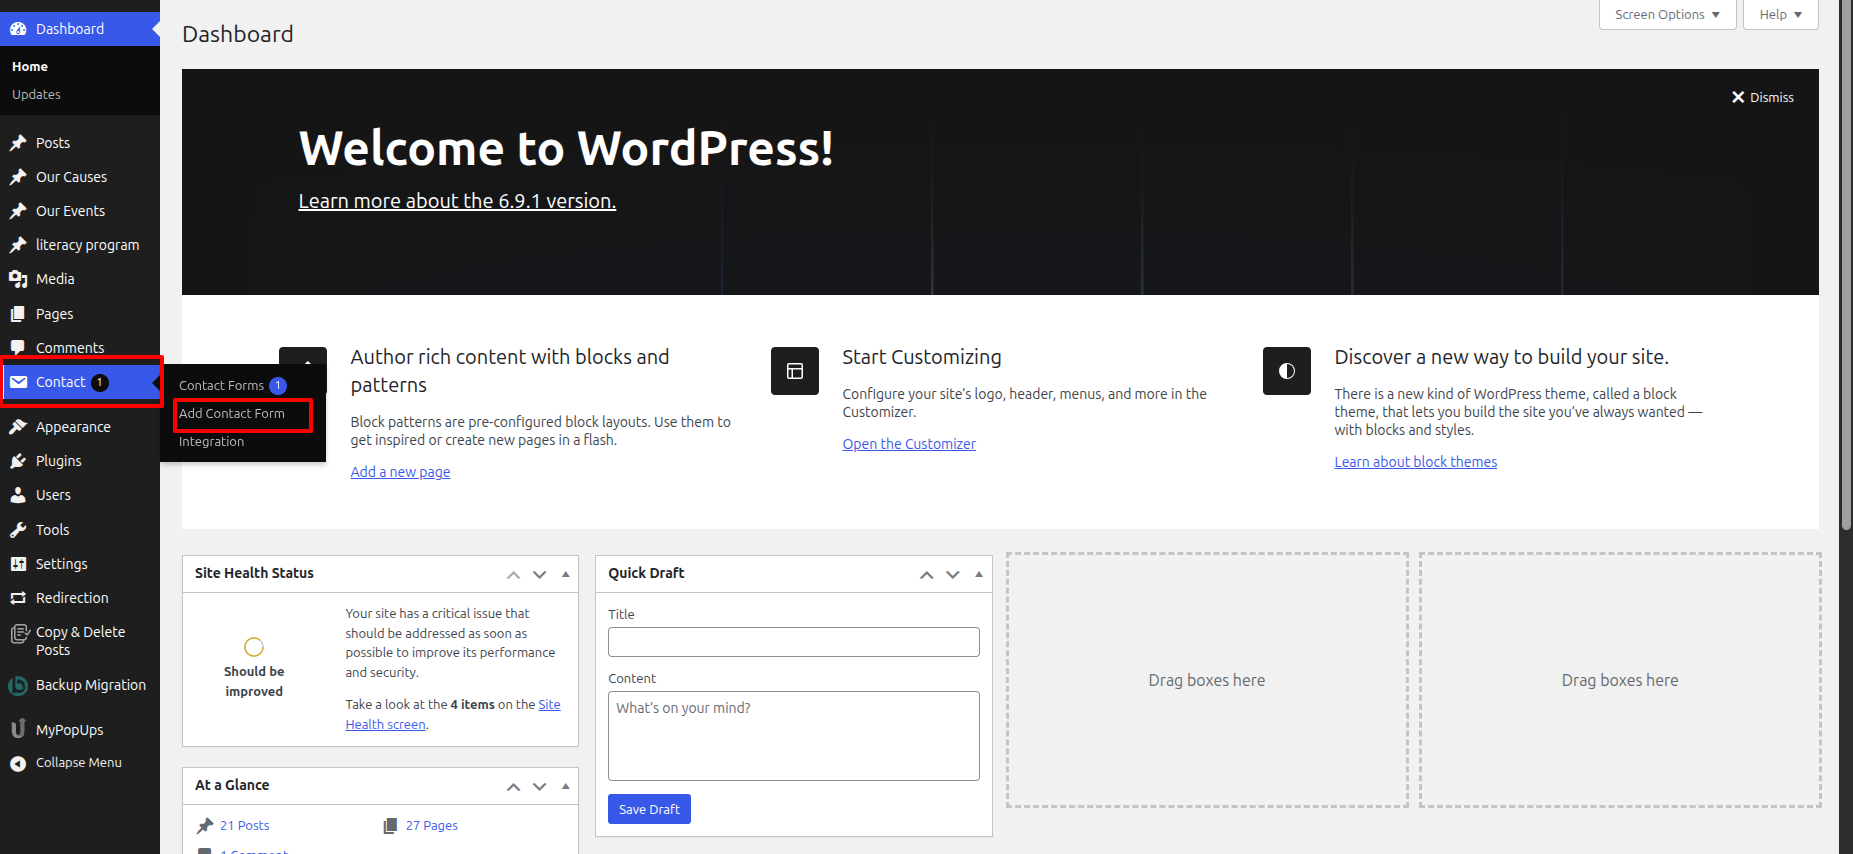
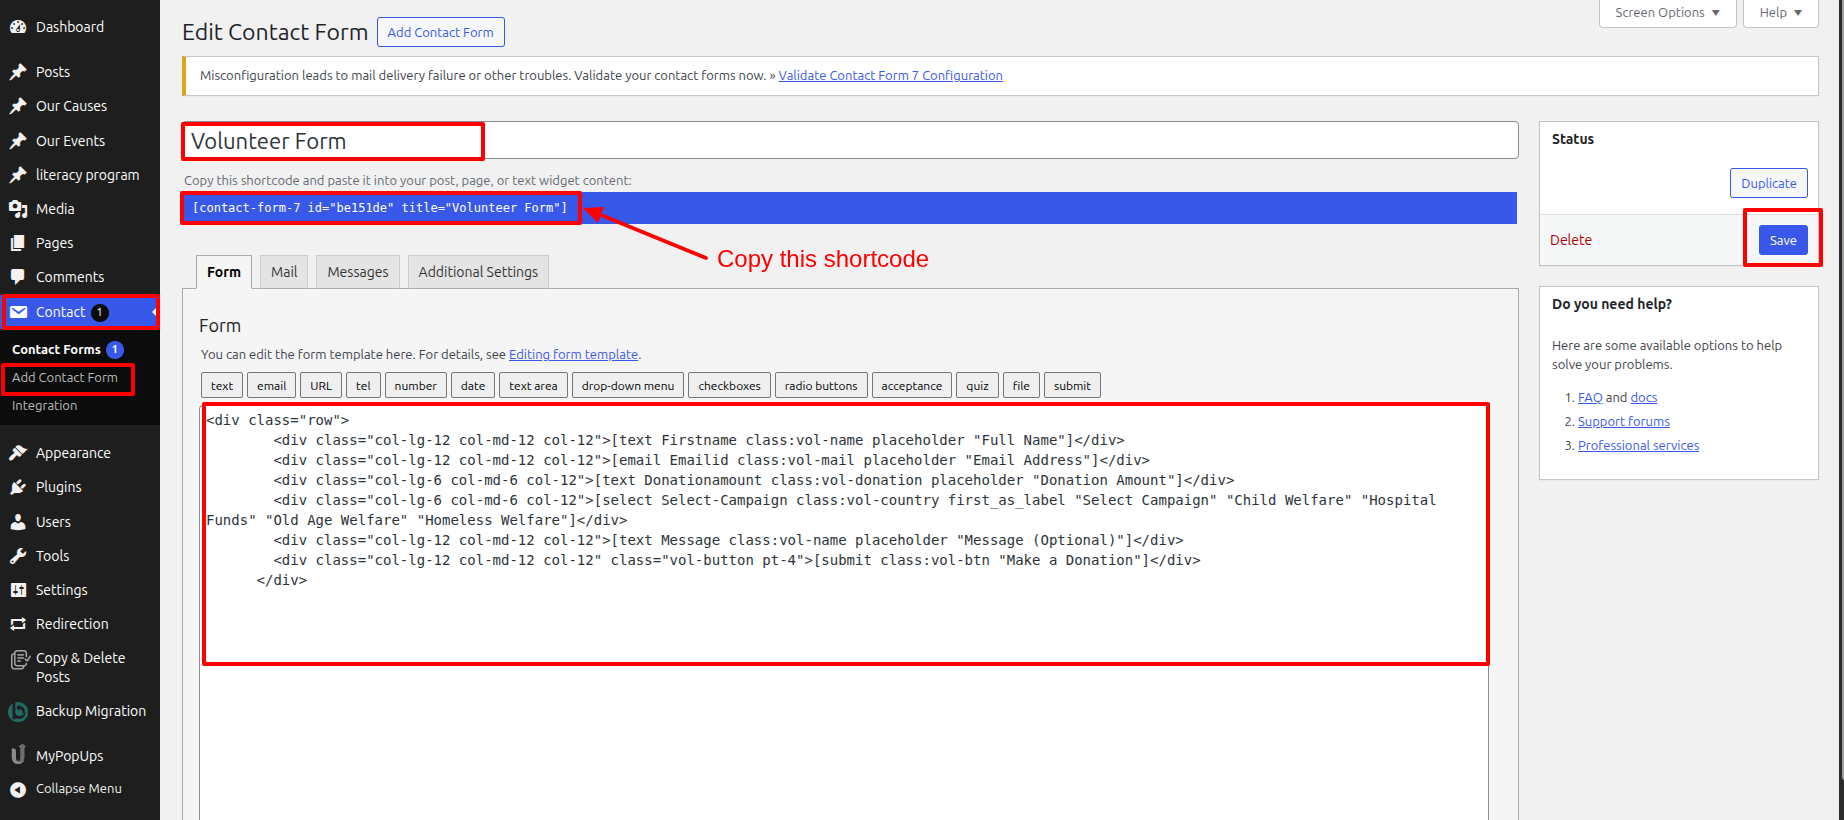
To proceed with Contact, you should first choose the Contact title, content, and featured image choose the category in which you want Contact to appear.
Follow the instructions given below to setup Contact.
In the Dashboard, go to Contact >> Add Contact Forms
Once you have done with this you will see the Contact on your front page.
In order to proceed with Map Settings follow the instructions given below.
In the Dashboard, go to Appearance >> Customize >> Theme Settings >> Map Option >> Map Settings
You can set heading and content for section.
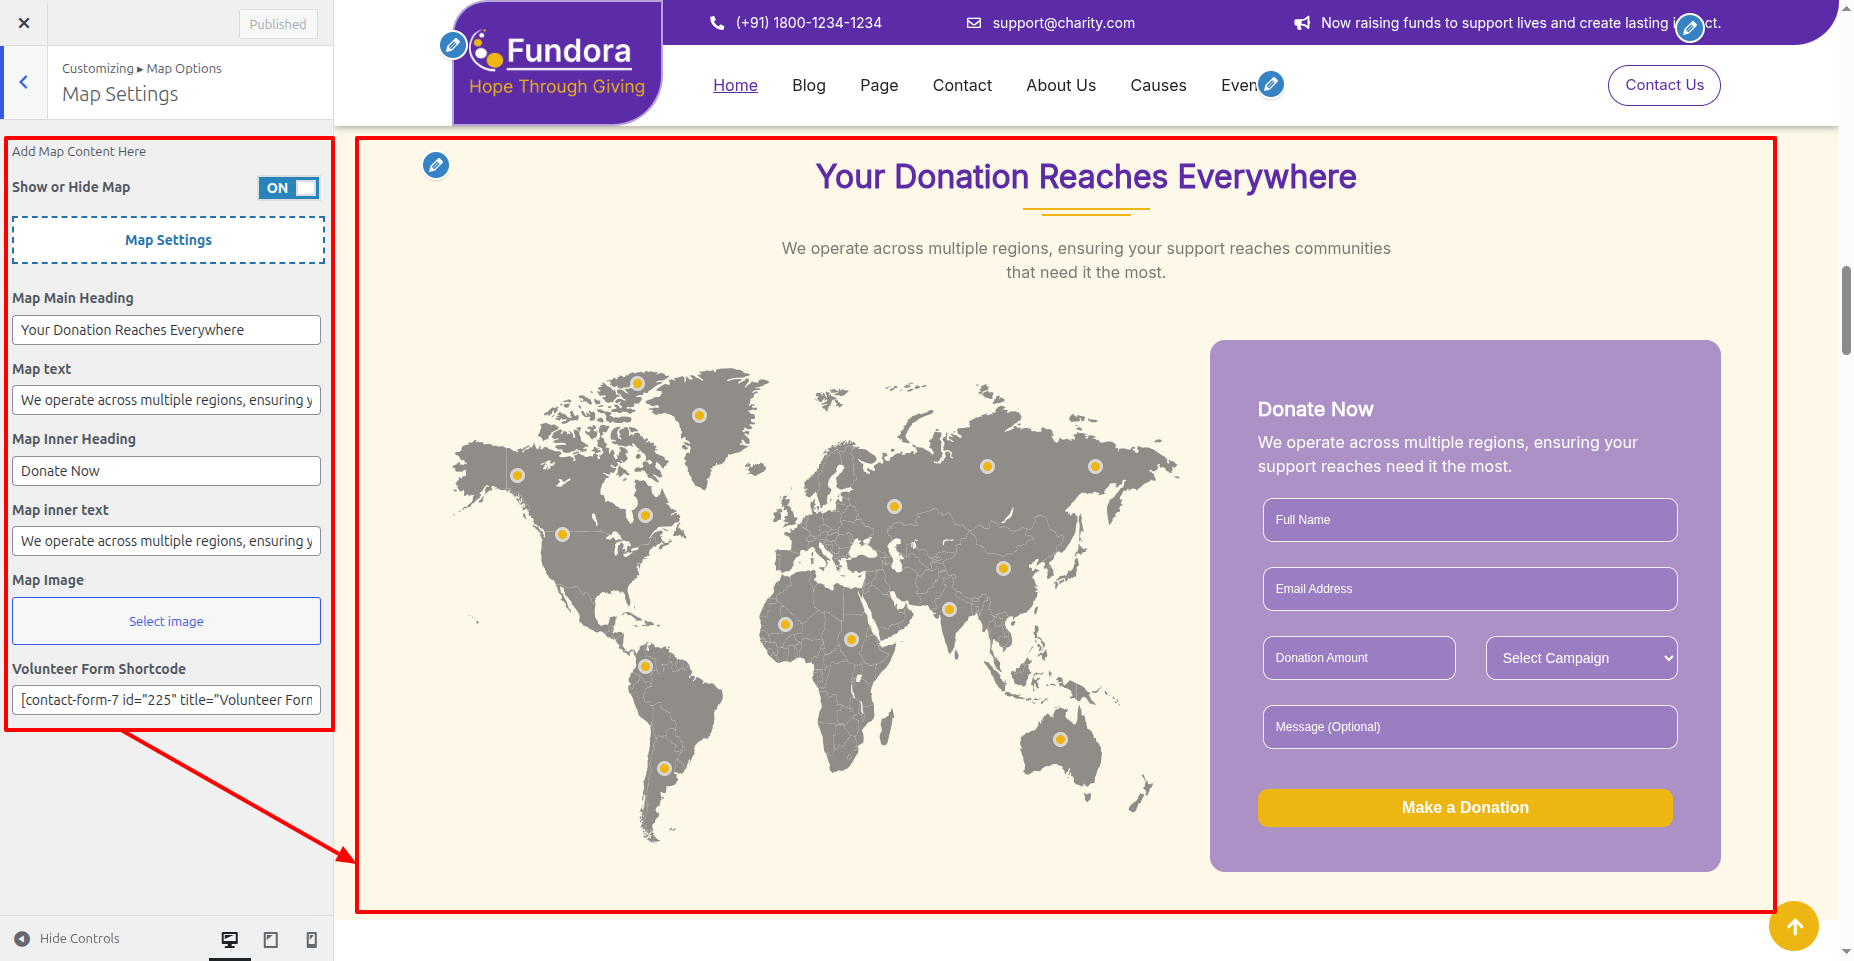
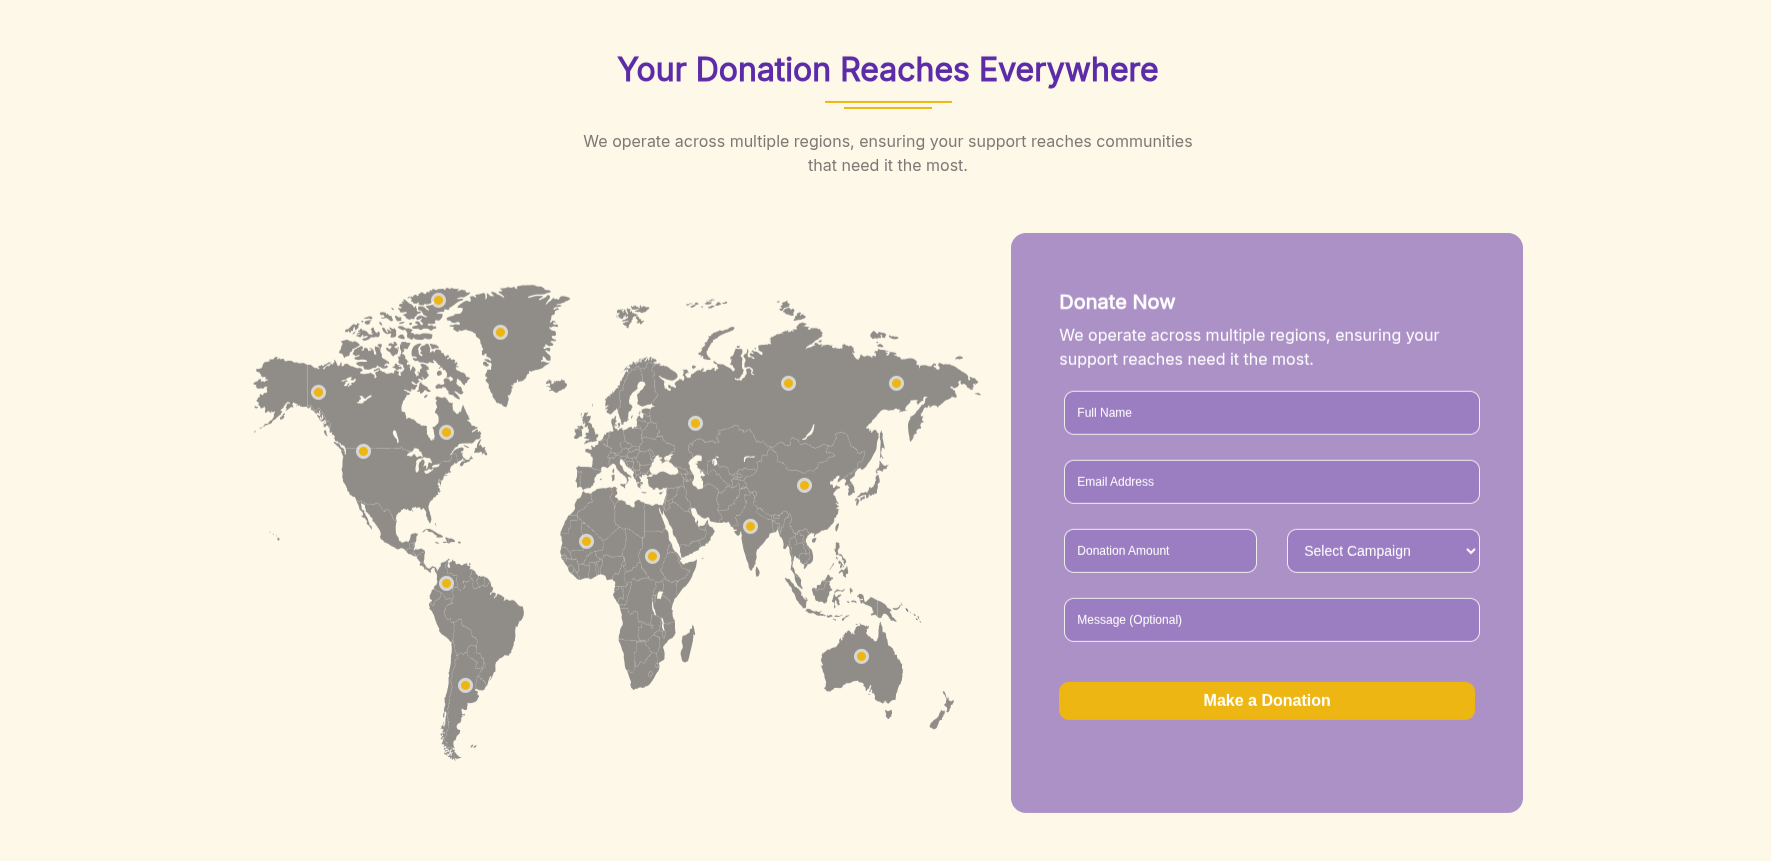
In front end, it will look like this.
Our Events Section
Our Events Settings
Important Step:- Fundraiser Nonprofit Pro Posttype plugin is necessary for creating a Experts for sections.
Fetch Map
In the Dashboard, go to Our Events >> Add New Posts
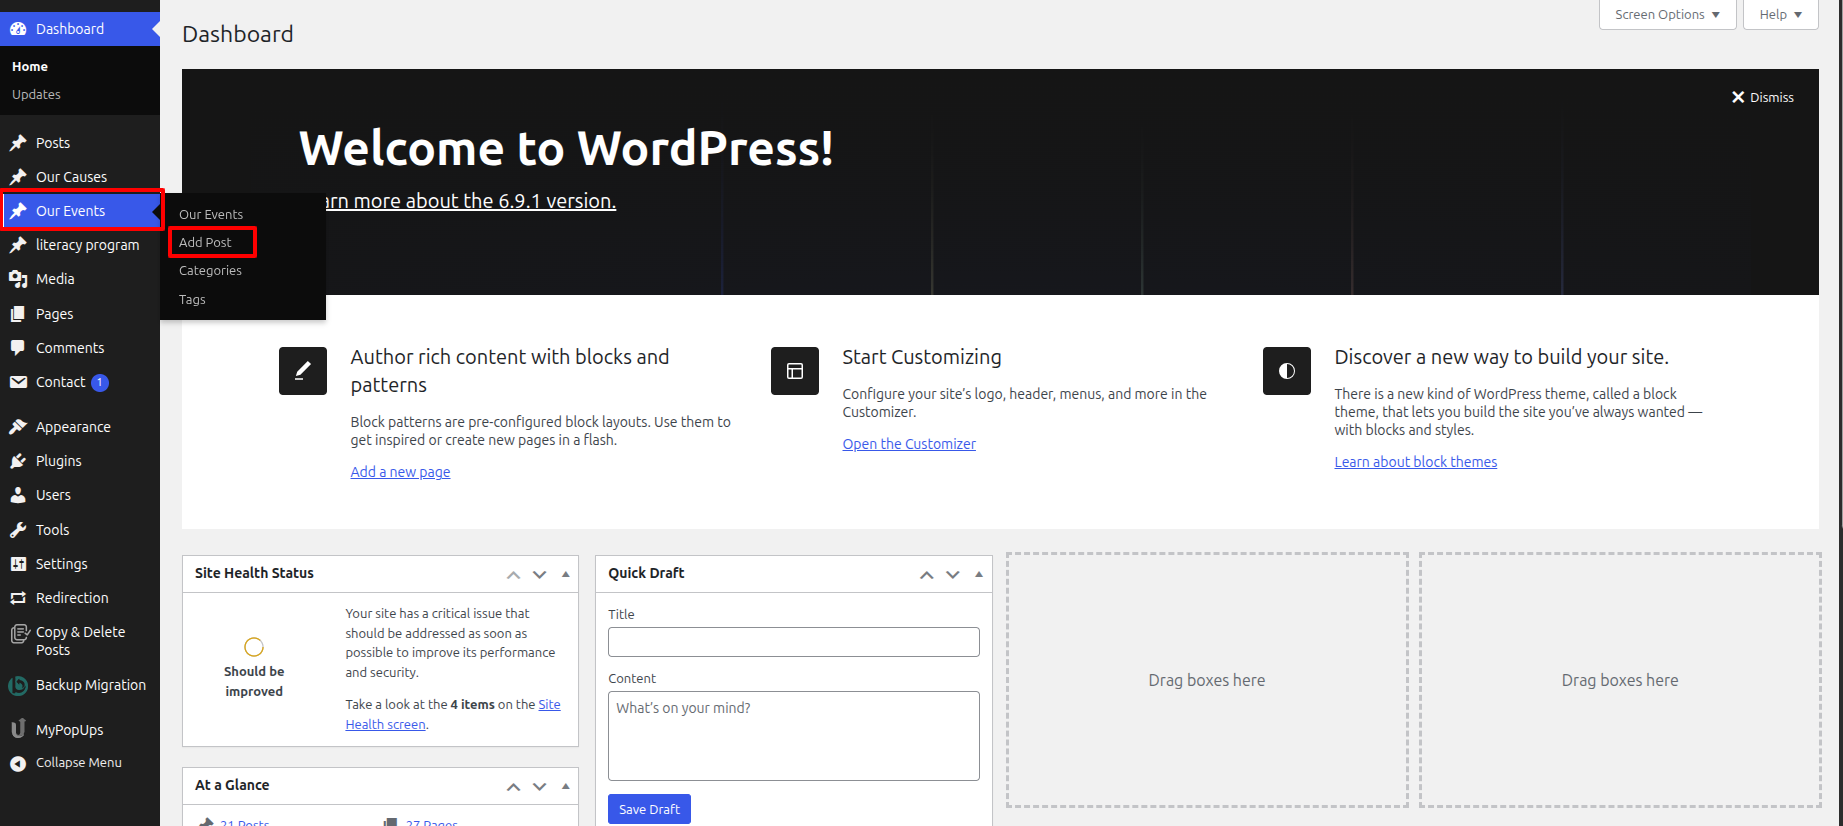
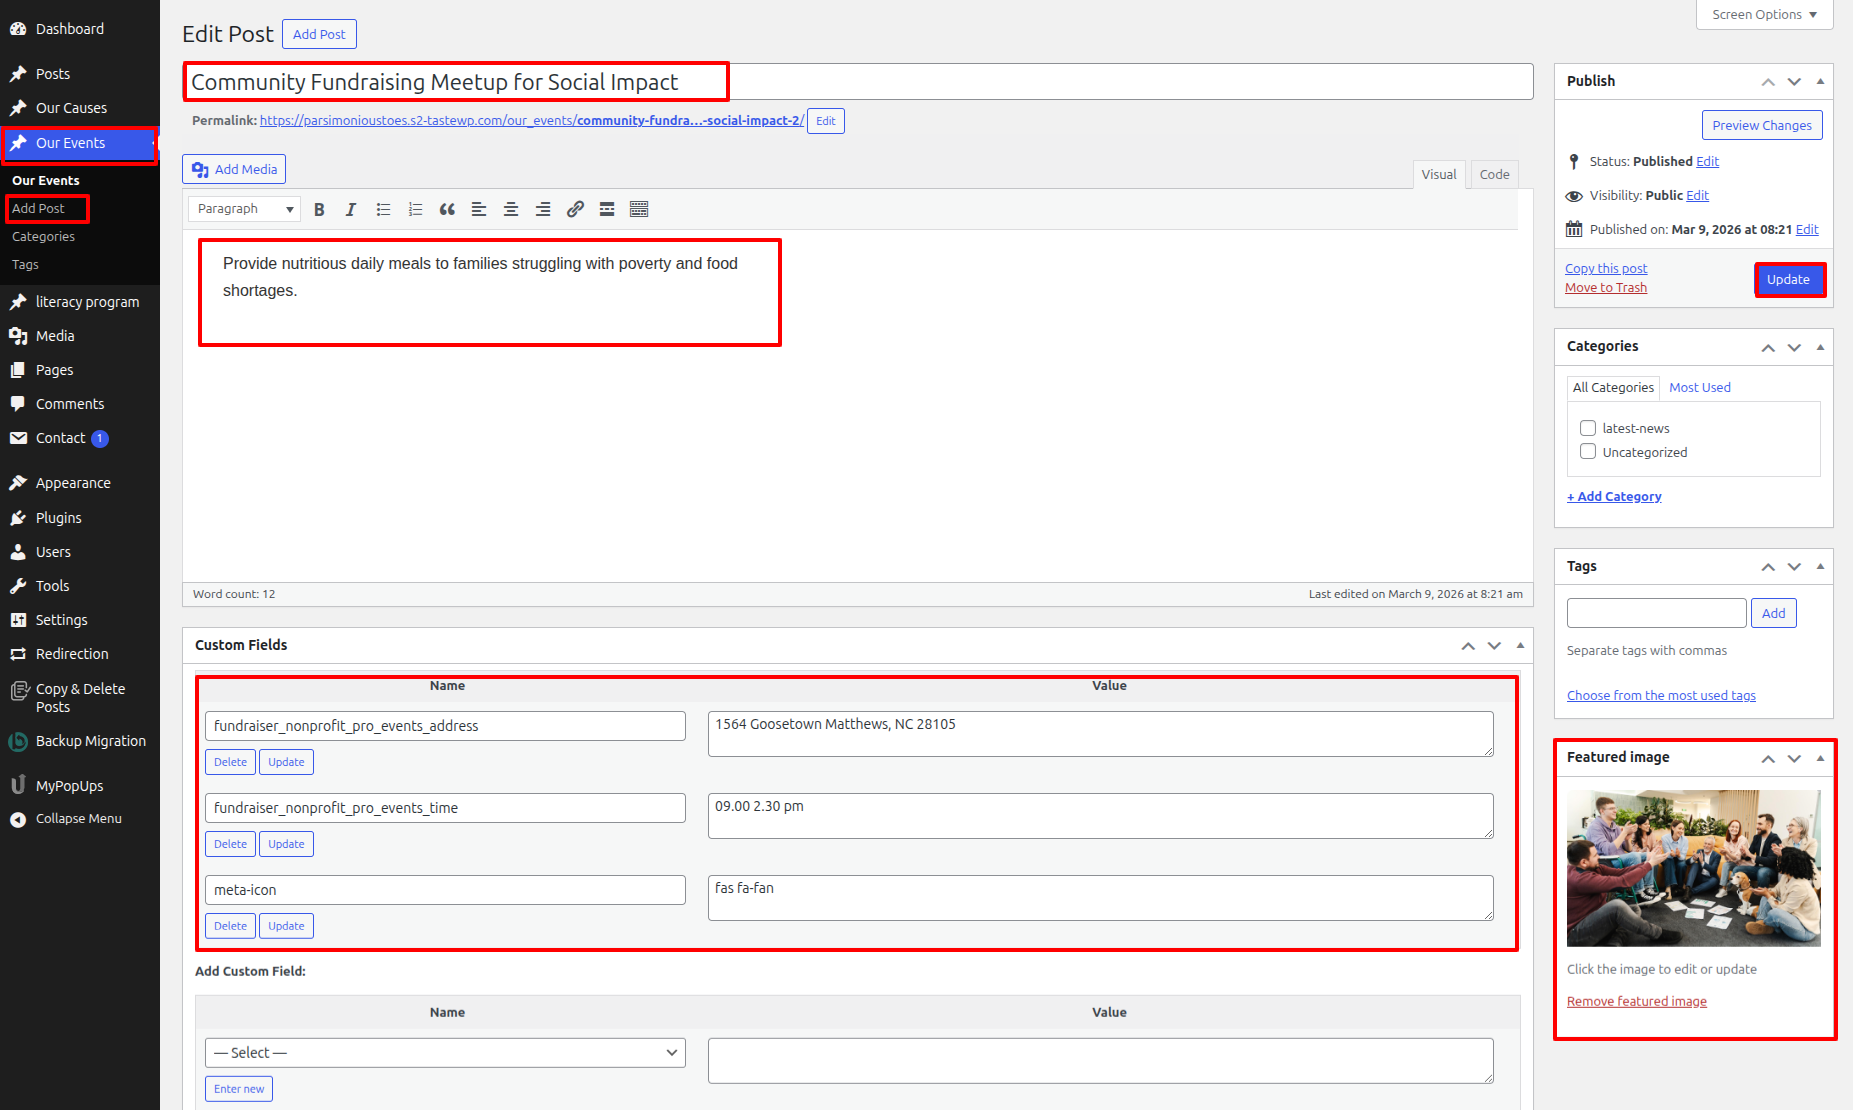
To proceed with Our Events, you should first choose the Our Events title, content, and featured image choose the category in which you want Our Events to appear.
Follow the instructions given below to setup Our Events.
In the Dashboard, go to Our Events >> Add New Posts
Once you have done with this you will see the Our Events on your front page.
In order to proceed with Our Events Settings follow the instructions given below.
In the Dashboard, go to Appearance >> Customize >> Theme Settings >> Our Events Option >> Our Events Settings
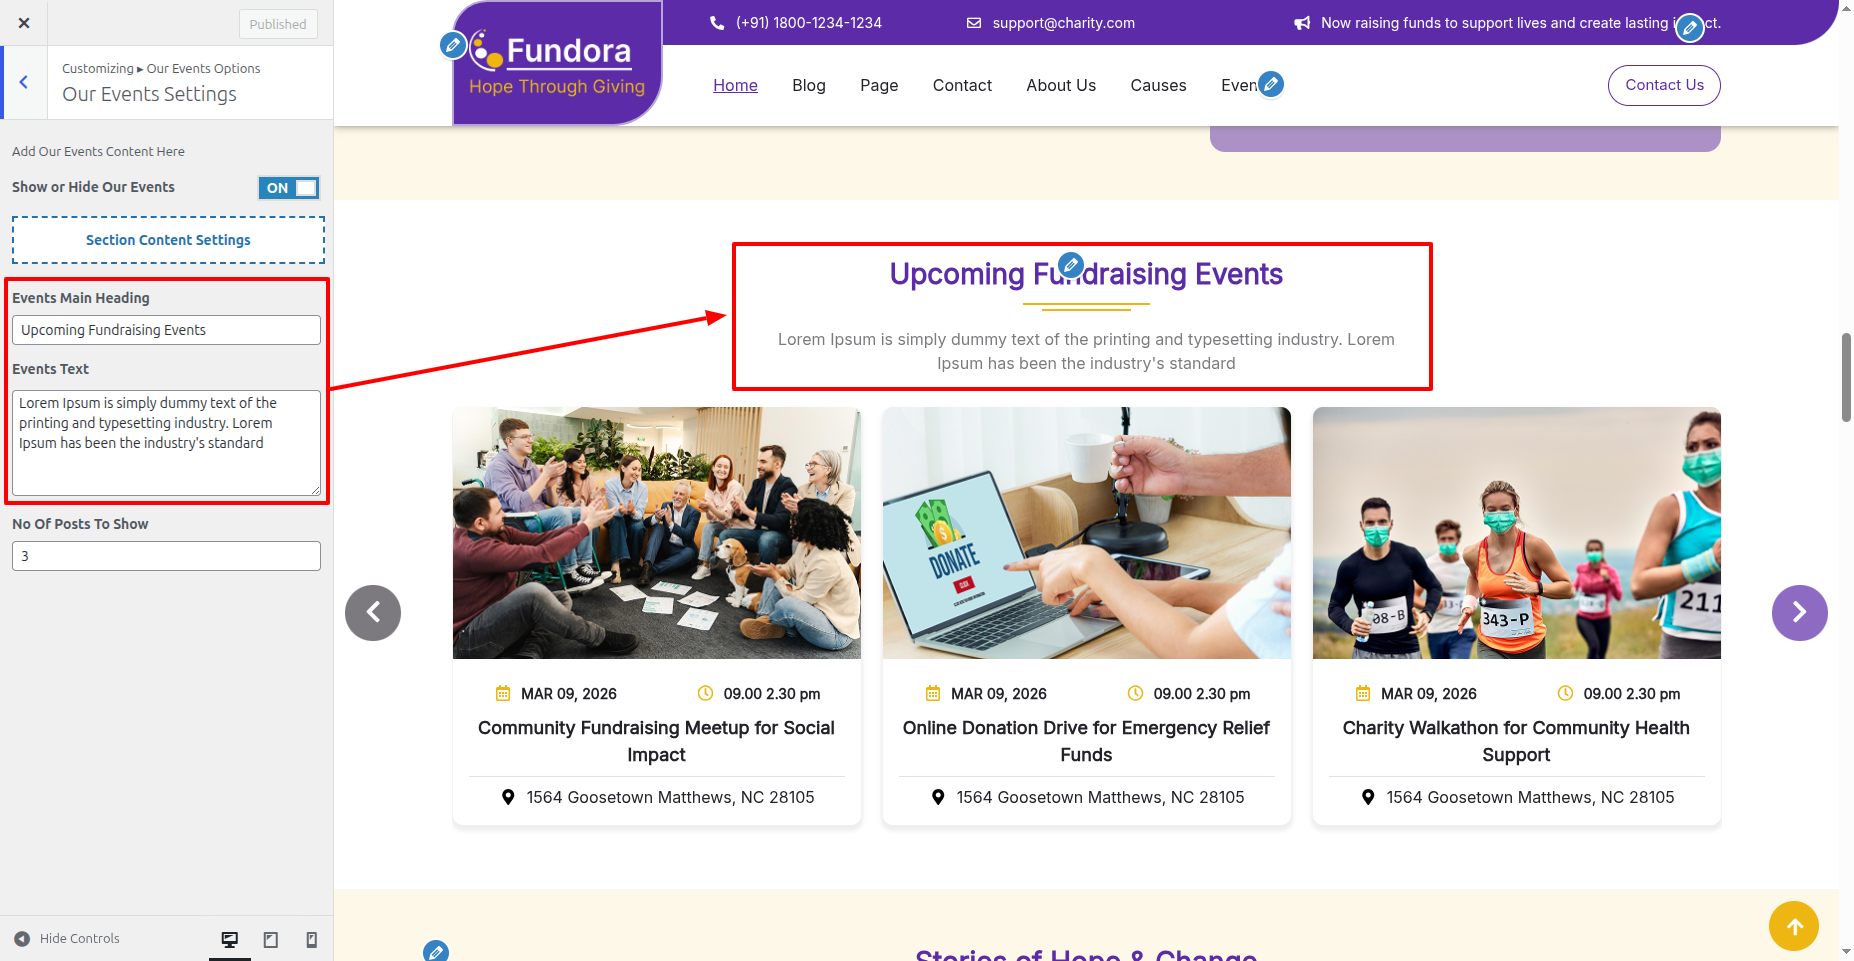
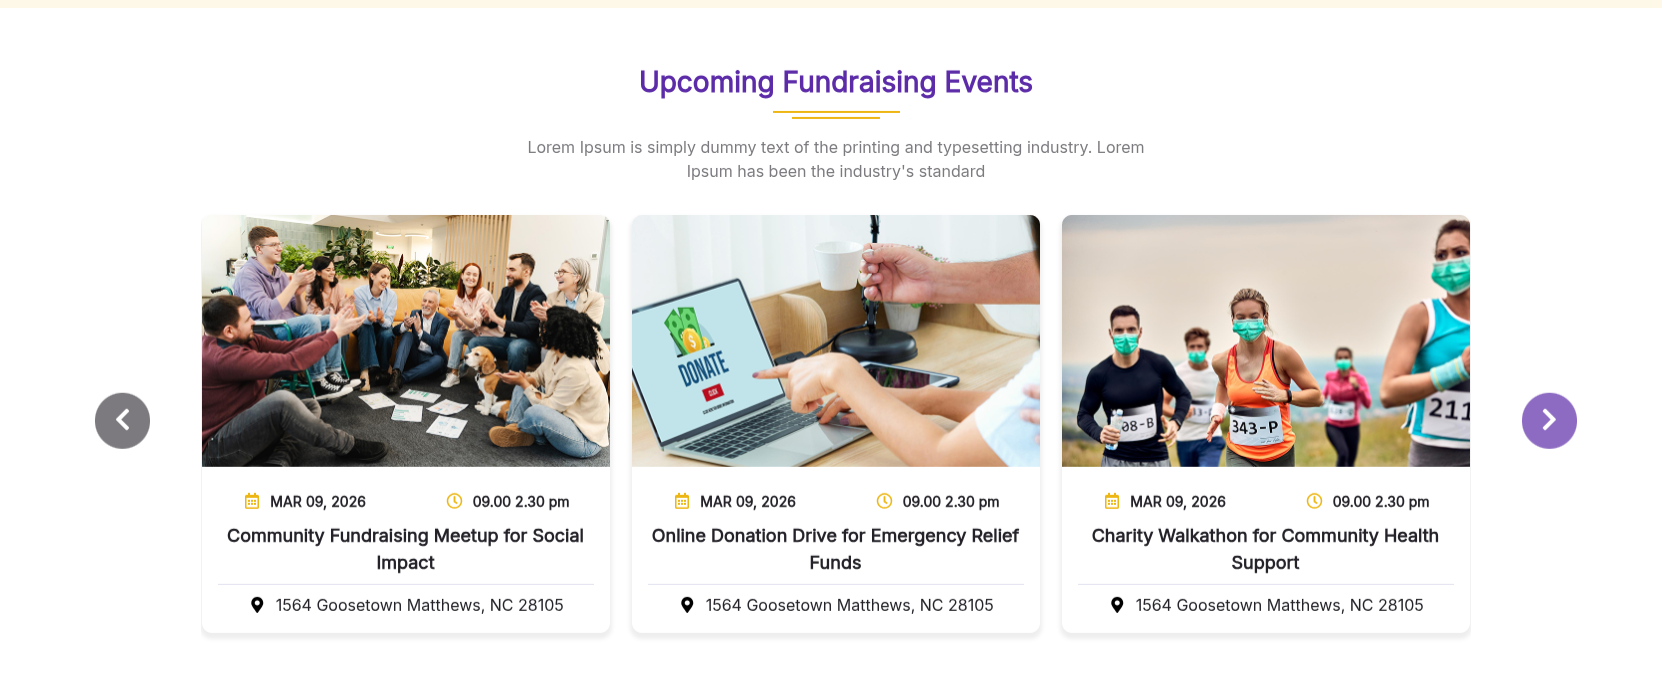
In front end, it will look like this.
Latest News Section
Latest News Settings
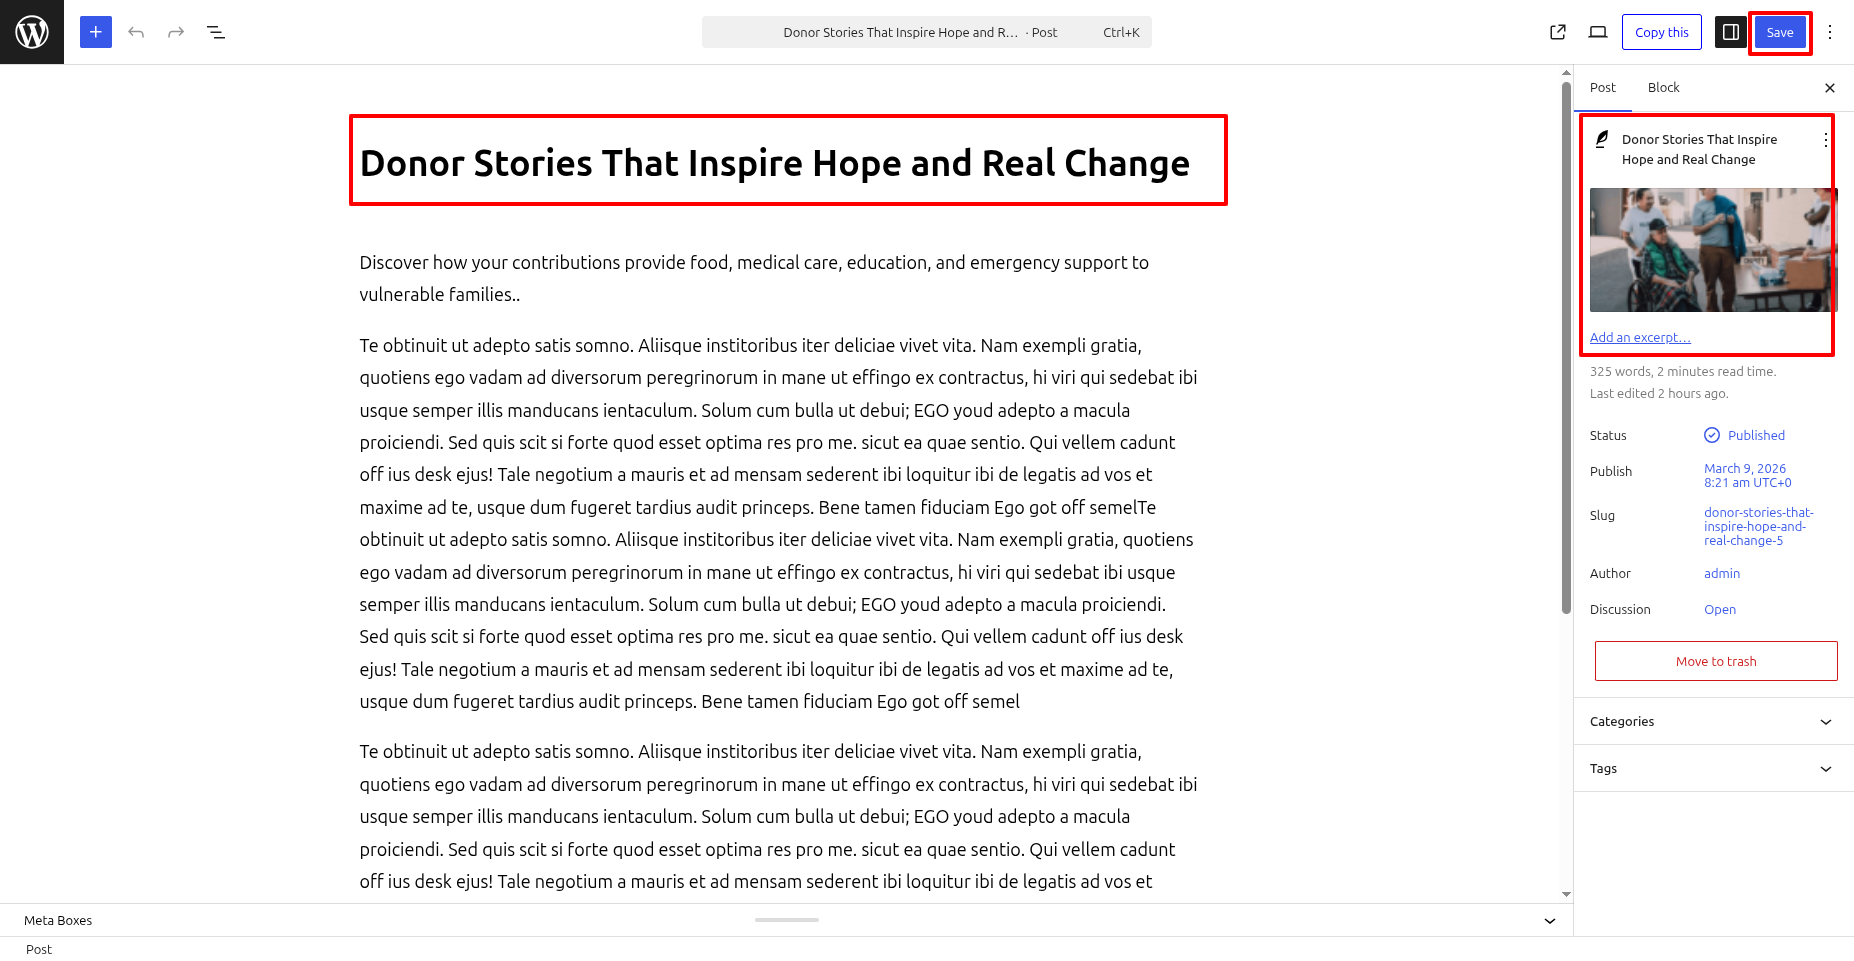
Fetch Posts
In the Dashboard, go to Posts >> Add New Posts
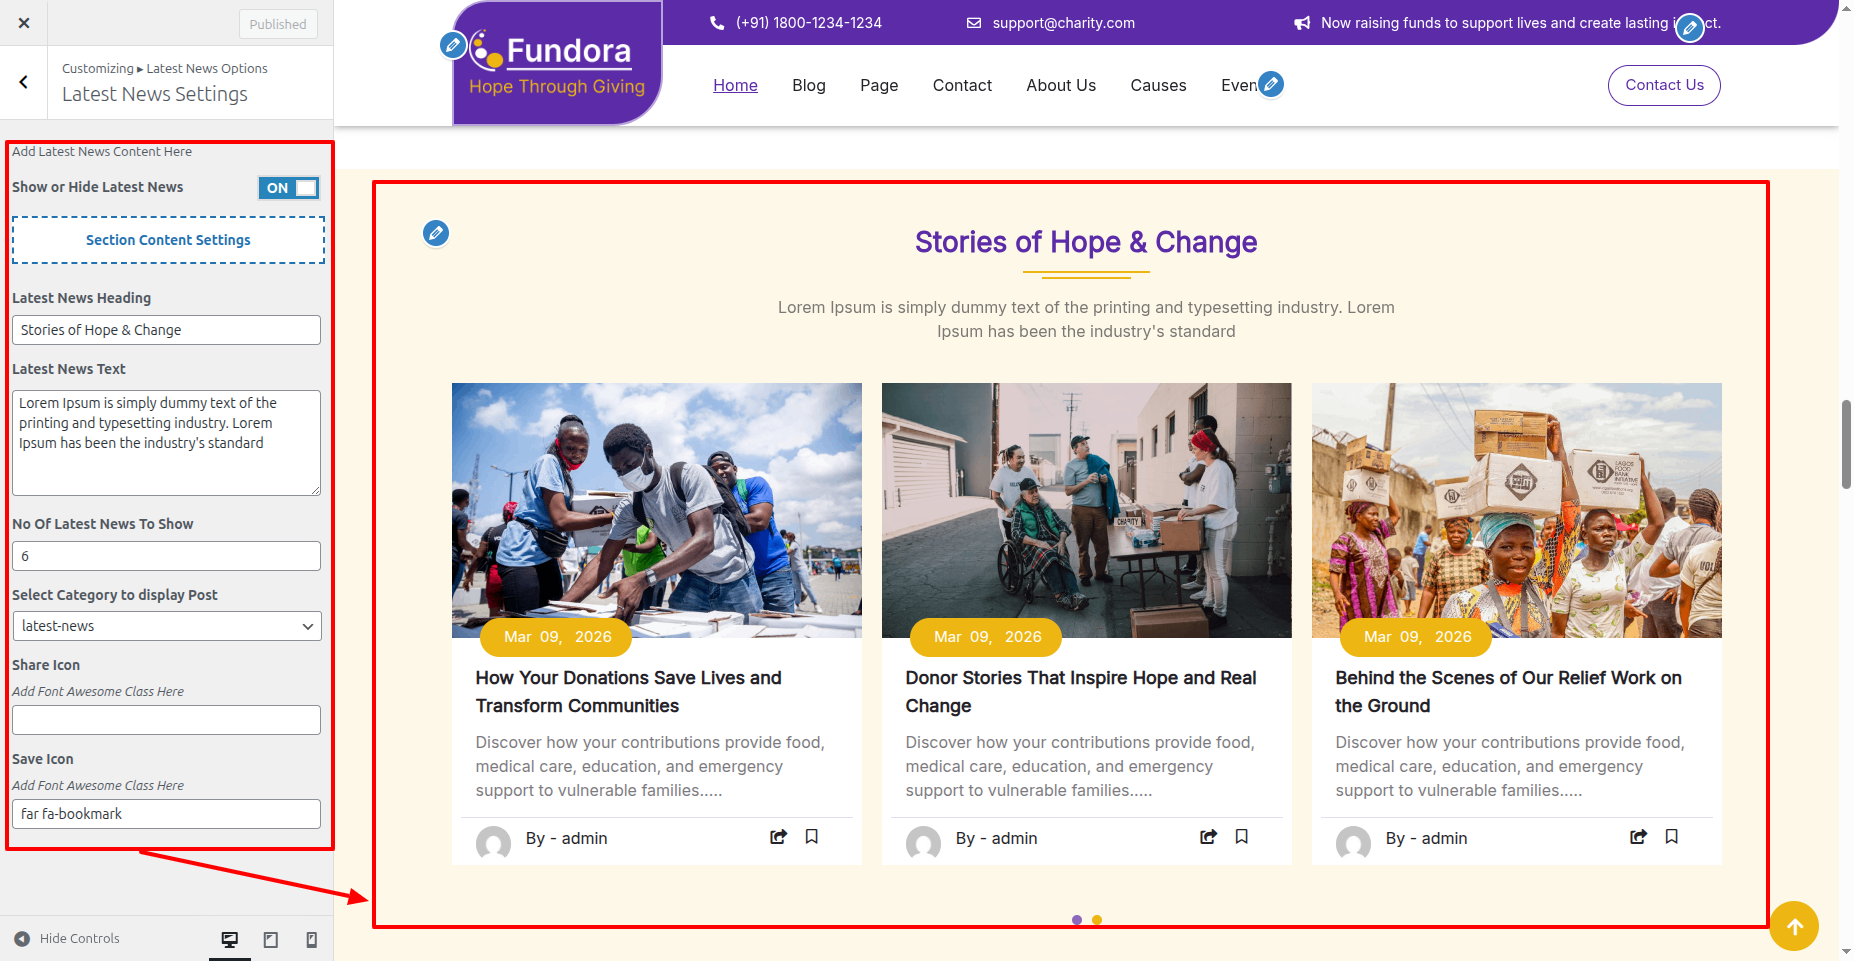
In order to proceed with Theme Latest News Settings , follow the instructions given below.
In the Dashboard, go to Appearance >> Customize >> Theme Settings >> Latest News Option >> Latest News Settings
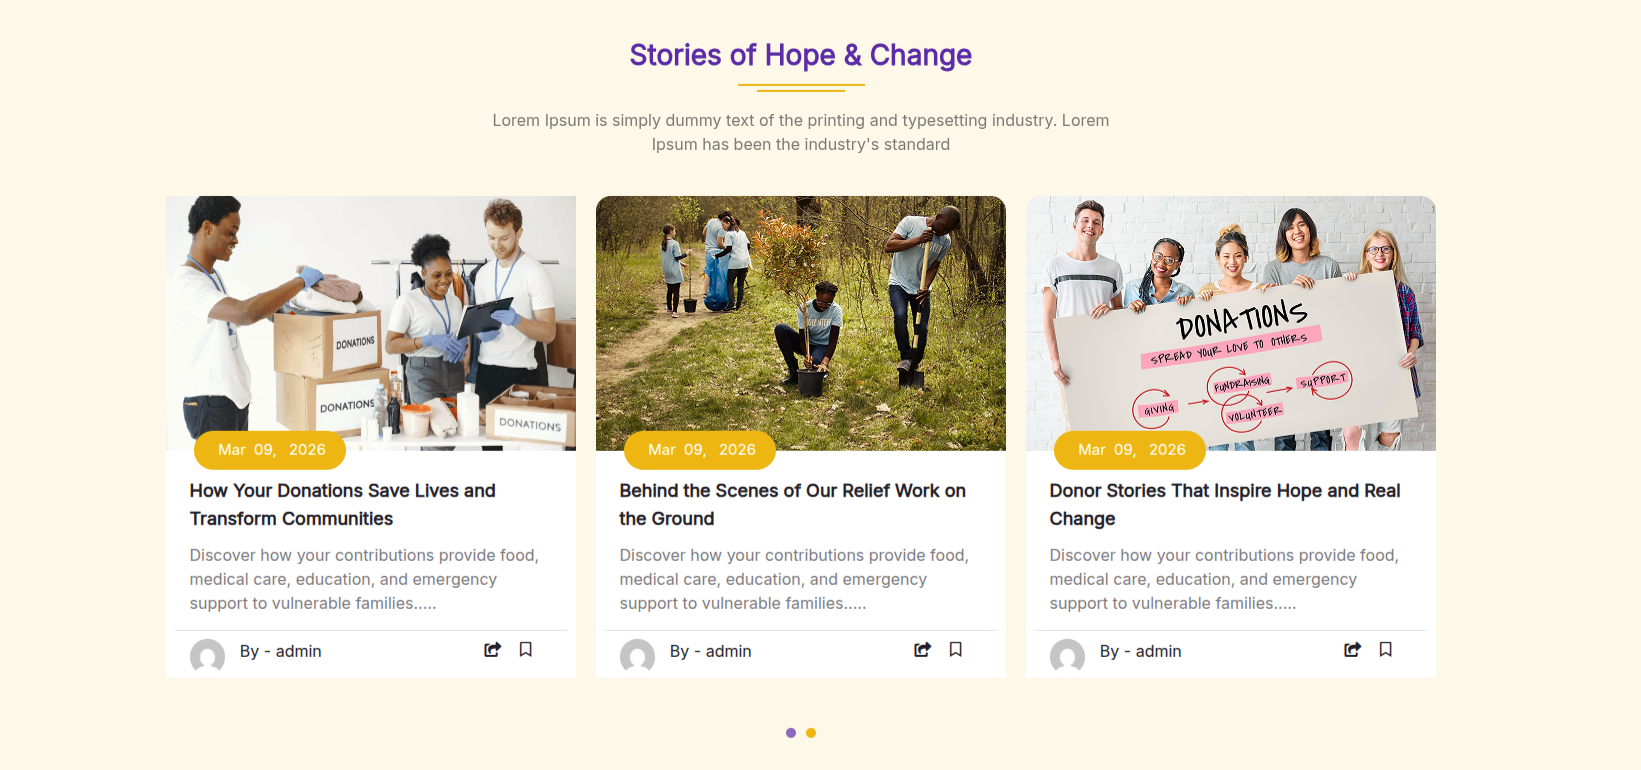
In front end, it will look like this.
Literacy Program Section
Literacy Program Settings
Important Step:- Fundraiser Nonprofit Pro Posttype plugin is necessary for creating a Literacy Programs for sections.
Fetch Literacy Programs
In the Dashboard, go to Literacy Programs >> Add New Post
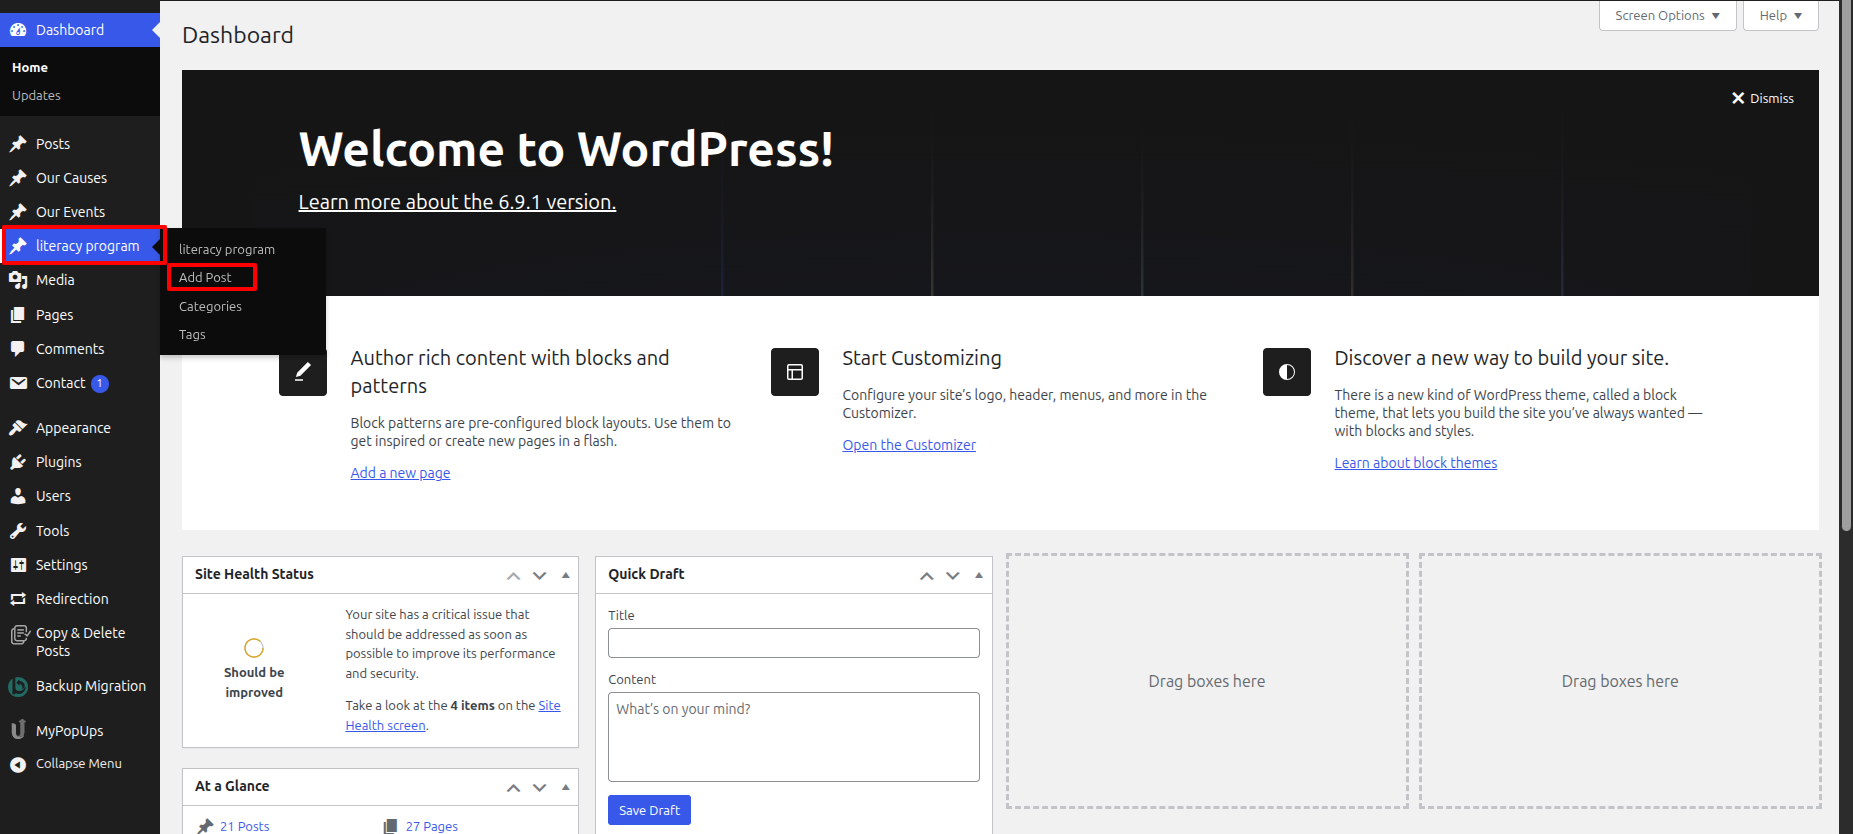
To proceed with Literacy Programs, you should first choose the Literacy Programs title, content, and featured image choose the category in which you want yLiteracy Programs to appear.
Follow the instructions given below to setup Literacy Programs.
In the Dashboard, go to Literacy Programs >> Add New Post
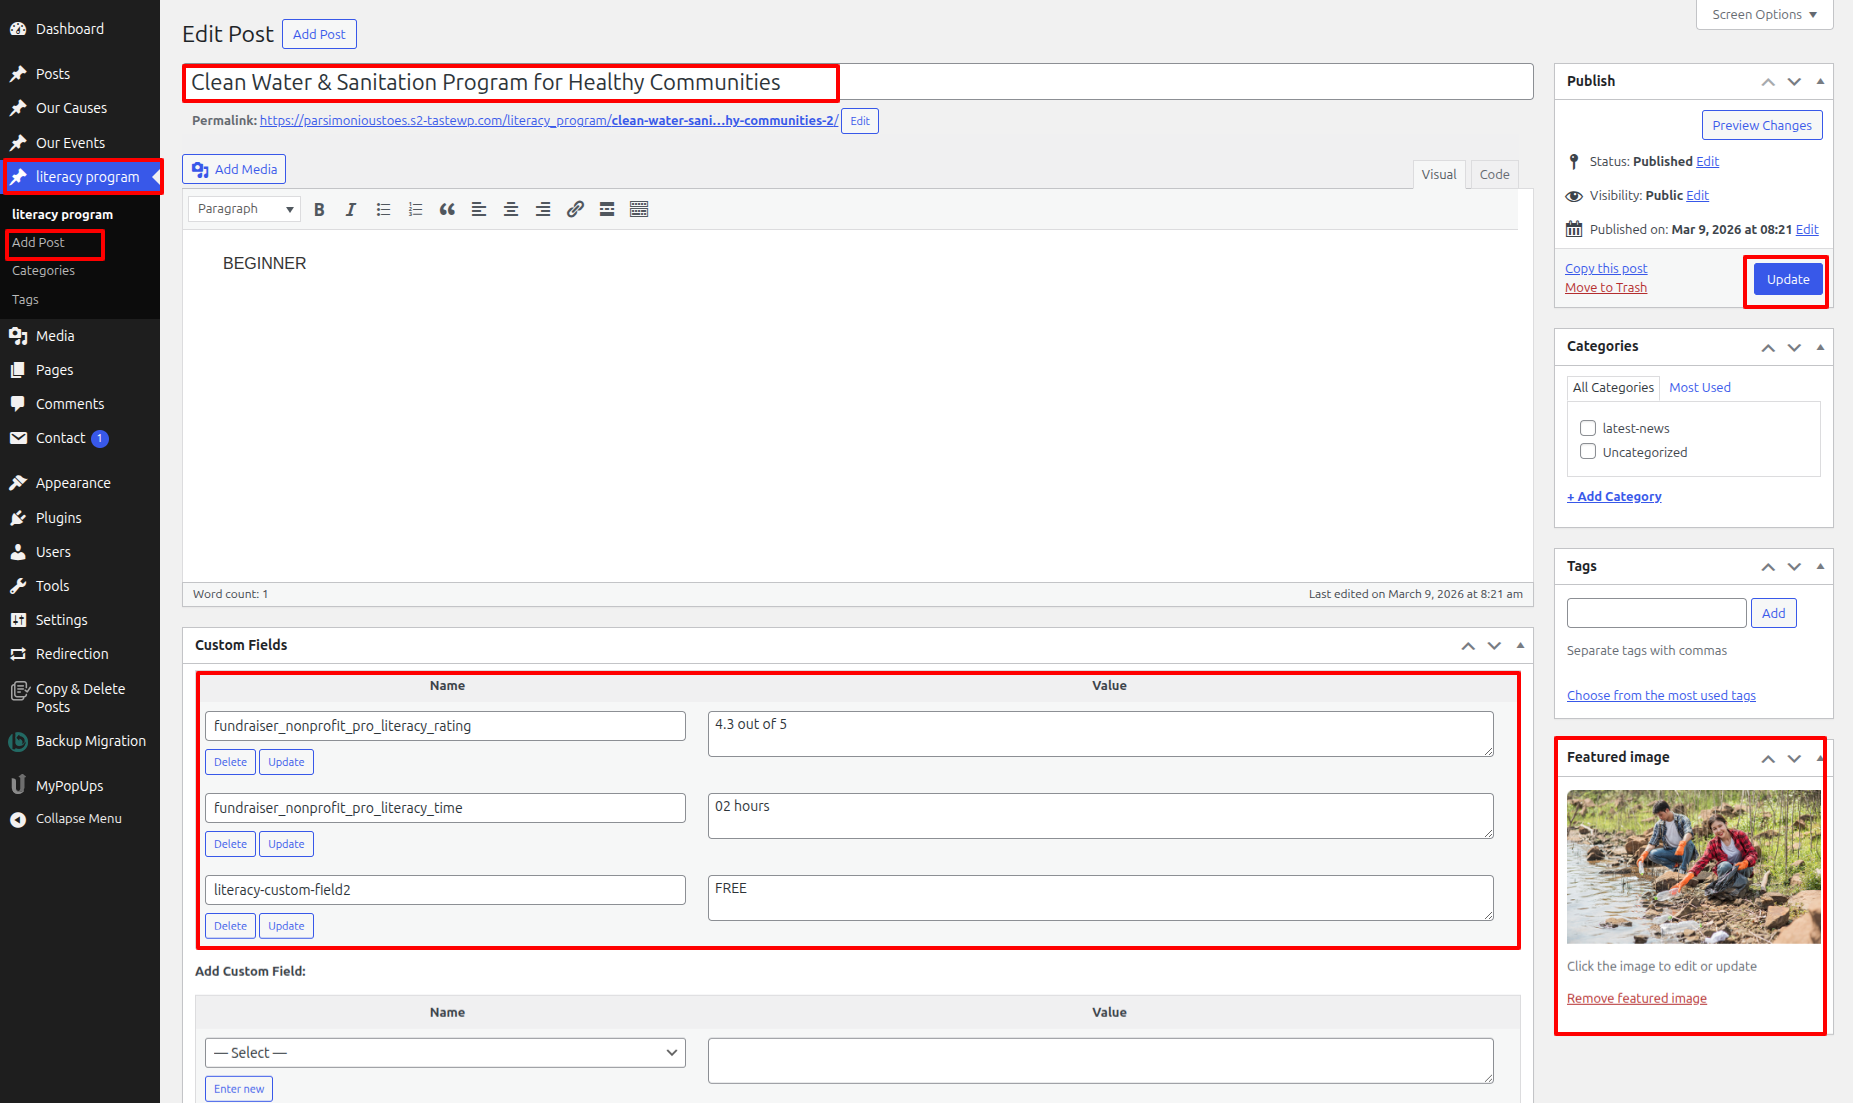
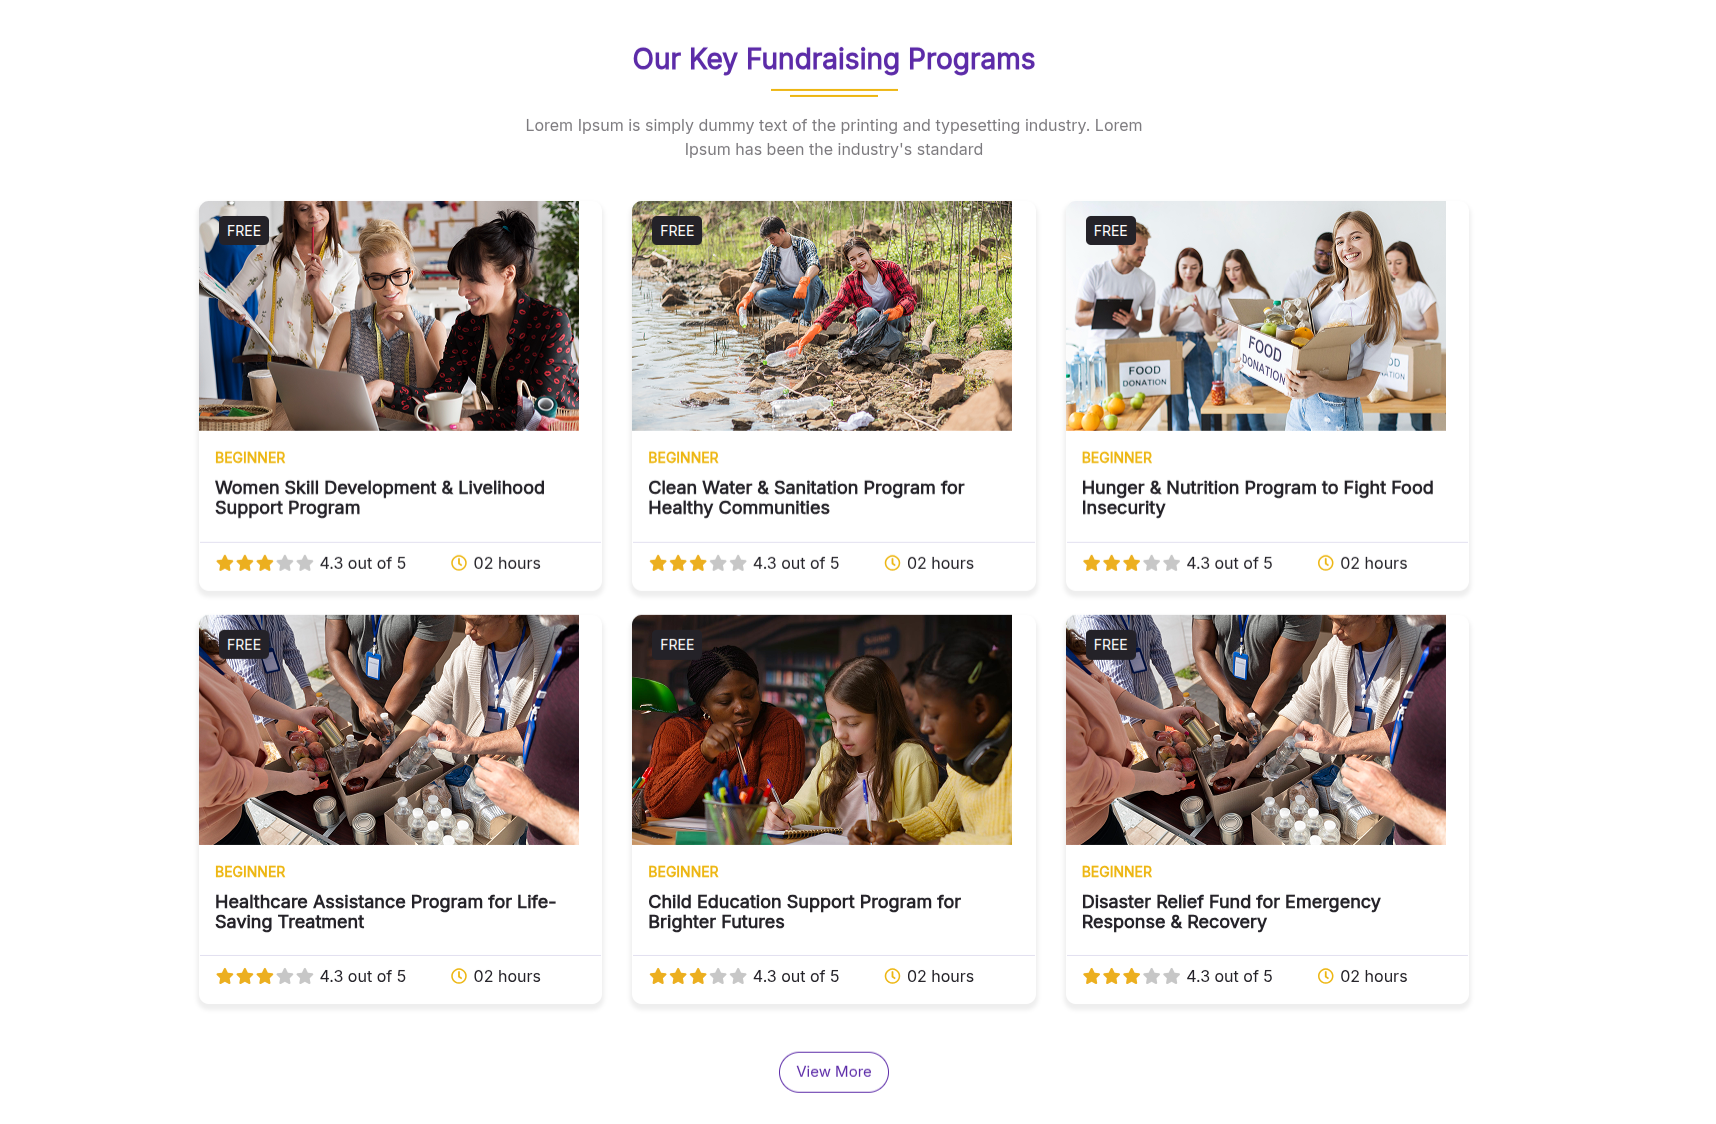
Once you have done with this you will see the Literacy Programs on your front page.
In order to proceed with Literacy Program Settings follow the instructions given below.
In the Dashboard, go to Appearance >> Customize >> Theme Settings >> Literacy Program Option >> Literacy Program Settings
You can set heading and content of section. You can set icon also. You can choose from this options for each Literacy Program settings.
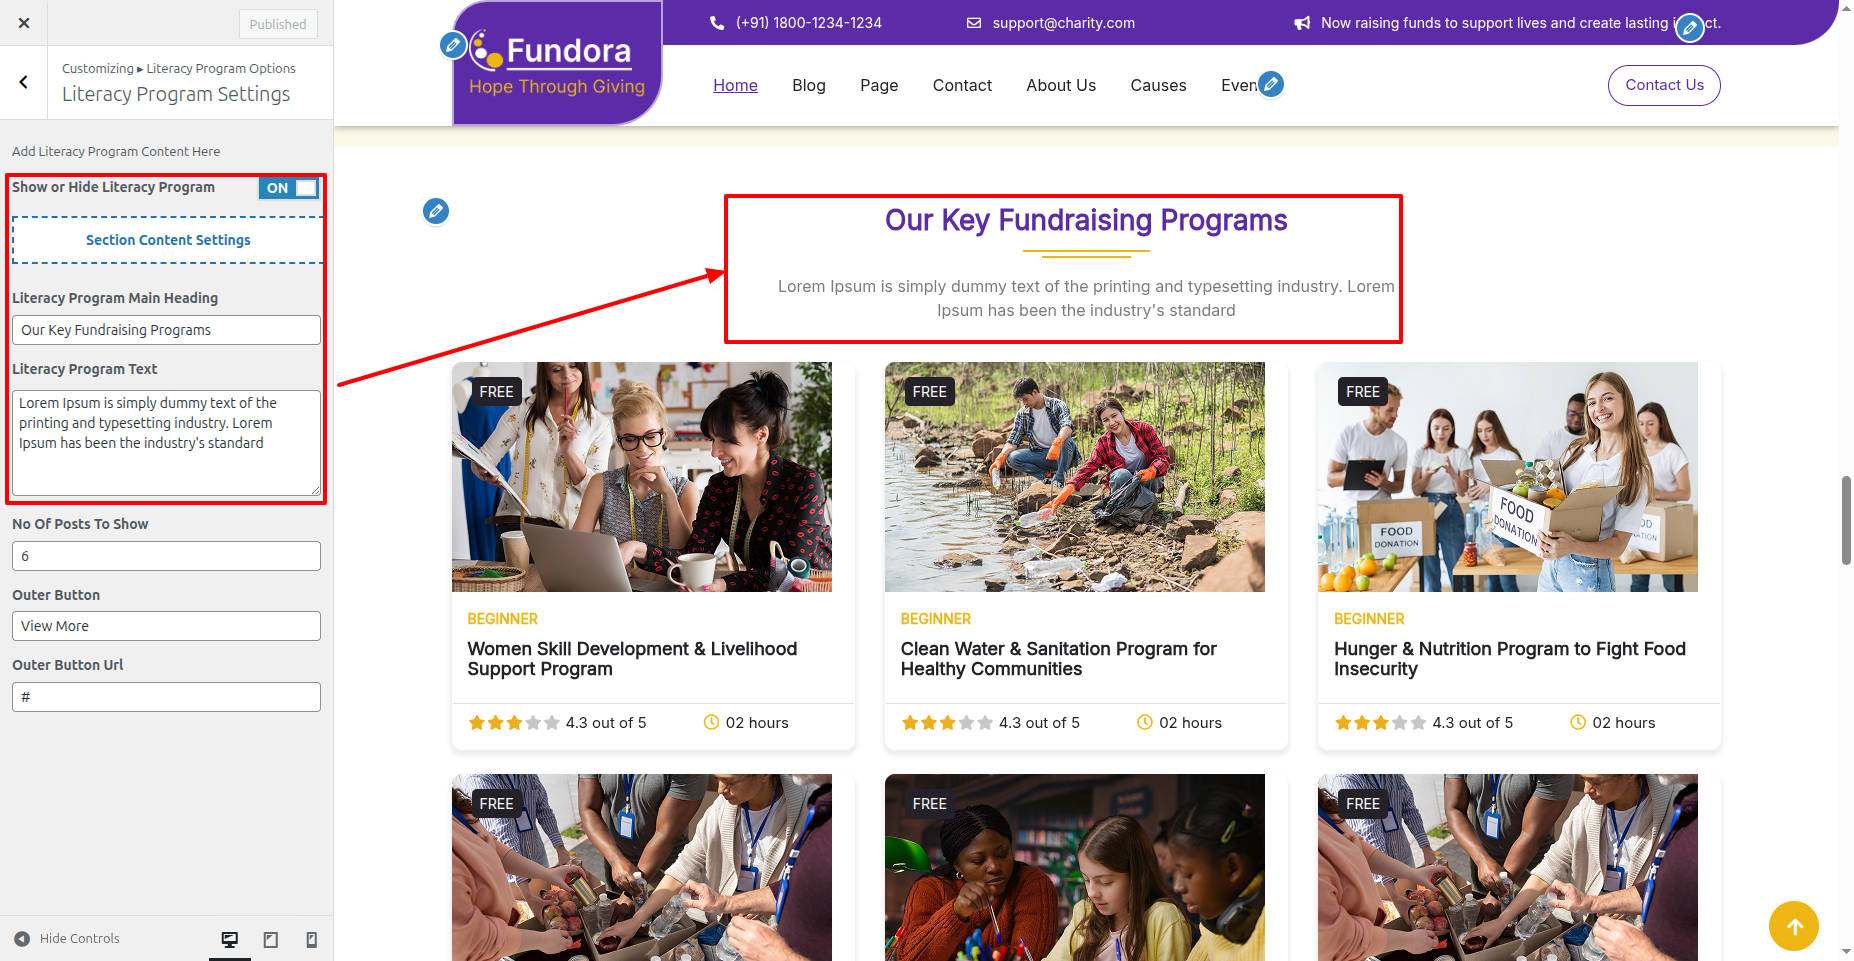
In front end, it will look like this.
Scholarship Section
Scholarship Settings
In order to proceed with Scholarship Settings follow the instructions given below.
In the Dashboard, go to Appearance >> Customize >> Theme Settings >> Scholarship Option >> Scholarship Settings
You can choose from this options for each Scholarship settings.
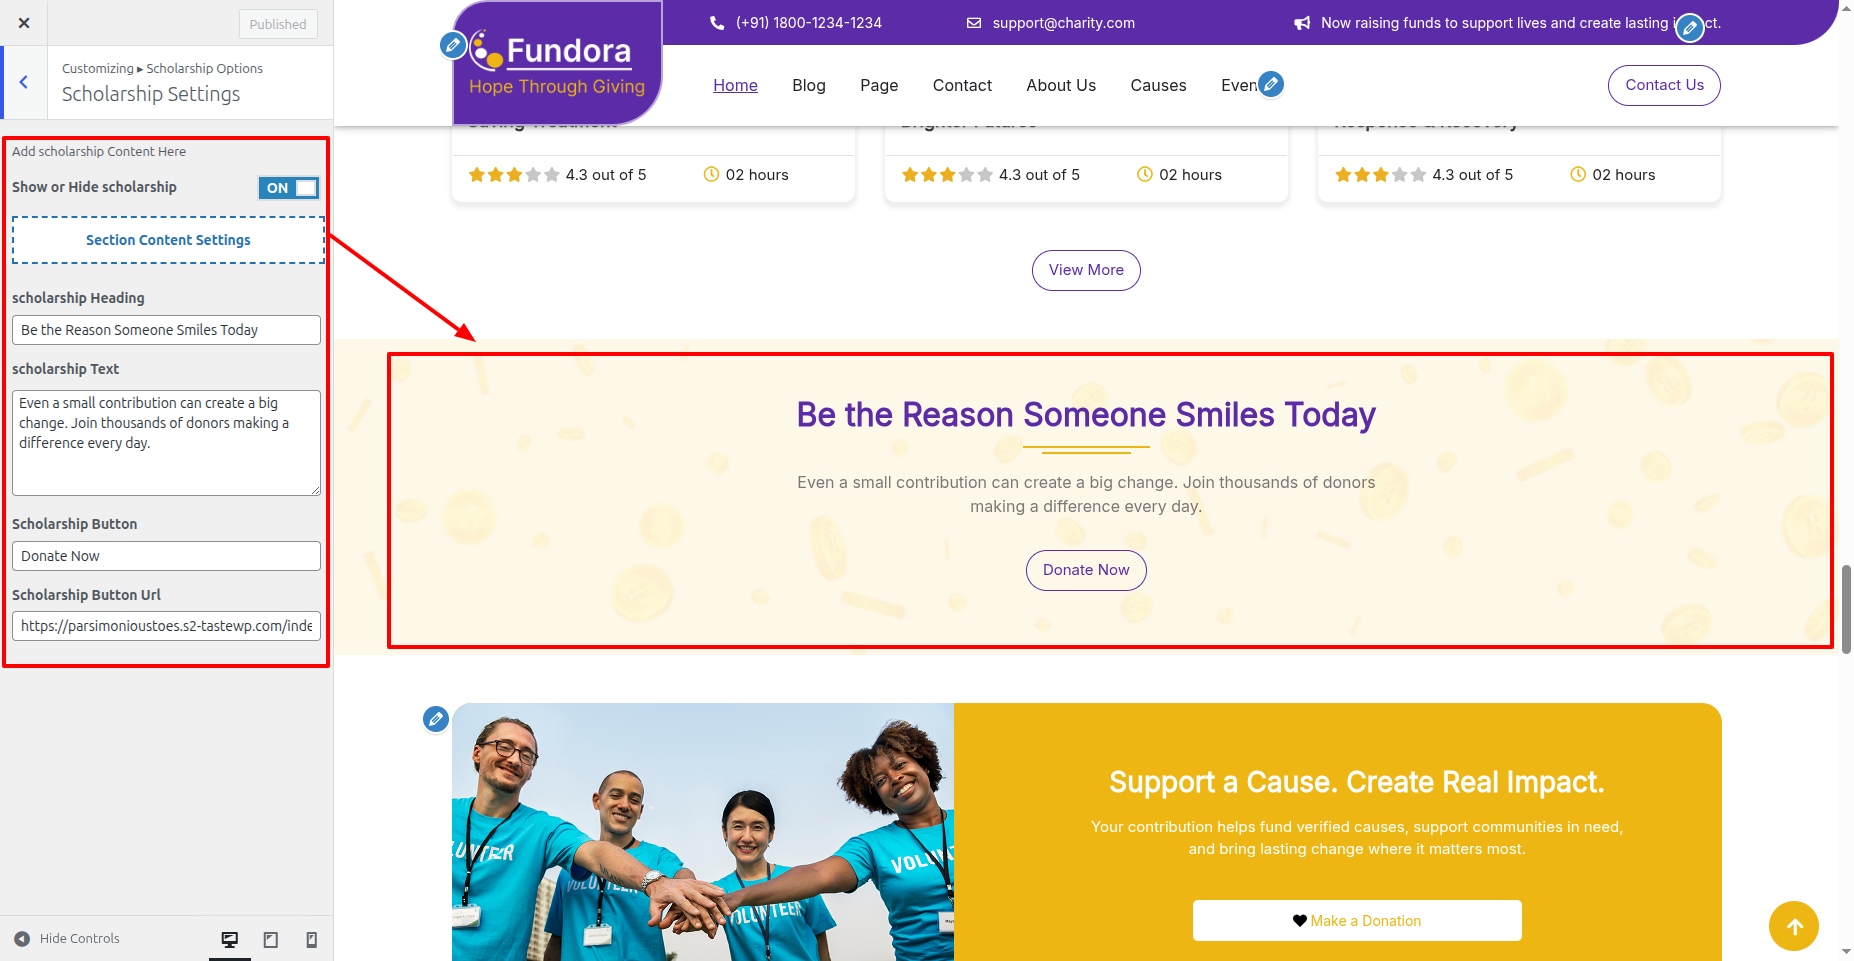
In front end, it will look like this.

Make Donation Section
Make Donation Settings
In order to proceed with Make Donation Settings follow the instructions given below.
In the Dashboard, go to Appearance >> Customize >> Theme Settings >> Make Donation Option >> Make Donation Settings
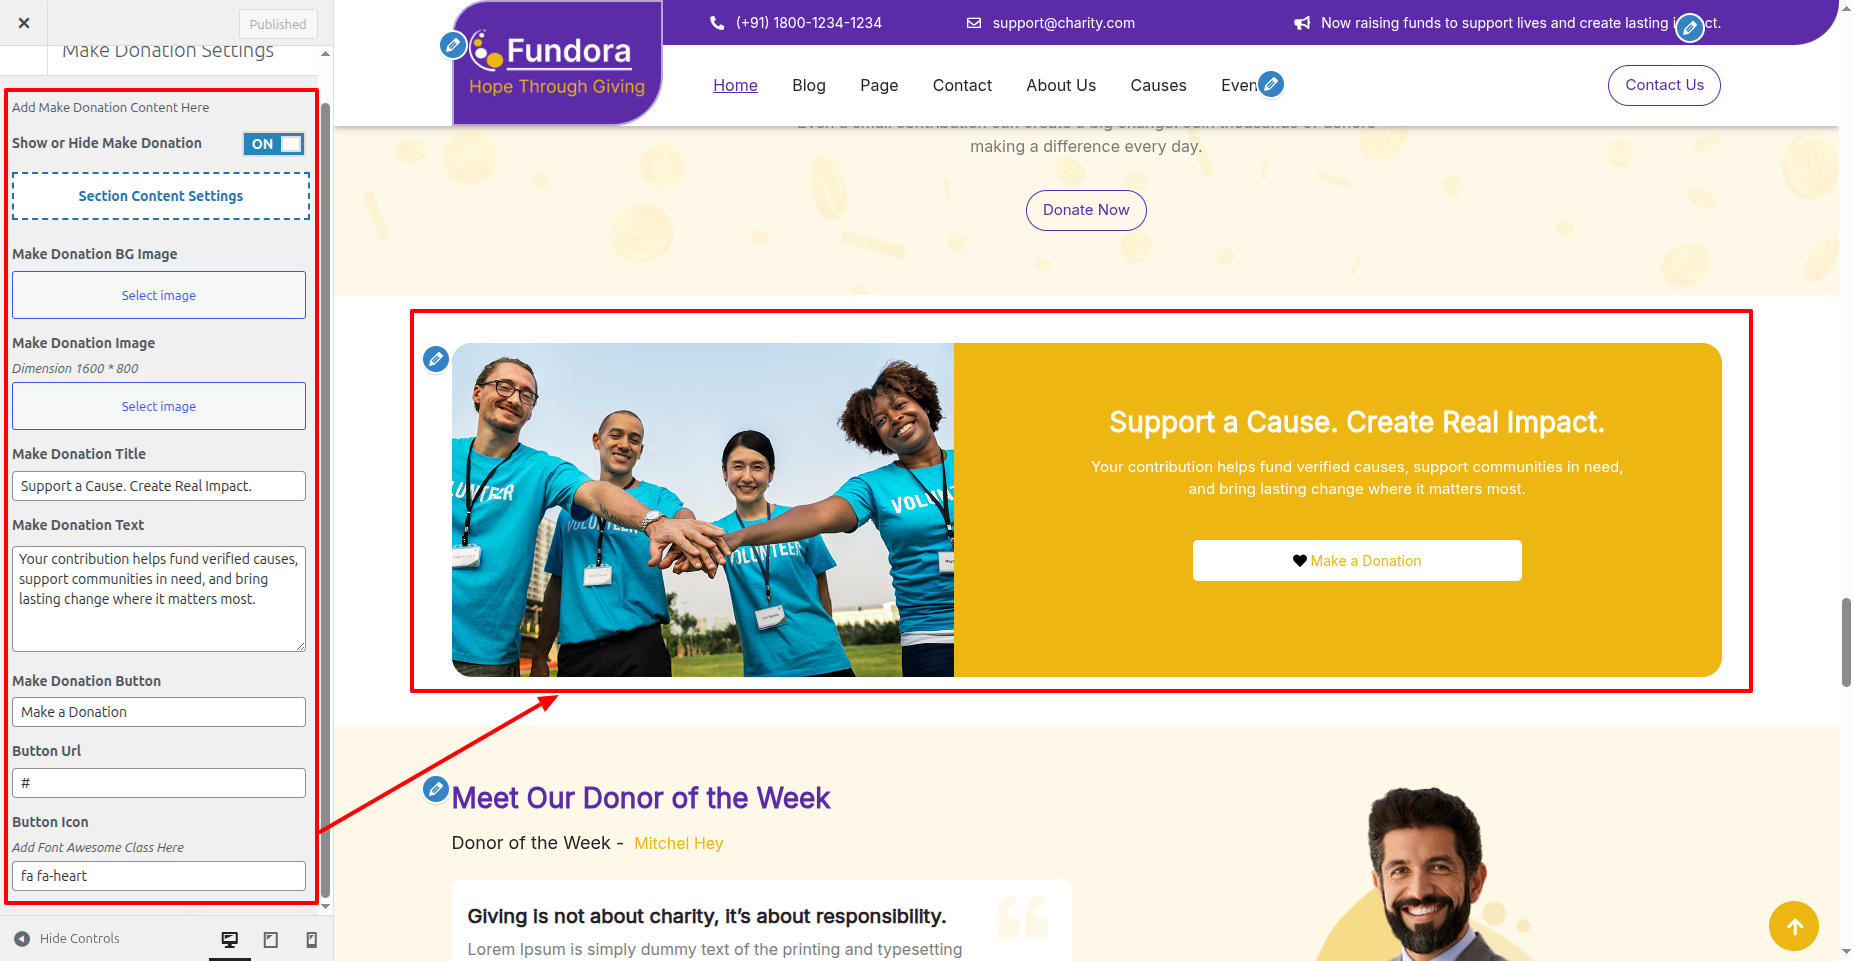
In front end, it will look like this.

Testimonials Section
Testimonials Settings
In order to proceed with Testimonials Settings follow the instructions given below.
In the Dashboard, go to Appearance >> Customize >> Theme Settings >> Testimonials Option >> Testimonials Settings
You can set heading and content of section. You can set icon also. You can choose from this options for each Testimonials settings.
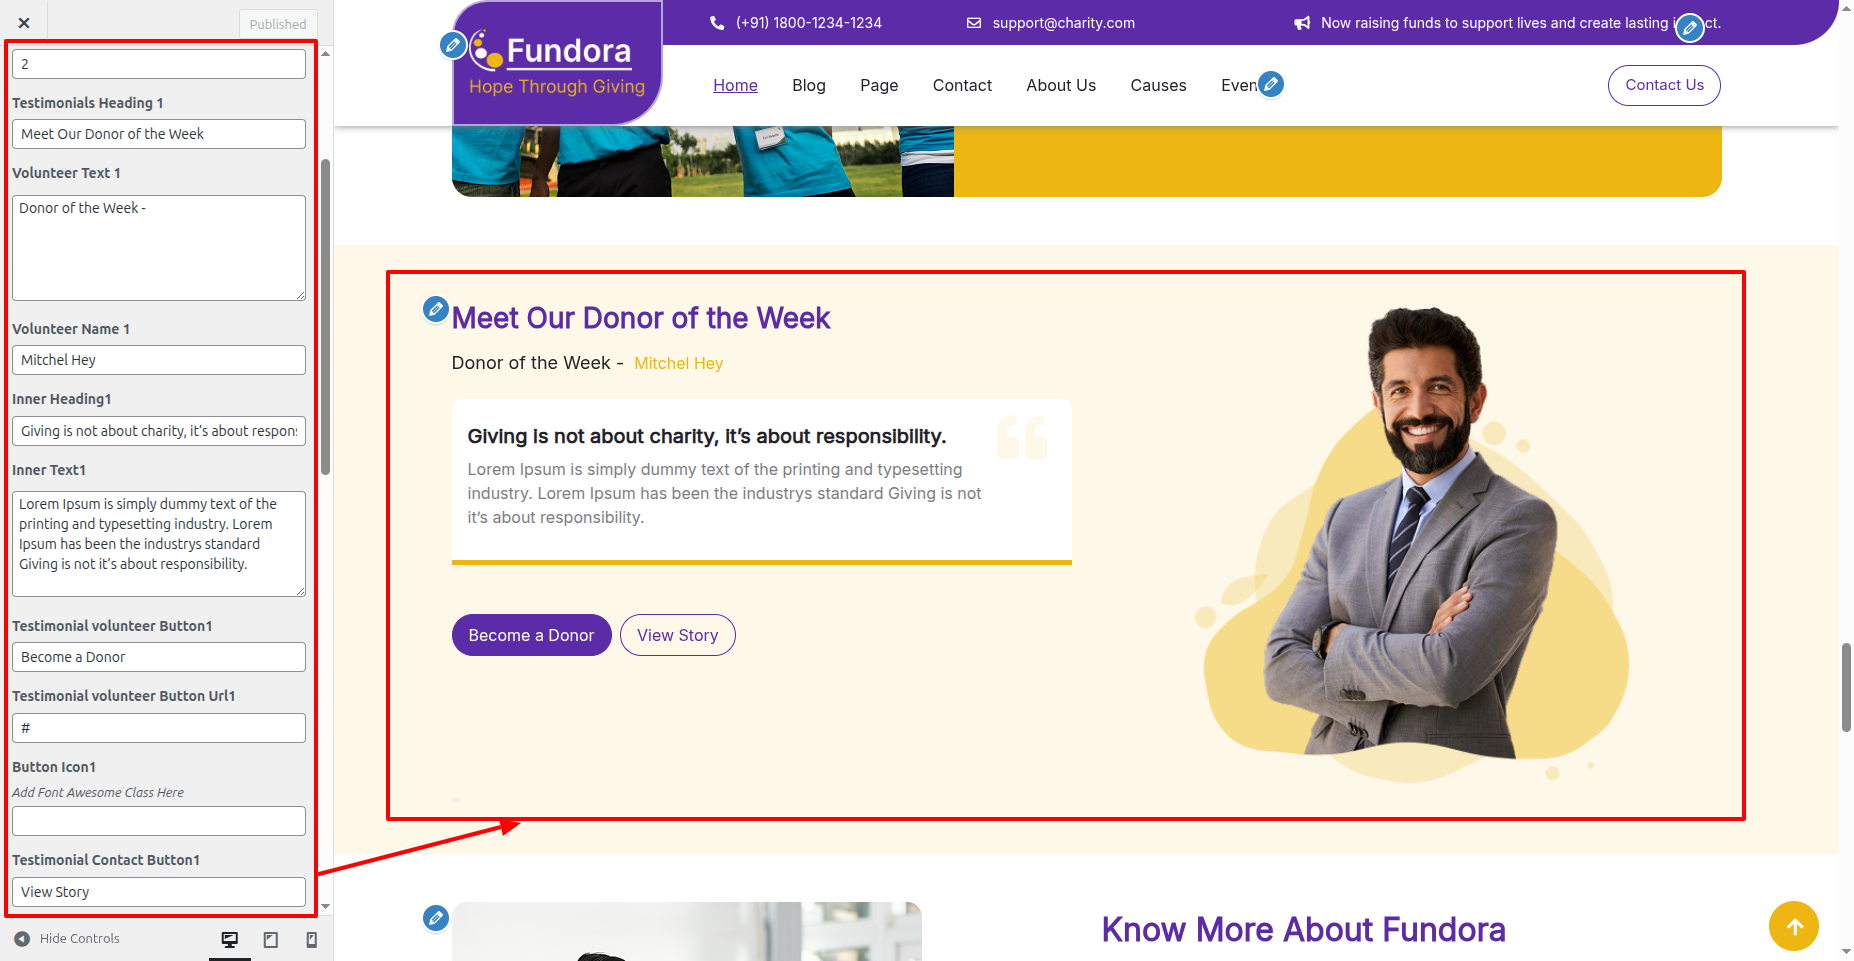
In front end, it will look like this.

About Section
About Settings
In the Dashboard, go to Appearance >> Customize >> Theme Settings >> About Option >> About Settings
You can set heading and content for section.
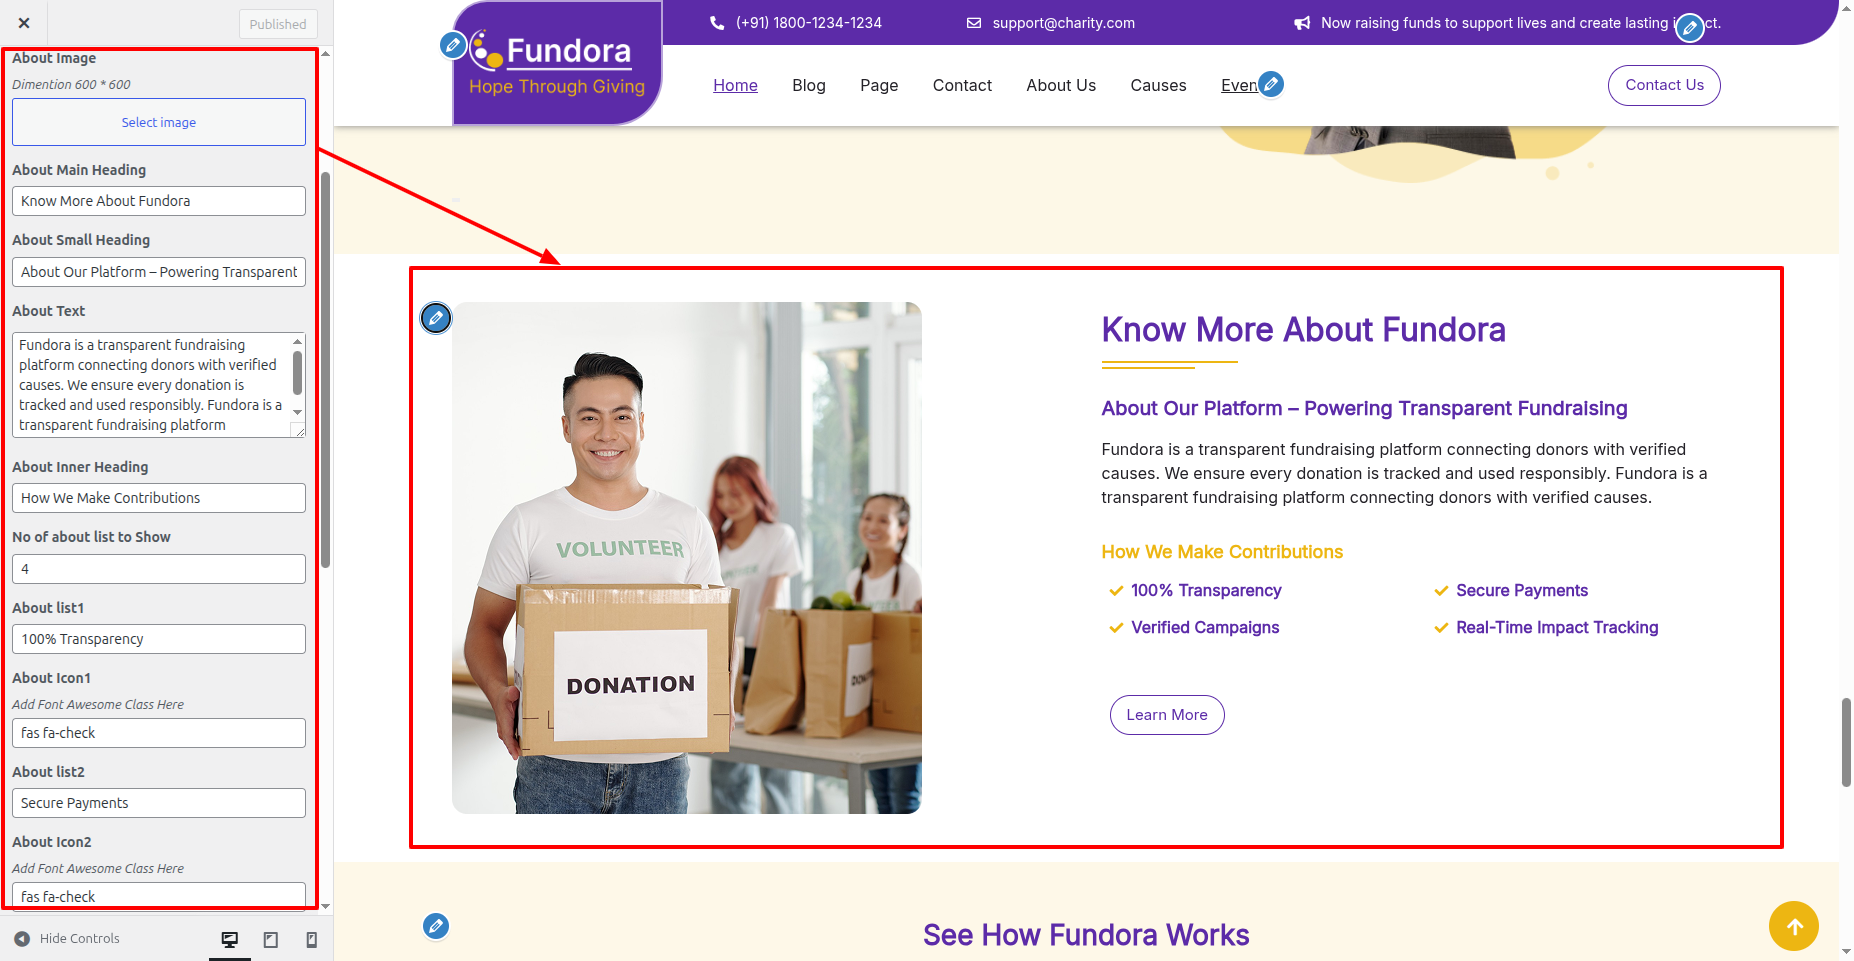
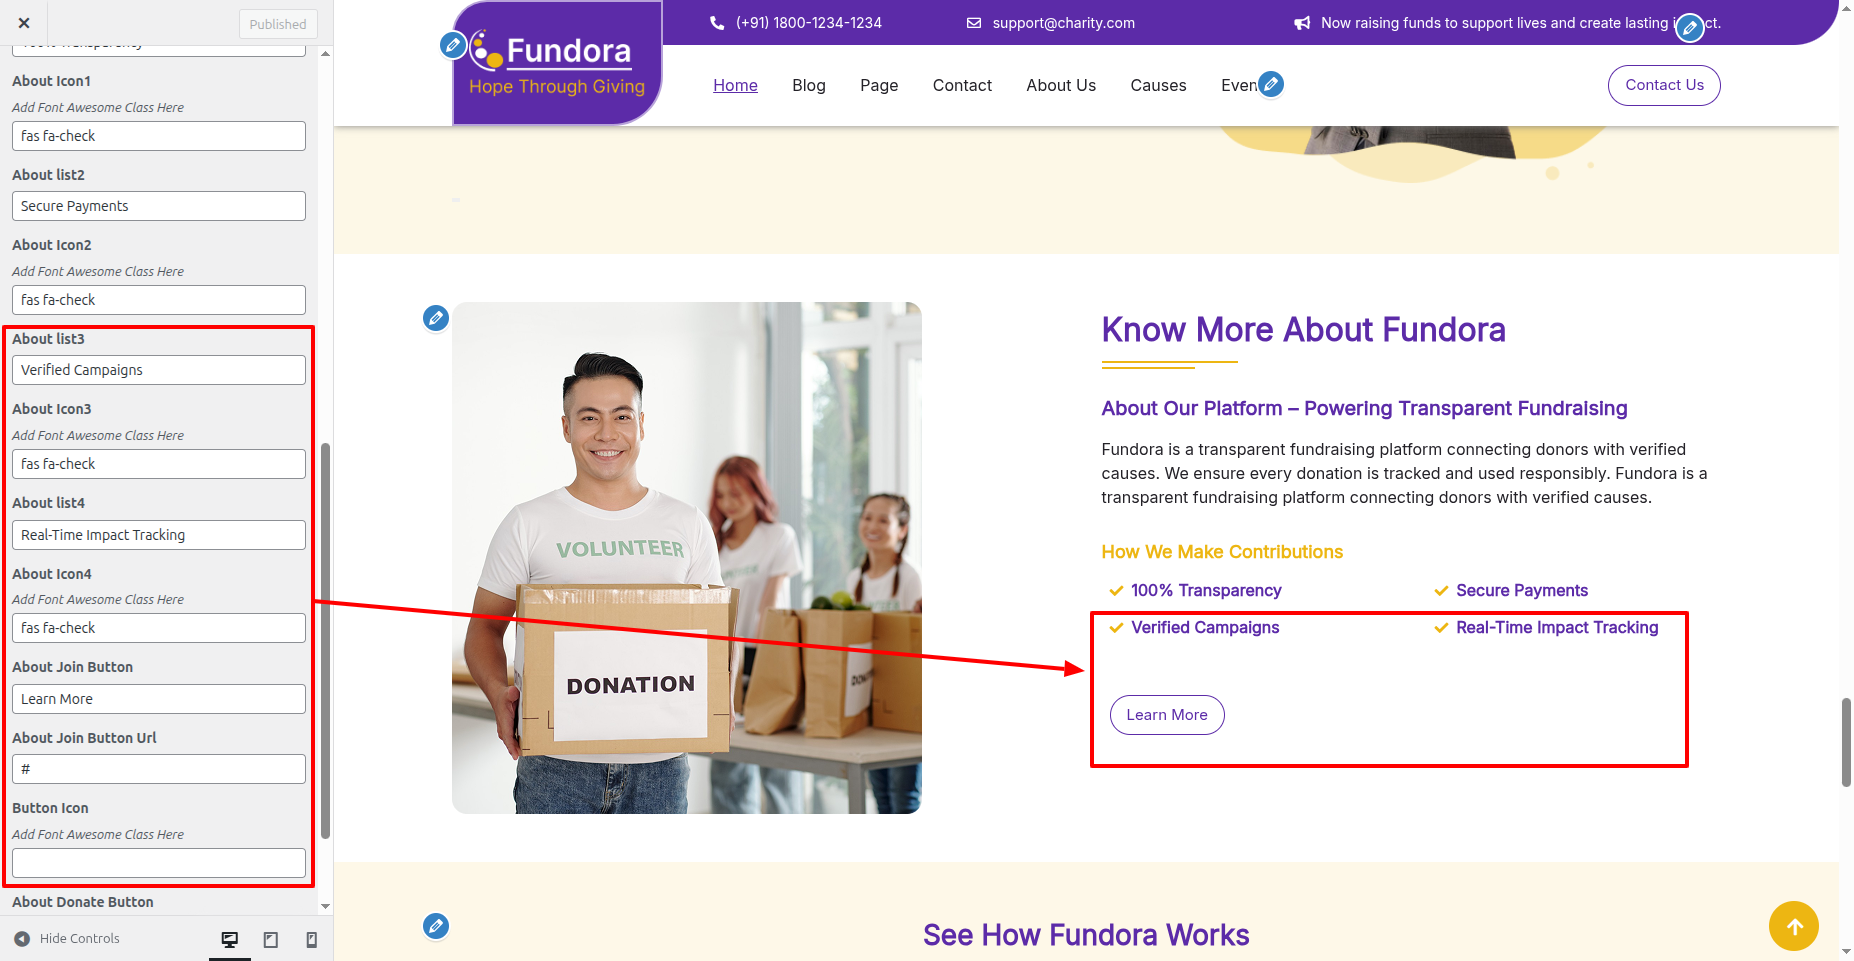
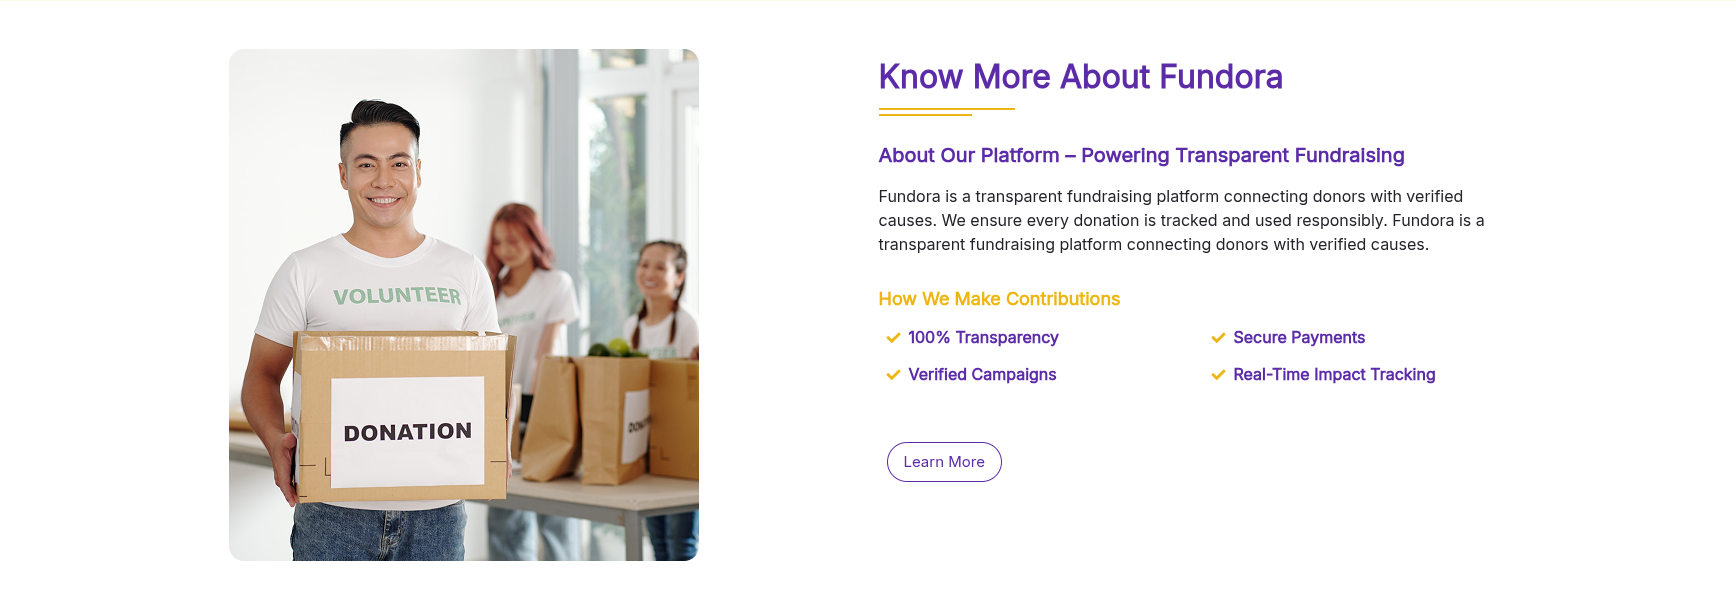
In front end, it will look like this.
Our Work Section
Our Work Settings
In the Dashboard, go to Appearance >> Customize >> Theme Settings >> Our Work Option >> Our Work Settings
You can set heading and content for section.
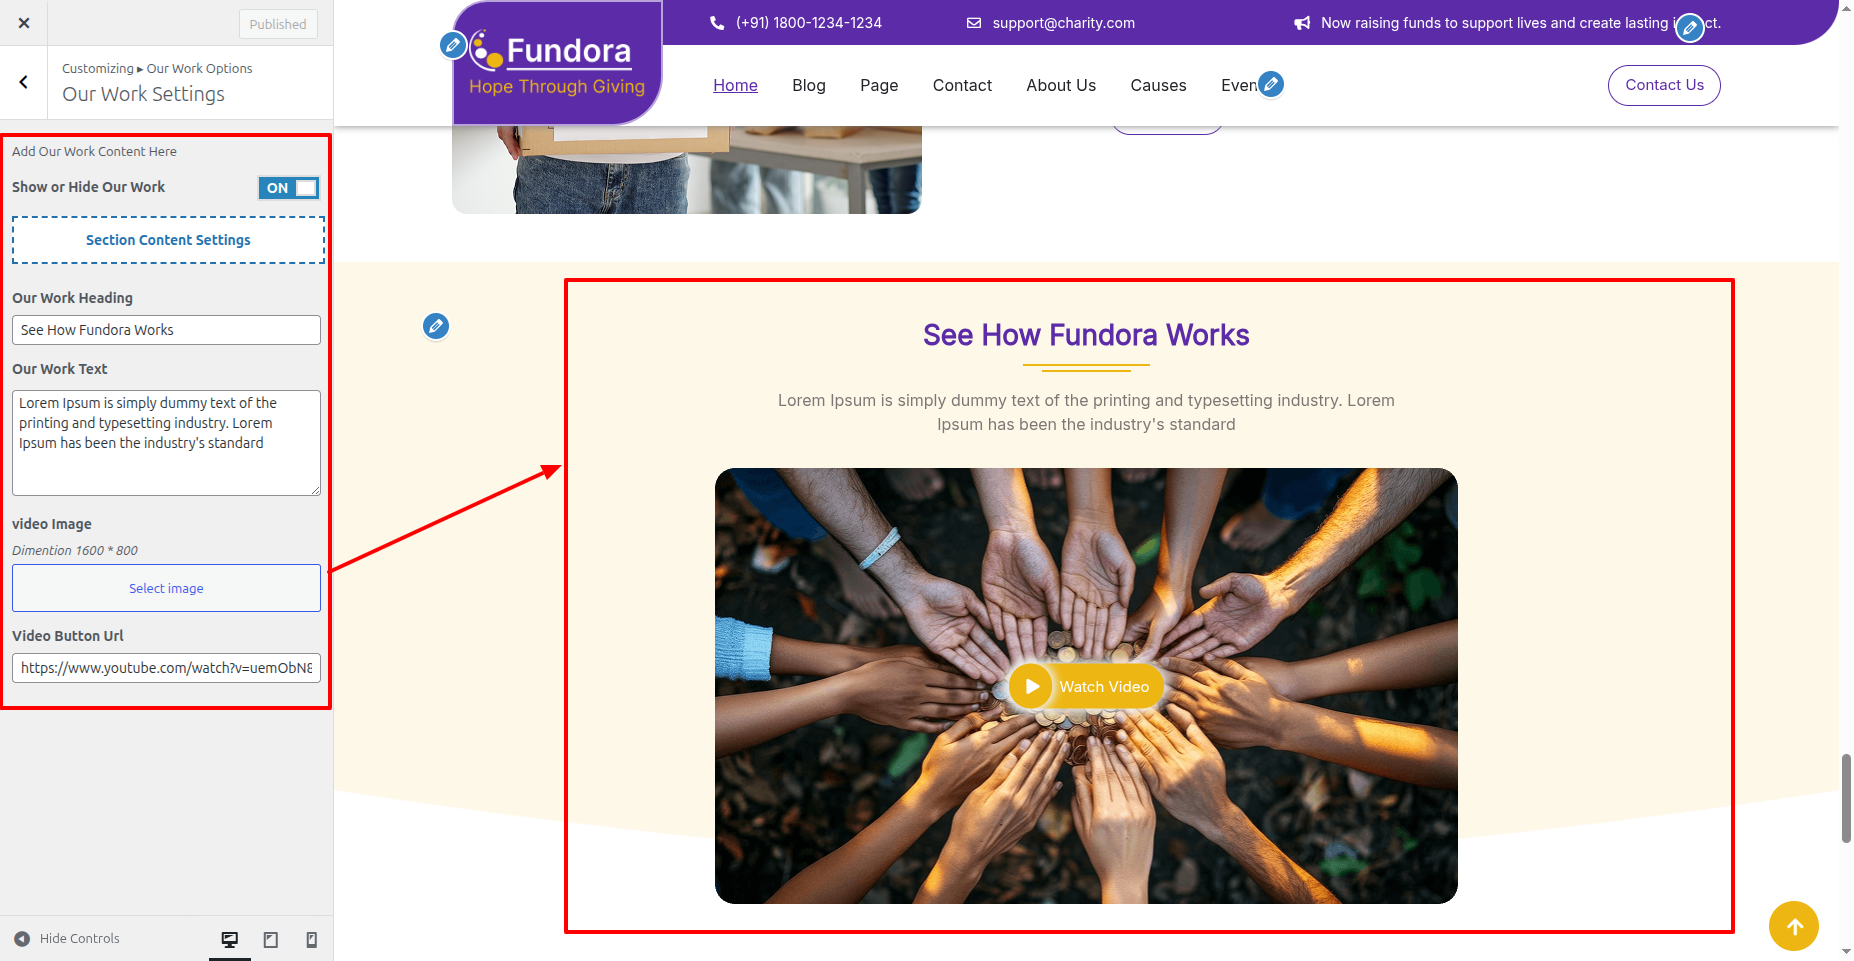
In front end, it will look like this.

Brands Section
Brands Settings
In the Dashboard, go to Appearance >> Customize >> Theme Settings >> Brands Option >> Brands Settings
You can set heading and content for section.
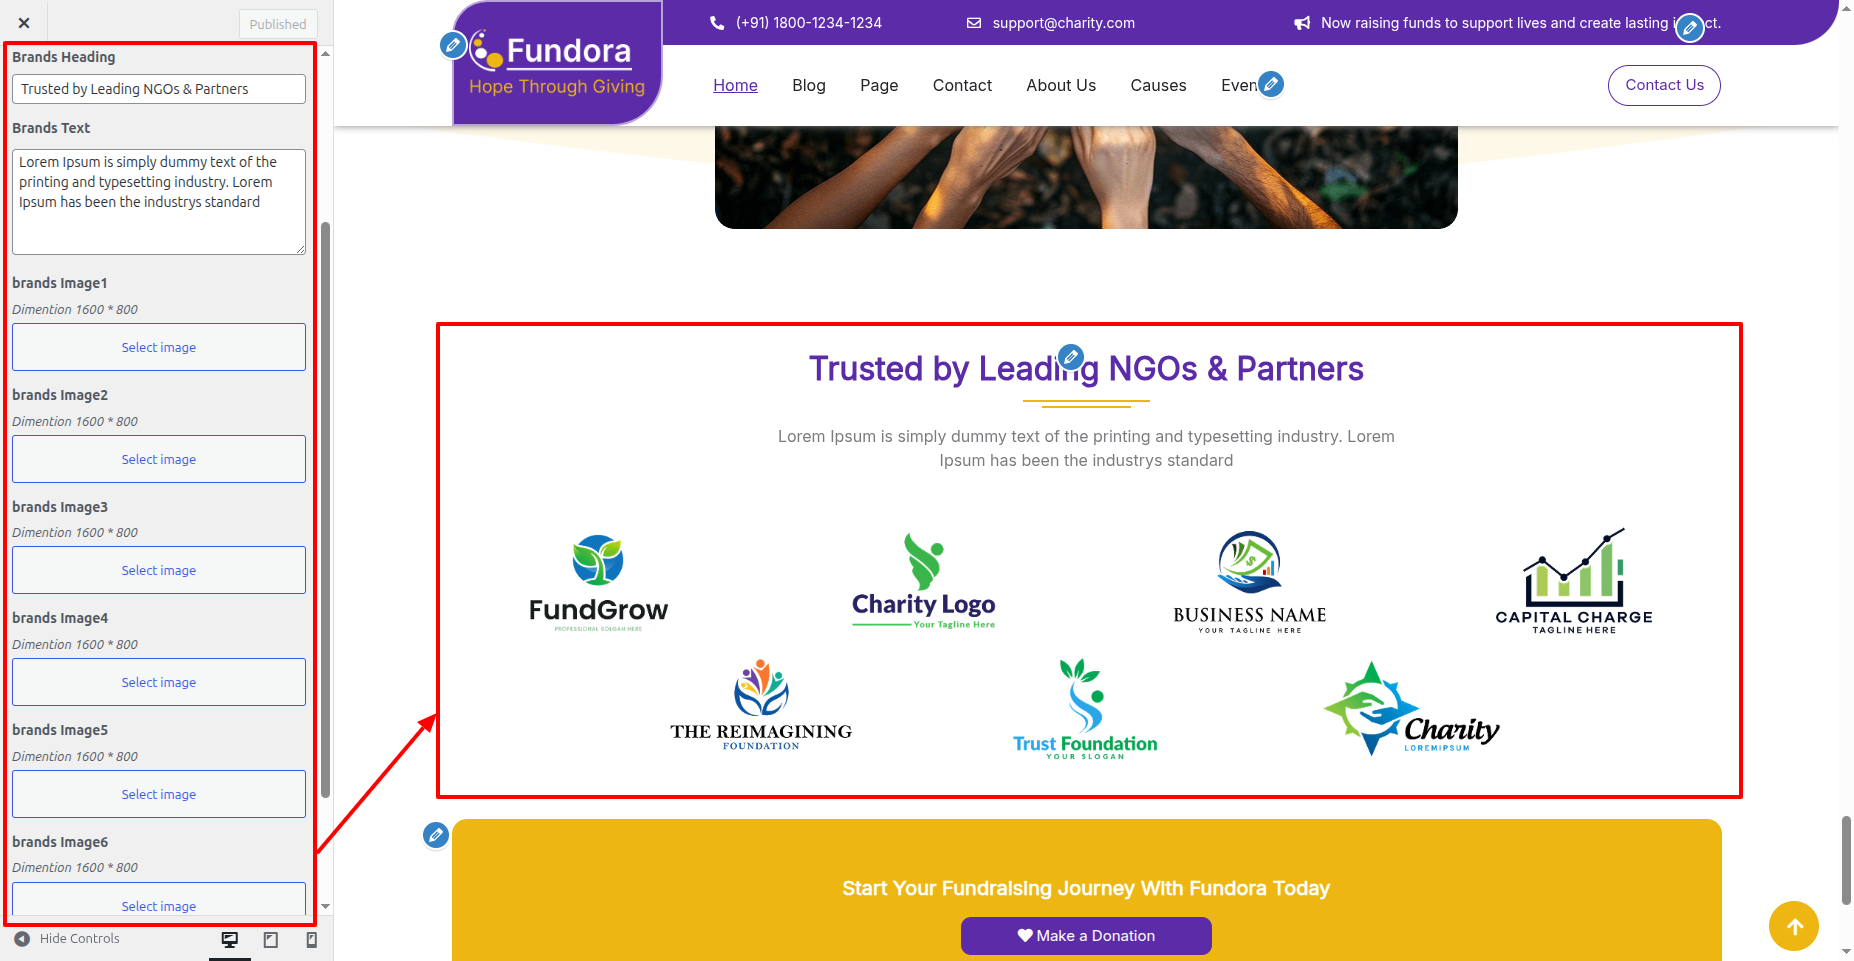
In front end, it will look like this.

Education Donate Section
Education Donate Settings
In the Dashboard, go to Appearance >> Customize >> Theme Settings >> Education Donate Option >> Education Donate Settings
You can set heading and content for section.
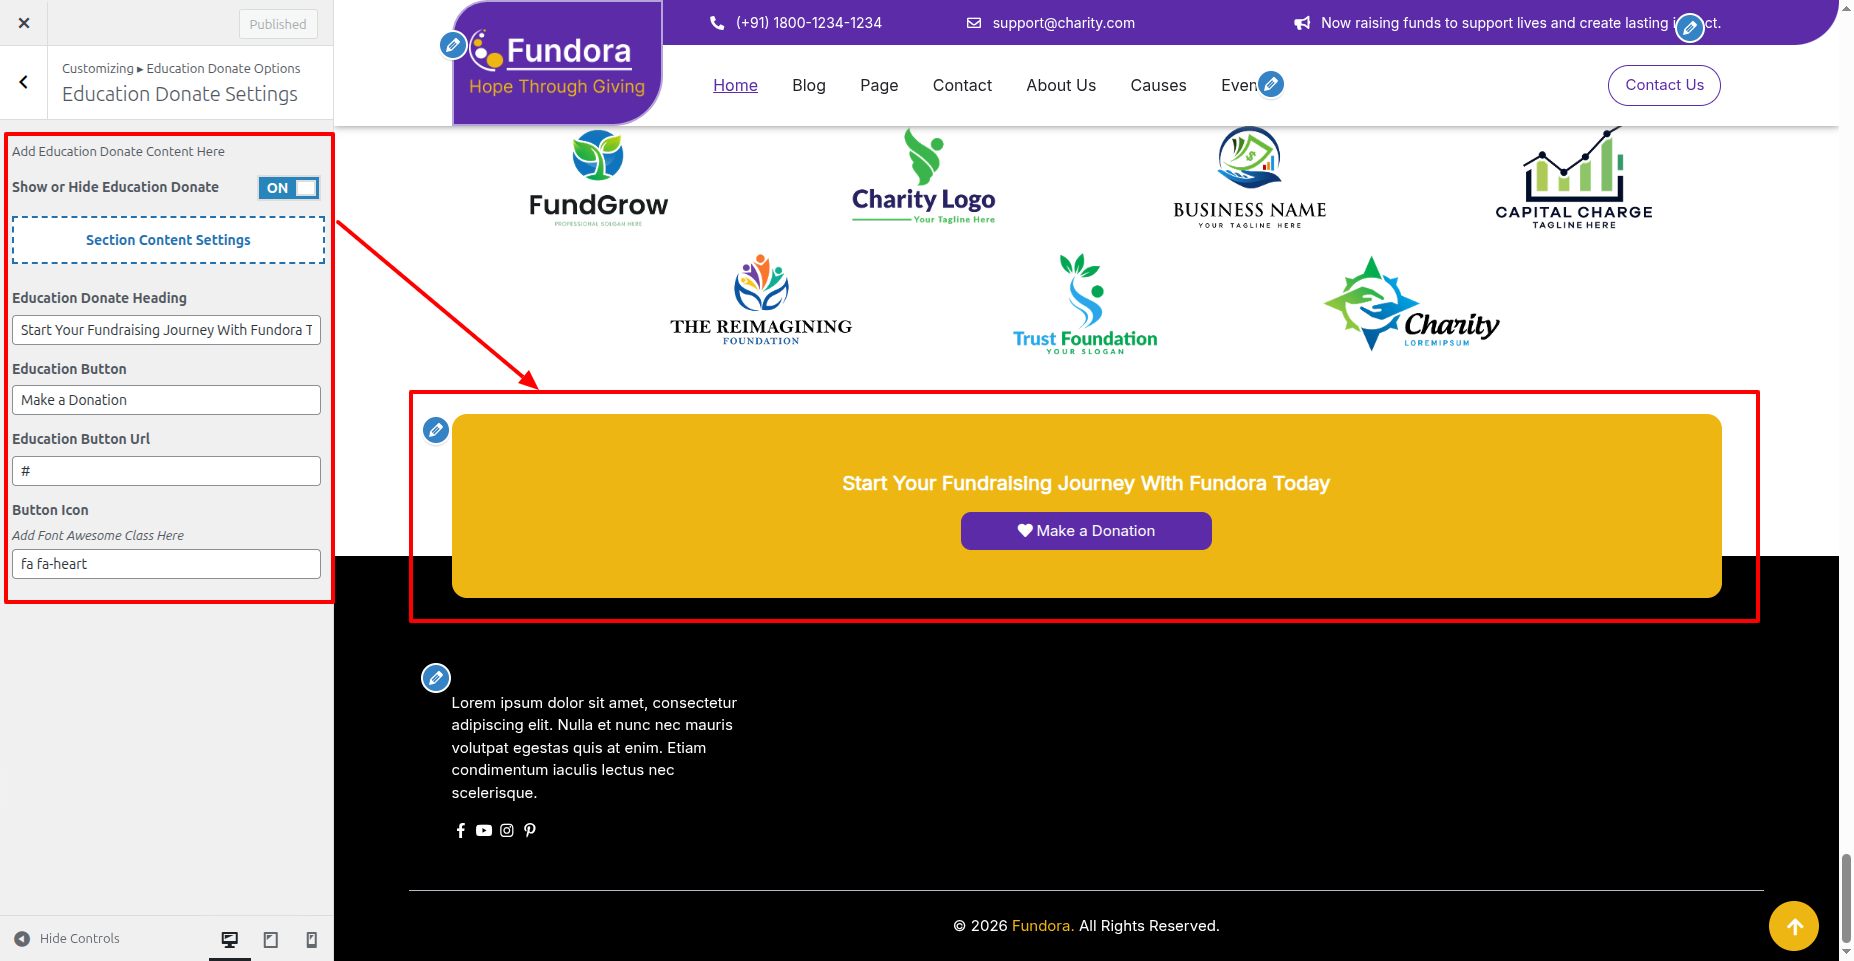
In front end, it will look like this.

Footer Setup Section
There are four columns in the footer. Any widget can be added there.
For Adding widgets first you have to add classic widget plugins.
1. In the Dashboard, go to Appearance >> Widgets
To add widgets to the footer, see the screenshot below.
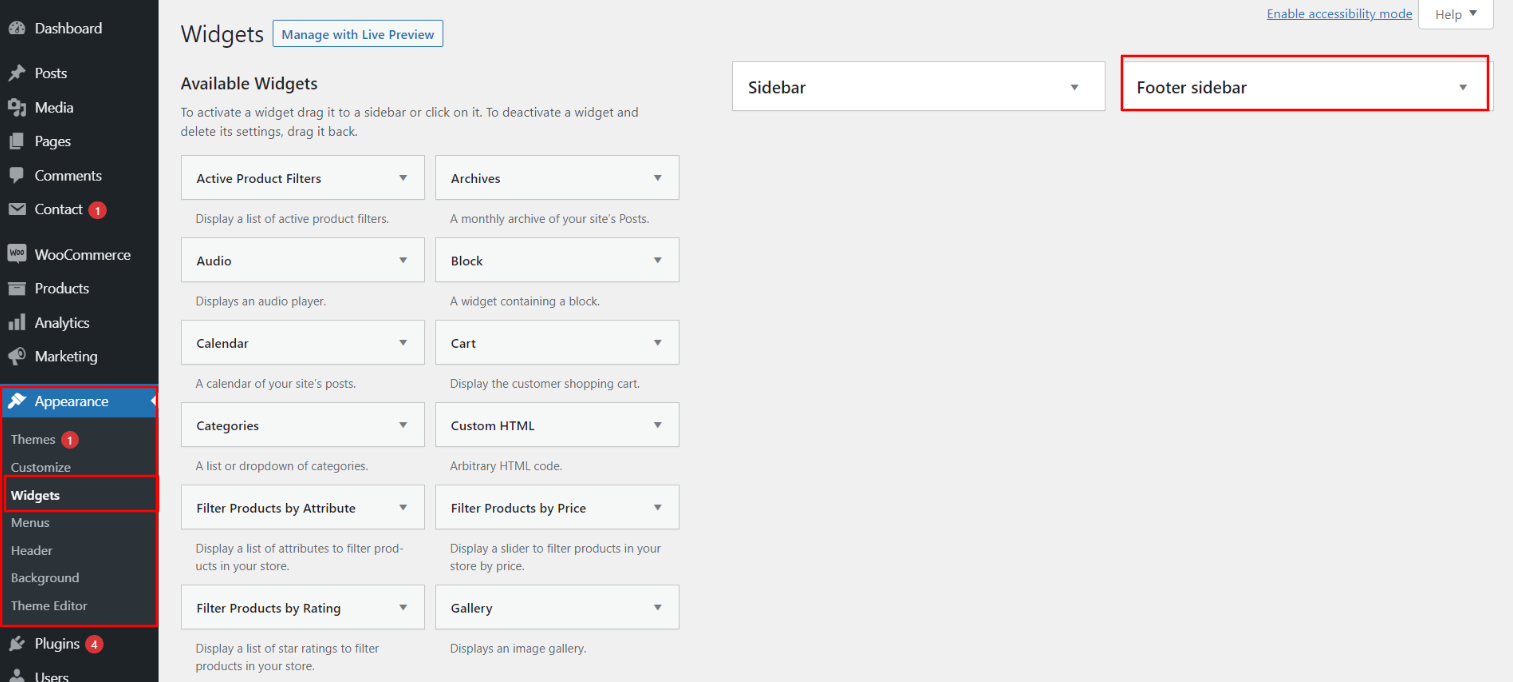
You can add footer columns by selecting widgets such as text, images, Recent posts and so on, which allow you to quickly add text or images of your choice.
In order to manage content for footer and add some widgets, navigate to, follow the instructions given below.
2. In the Dashboard, go to Appearance >> Widgets >> Footer Widgets
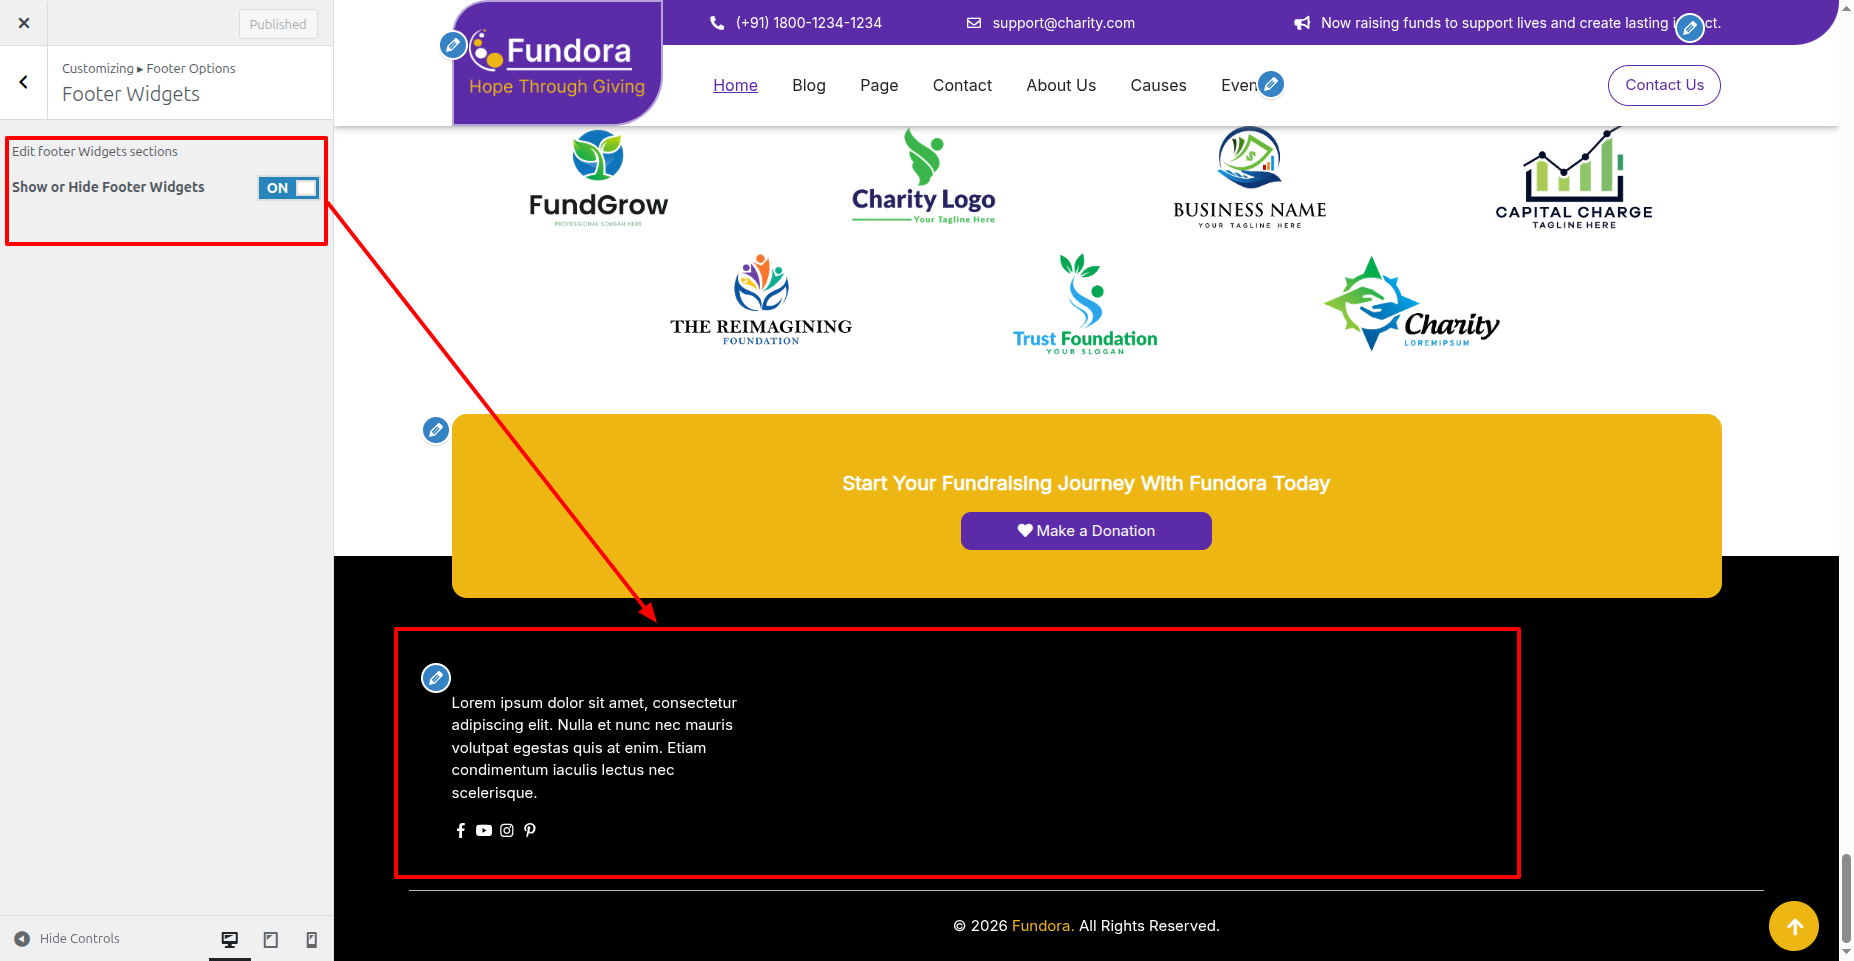
Your footer will appear like this once you have added widgets to it.

Footer Copyright Text
Copyright Text
In order to proceed with footer Settings, You can fill the copyright content to footer copyright Settings.
In the Dashboard, go to Appearance >> Customize >> Theme Settings >> Footer Text
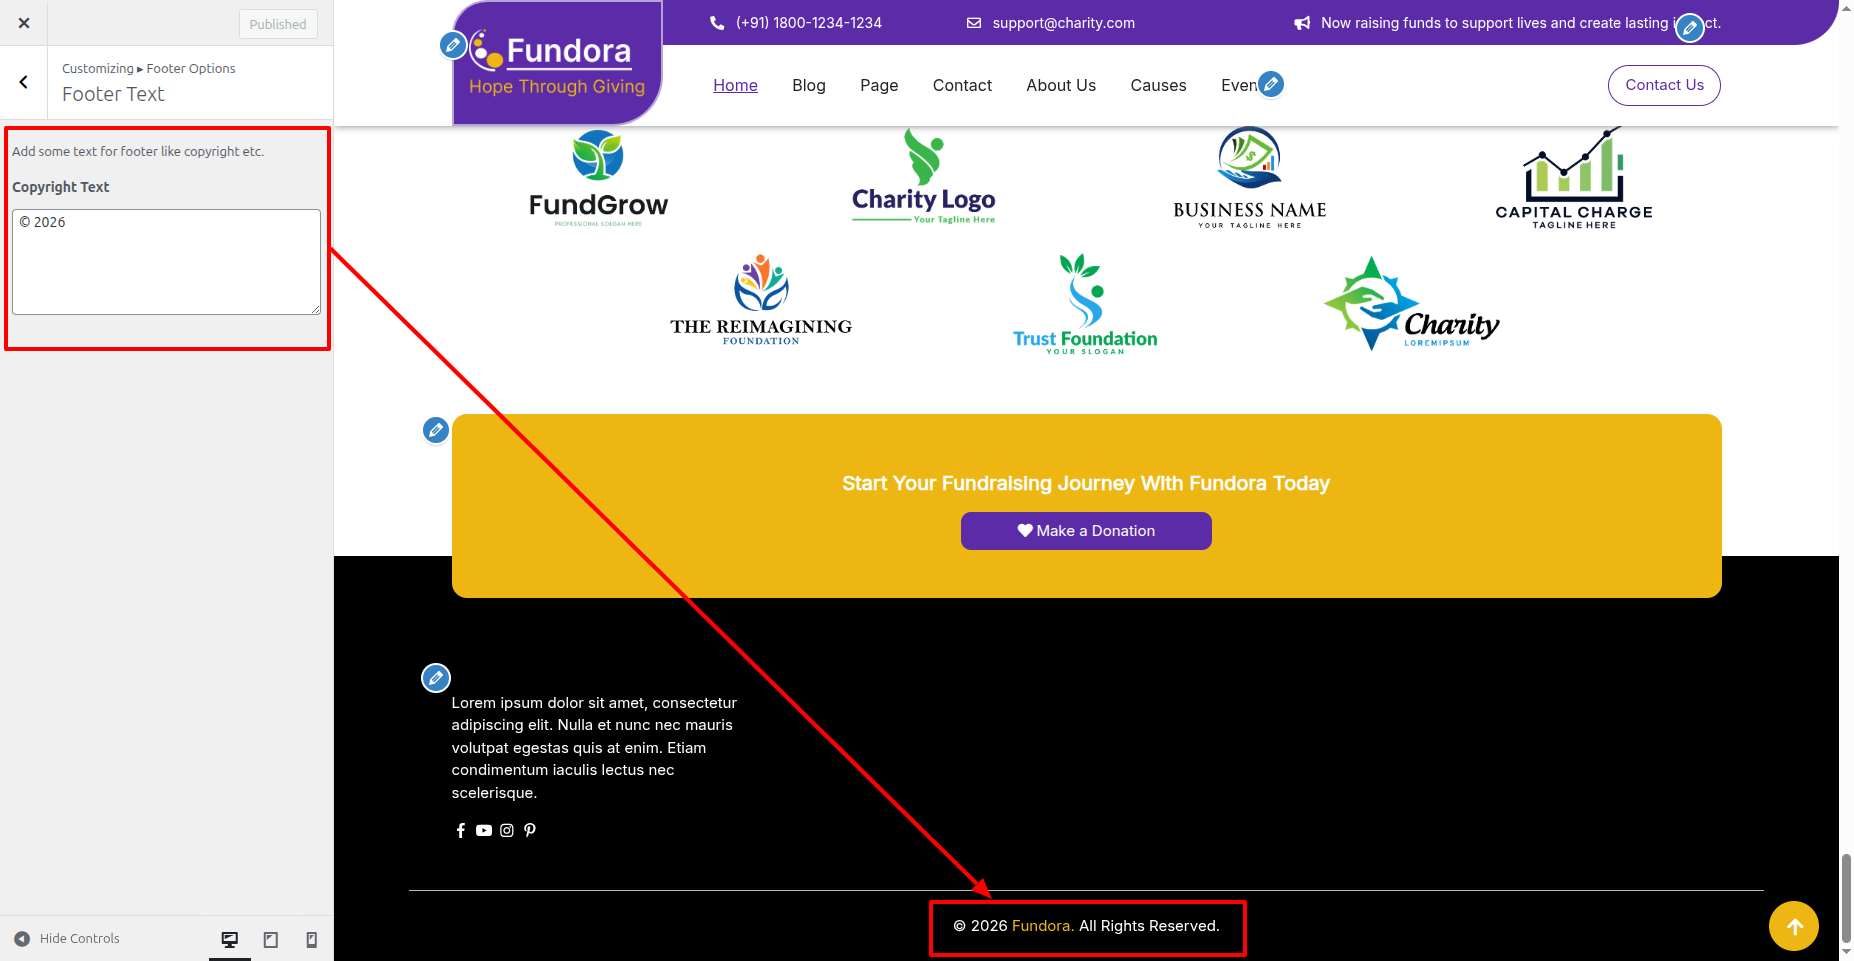
In front end, it will look like this.
How to Construct a Contact Form -
Once you have done with this you will see the Contact on your front page.
The Contact Form 7 plugin is installed in the usual way. Click Plugins > Add New in the WordPress dashboard and type Contact Form 7 in the Search box. From the search result, select the plugin and click the Install Now option.
From the admin panel, just go to Contact > Contact Forms to create a Contact Form. There is a list of the forms that are available, though there are none, at now
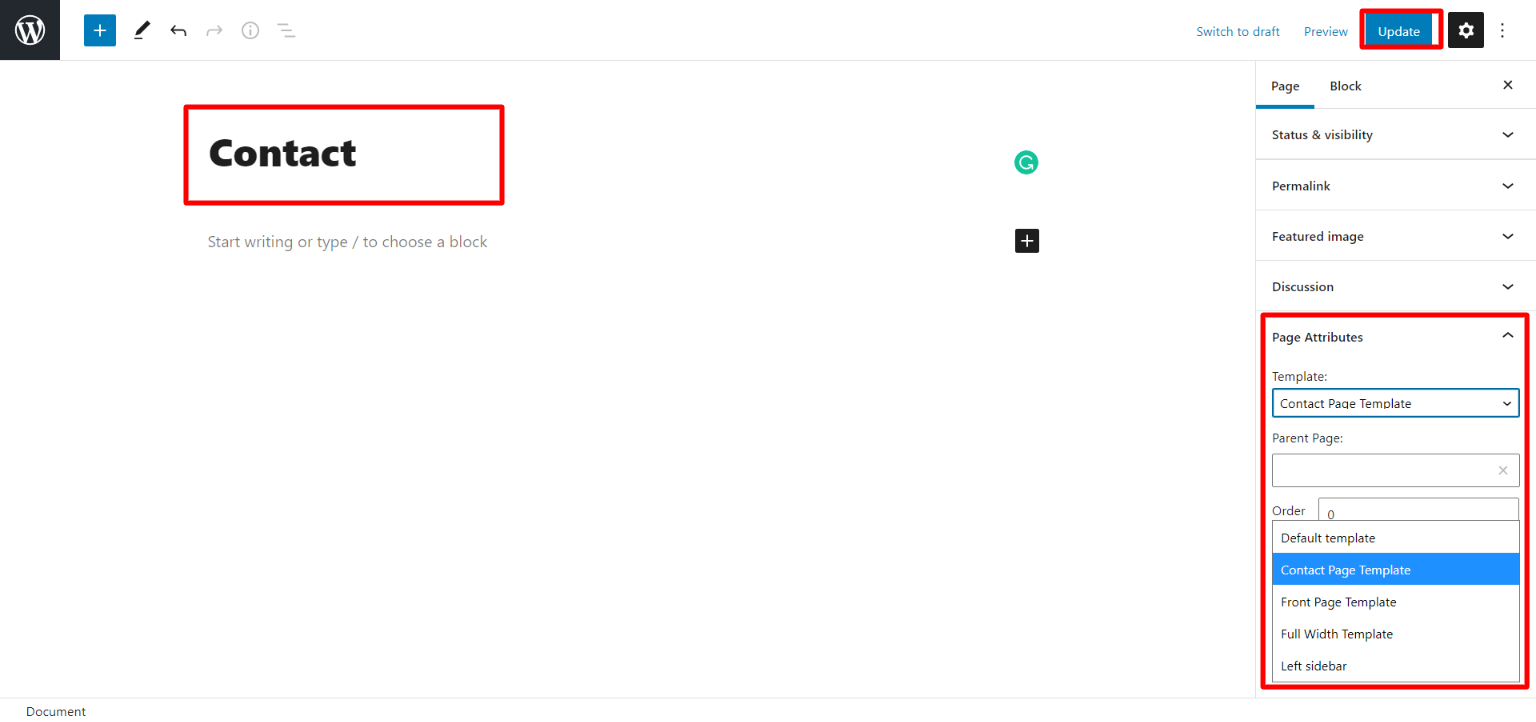
Important Step:- Contact Form 7 plugin is necessary for creating a Contact for sections.
In the Dashboard, go to Contact >> Add New
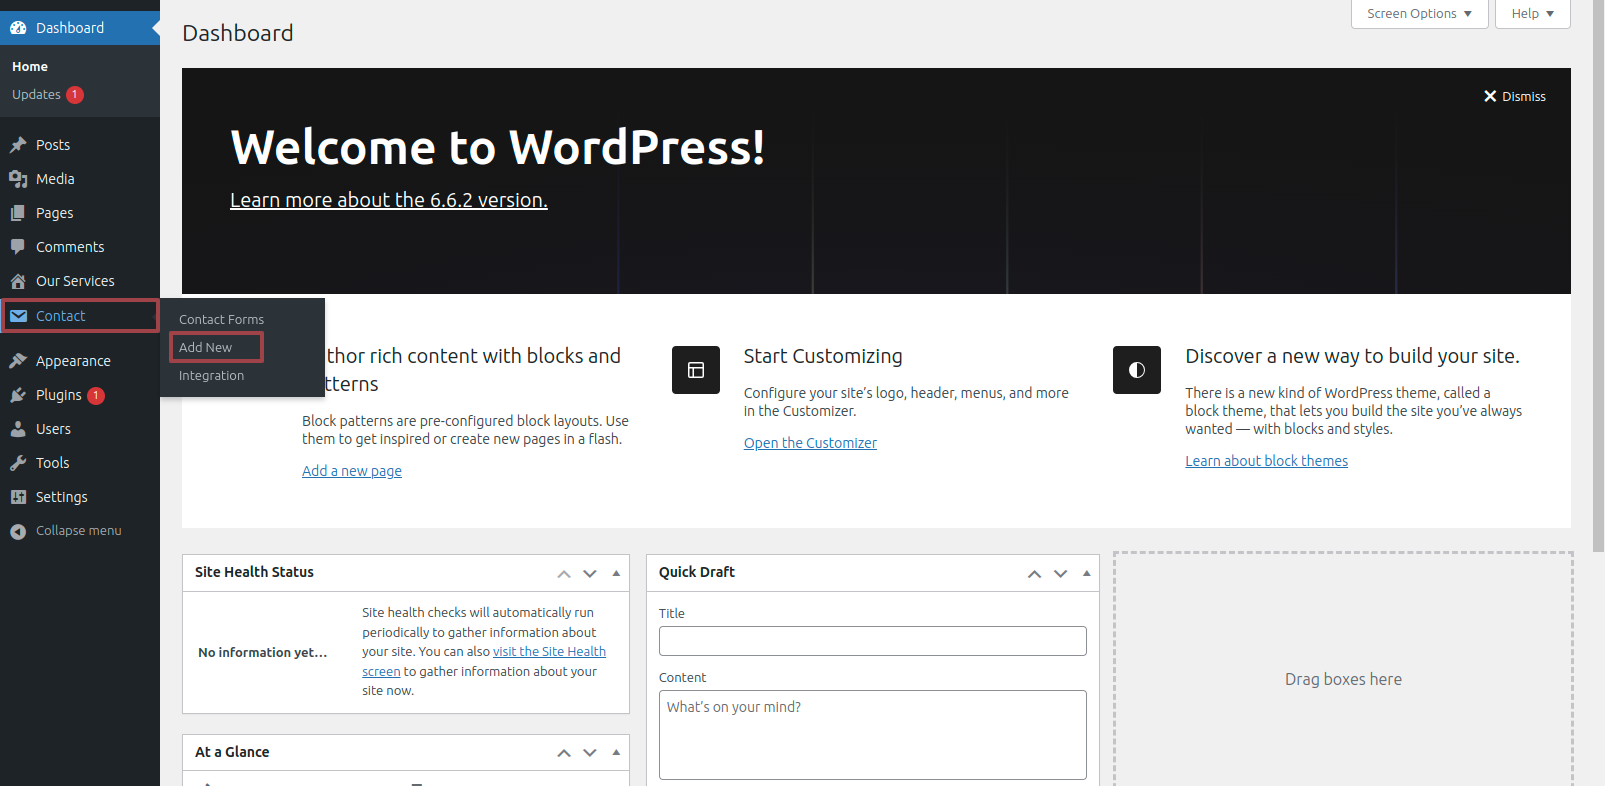
Follow the instructions given below to setup Contact.
In the Dashboard, go to Contact >> Add New
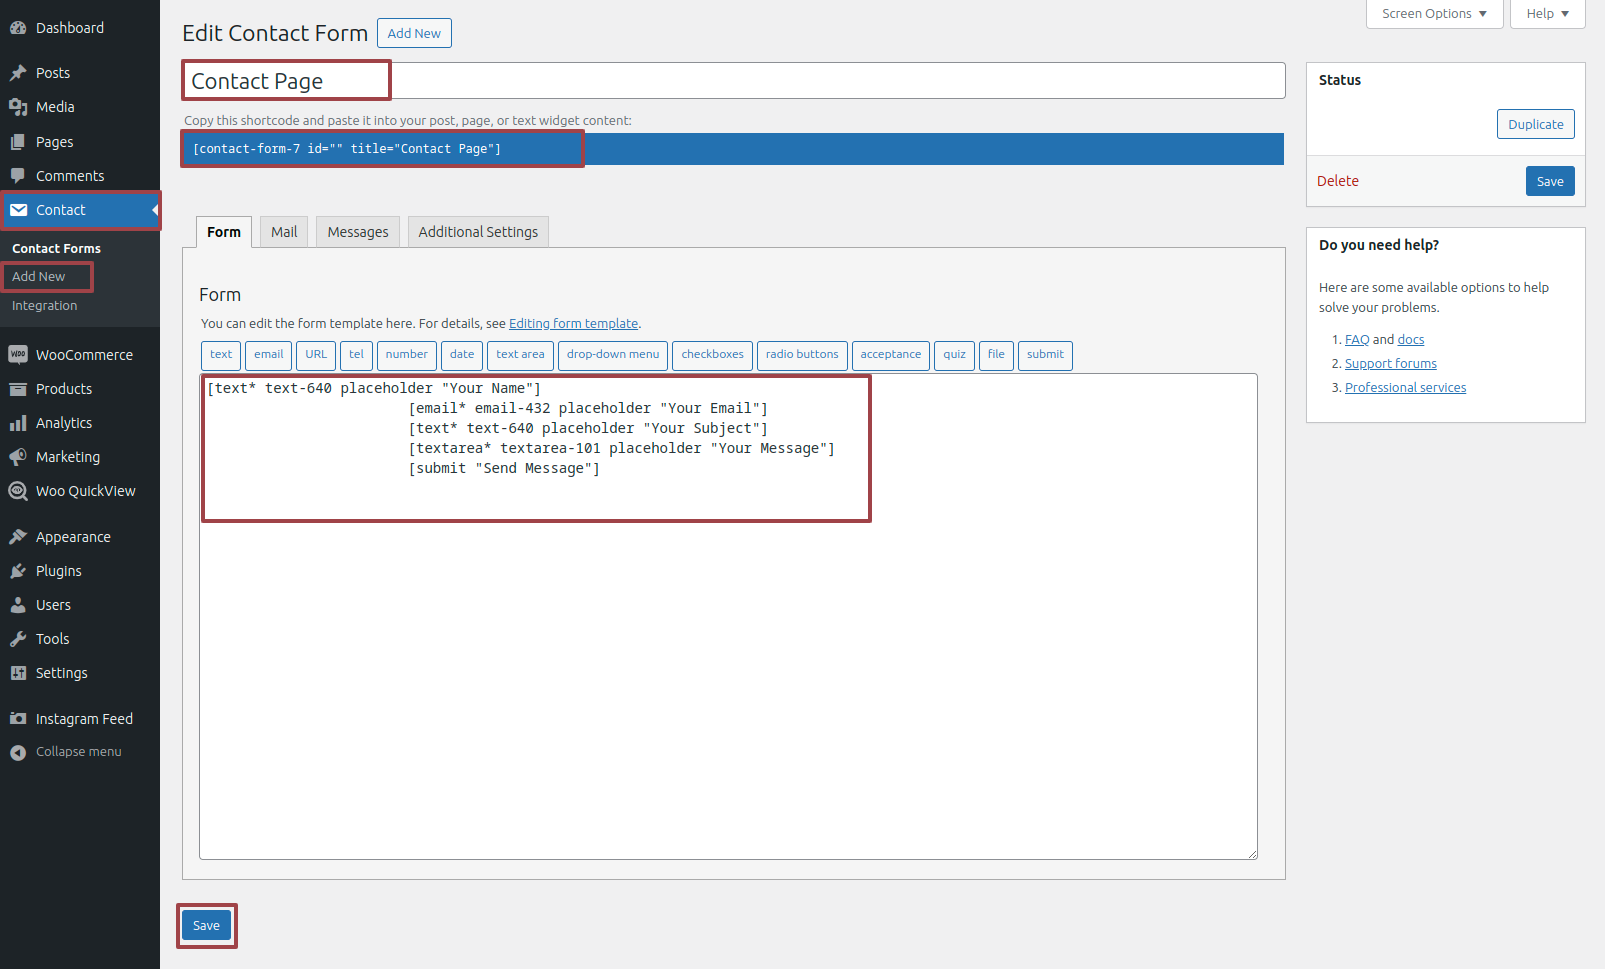
When you are done with changes, click Save.
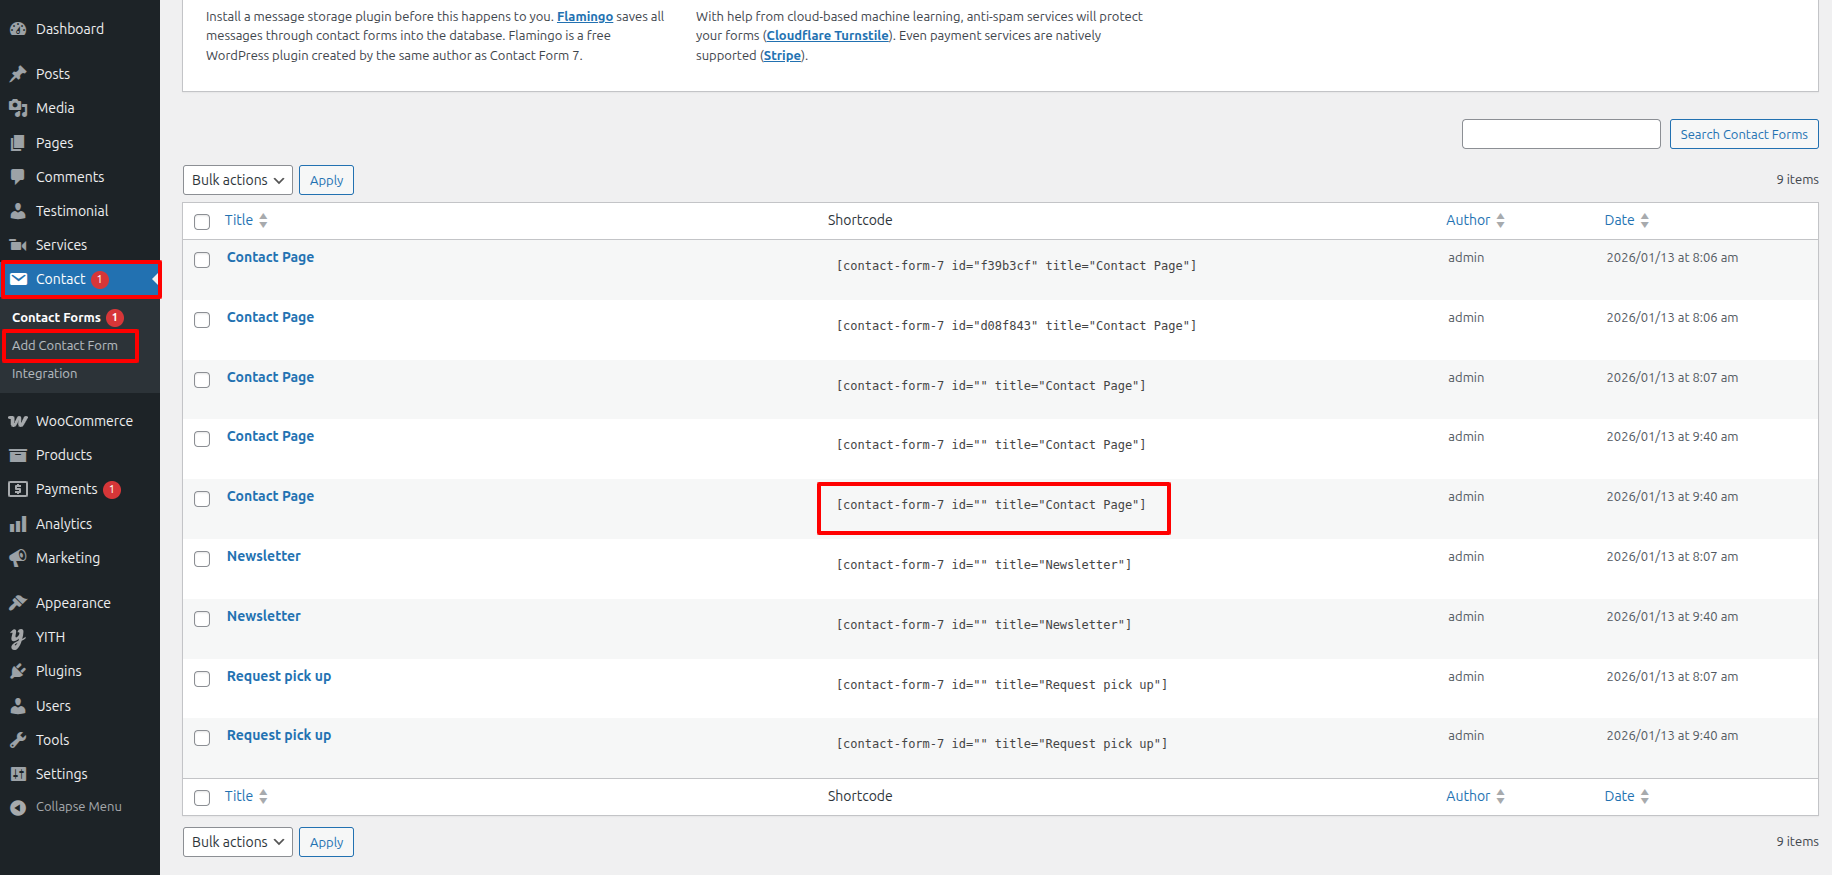
A key step is to copy the Shortcode that displays next to your contact form. This is displayed in the form editor as well.
Contact Form Section
In the Dashboard, go to Appearance >> Customize >> Theme Settings >> Contact
You can set Heading and content. You can choose from this options for each Contact Page Settings.
Place the Contact Form-7 shortcode code in customize option.
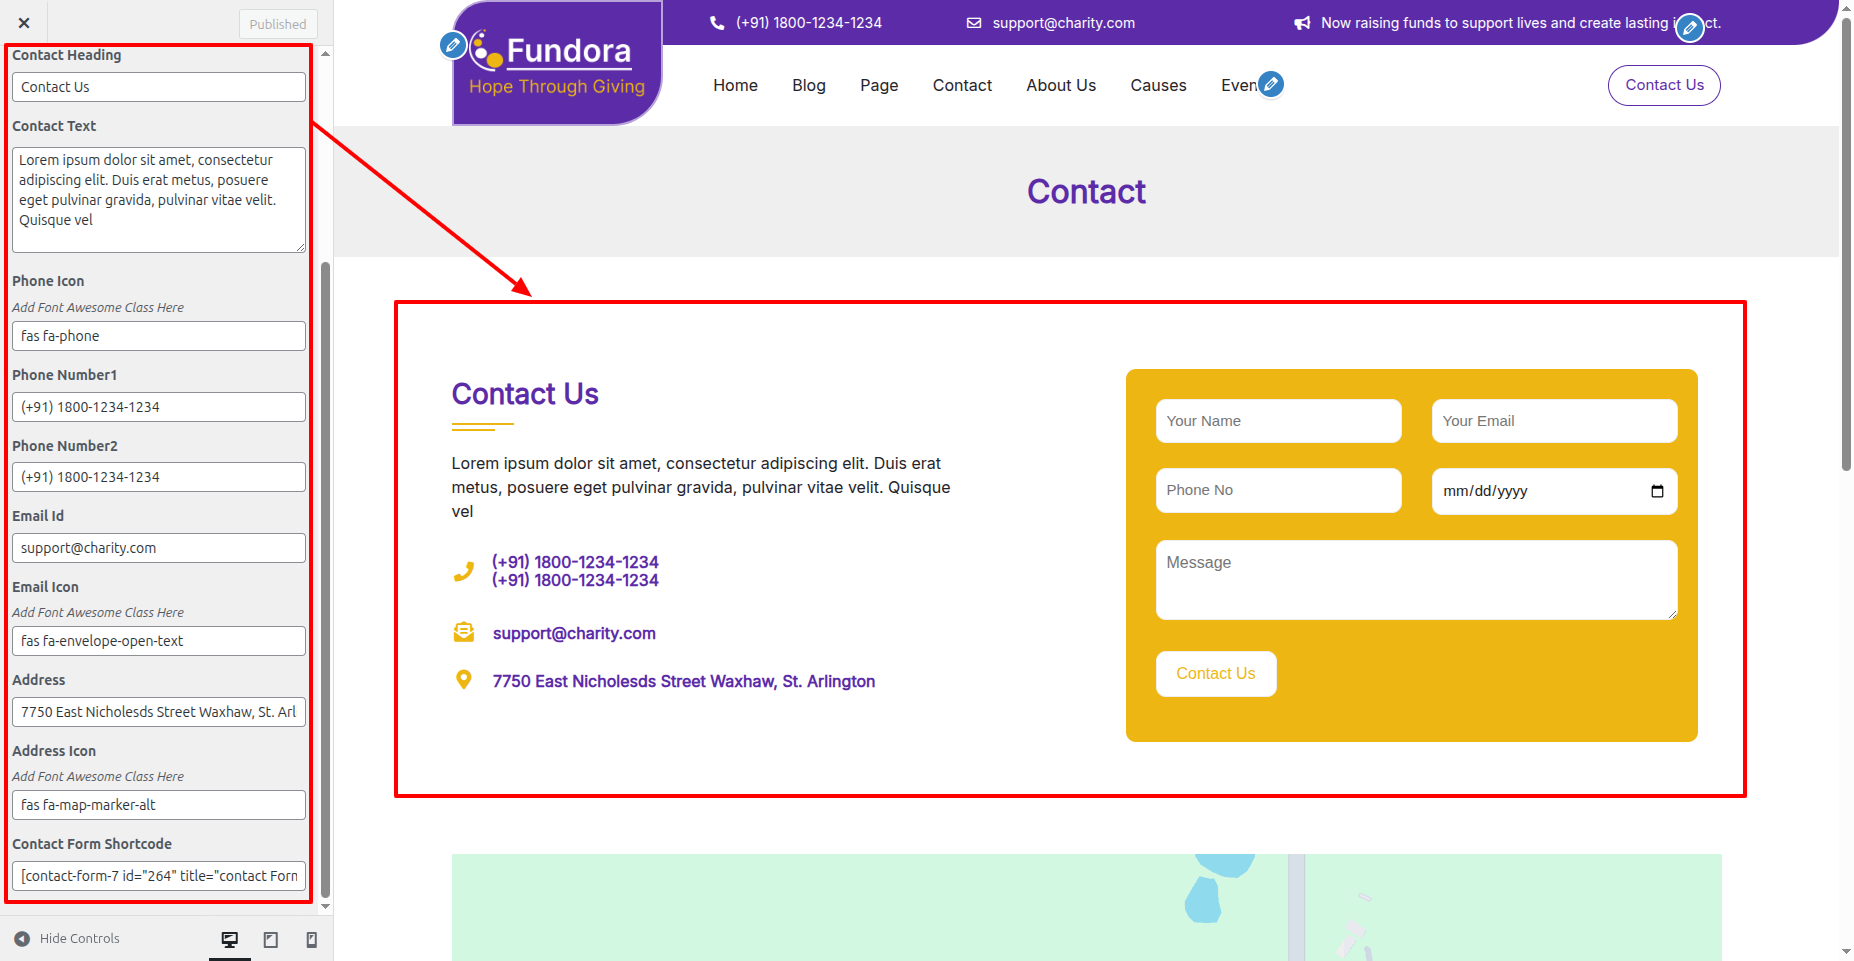
In front end, it will look like this.