Housekeeper Services Pro Documentation
Your awesome theme / template documentation
Introduction
- Theme Name : Housekeeper Services Pro
- Author : misbahwp
- Support Forum : https://www.misbahwp.com/pages/community
- License : GNU General Public License v3 or later
- Discription :The Novel Collection WordPress Theme is a beautifully crafted multipurpose theme designed for users who value elegance, performance, and modern aesthetics. With its minimal yet luxurious layout, the theme offers a perfect balance of simplicity and sophistication, making it suitable for creative professionals, agencies, bloggers, Bookstore, Books Shop, Online Bookstore, Local Bookstore, Digital Bookstore, Library, Public Library, Private Library, Community Library, School Library and business owners. Its clean and retina-ready interface ensures that every visual element appears crisp and vibrant across all devices. Whether you are building a portfolio, a service-based website, or a personal brand platform, the theme’s polished structure allows you to showcase your content with clarity and style. Its powerful design framework emphasizes user-friendly navigation and seamless browsing, helping visitors stay engaged and encouraging them to explore more of your website.
How to Establish the Theme
Setup Theme
Template installation is very simple process.
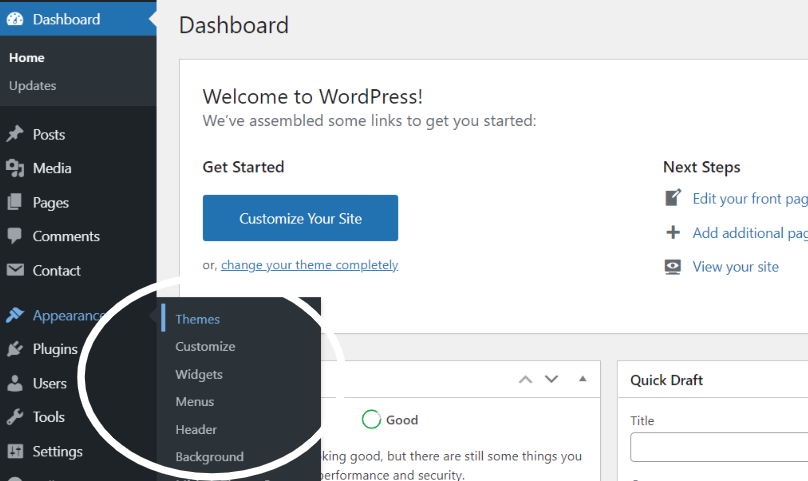
You can also install your theme using WP Admin
he first task is to log in to your WordPress admin area. Next, click on
1. In dashboard click on Appearance >> Themes
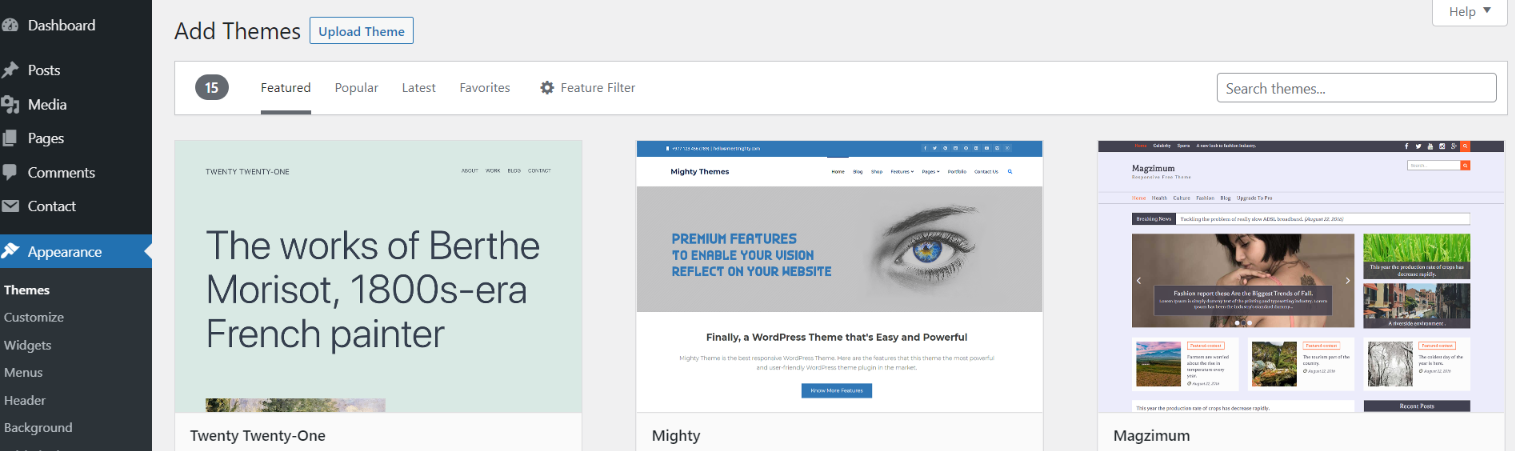
2. Click on the Add New button at the top of the themes page once page is loaded
3. Click the button labelled as 'Upload Theme'.
Select the housekeeper-services-pro.zip theme from the Browse Button, then click the Install Now button
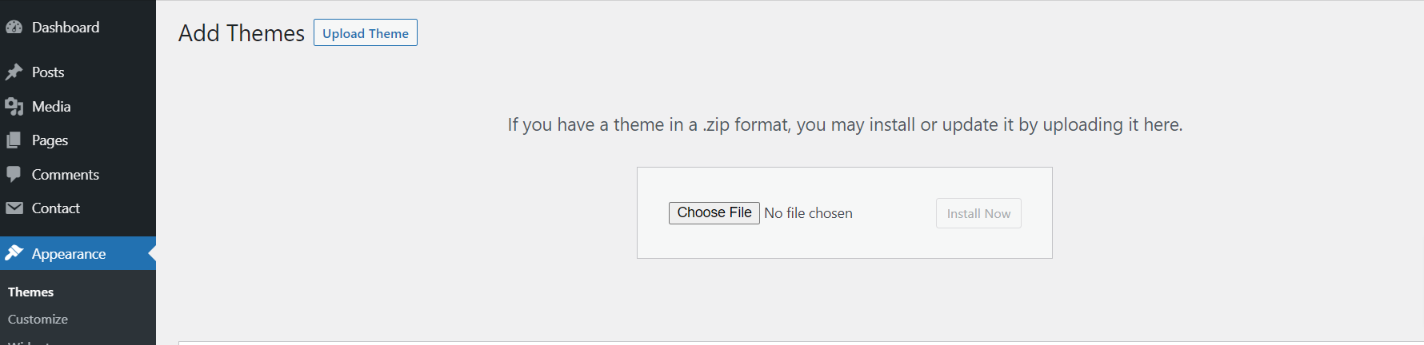
5. WordPress will now install your theme and display a success message, as well as a link to activate or to see the live preview. Congratulations on completing the installation of your theme.
Demo Importer -
Follow below instructions to setup housekeeper-services-pro theme.
In the Dashboard, go to Appearance >> Housekeeper Services Pro Themes Setup
Enter your license key and then tap the activate button.
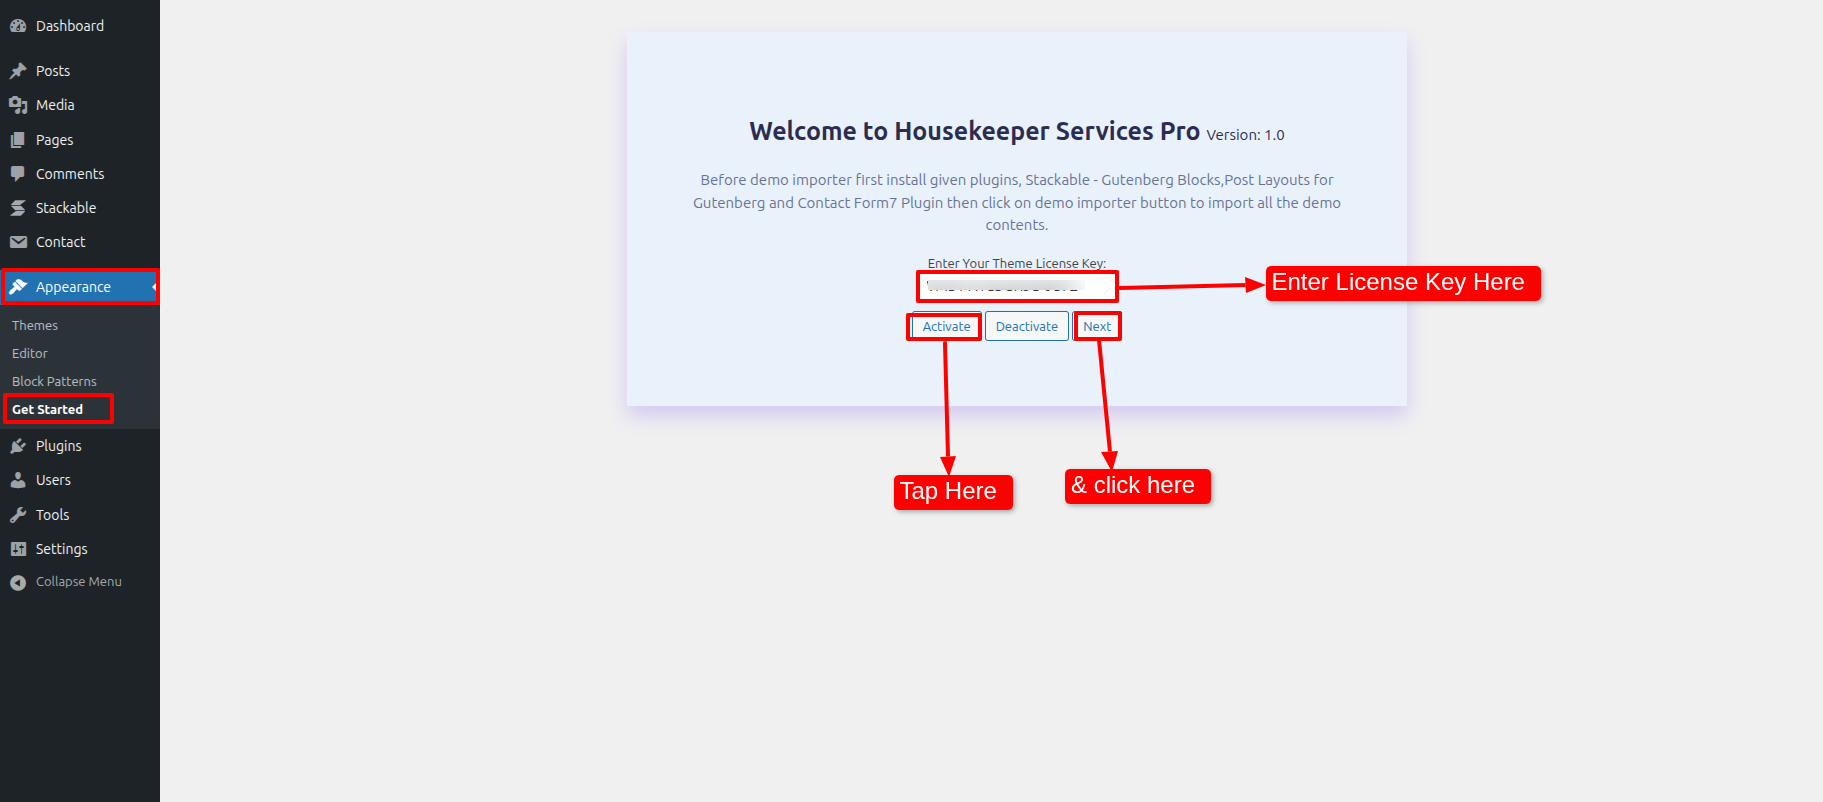
Once you are on the Housekeeper Services Pro themes setup, click on the start button.
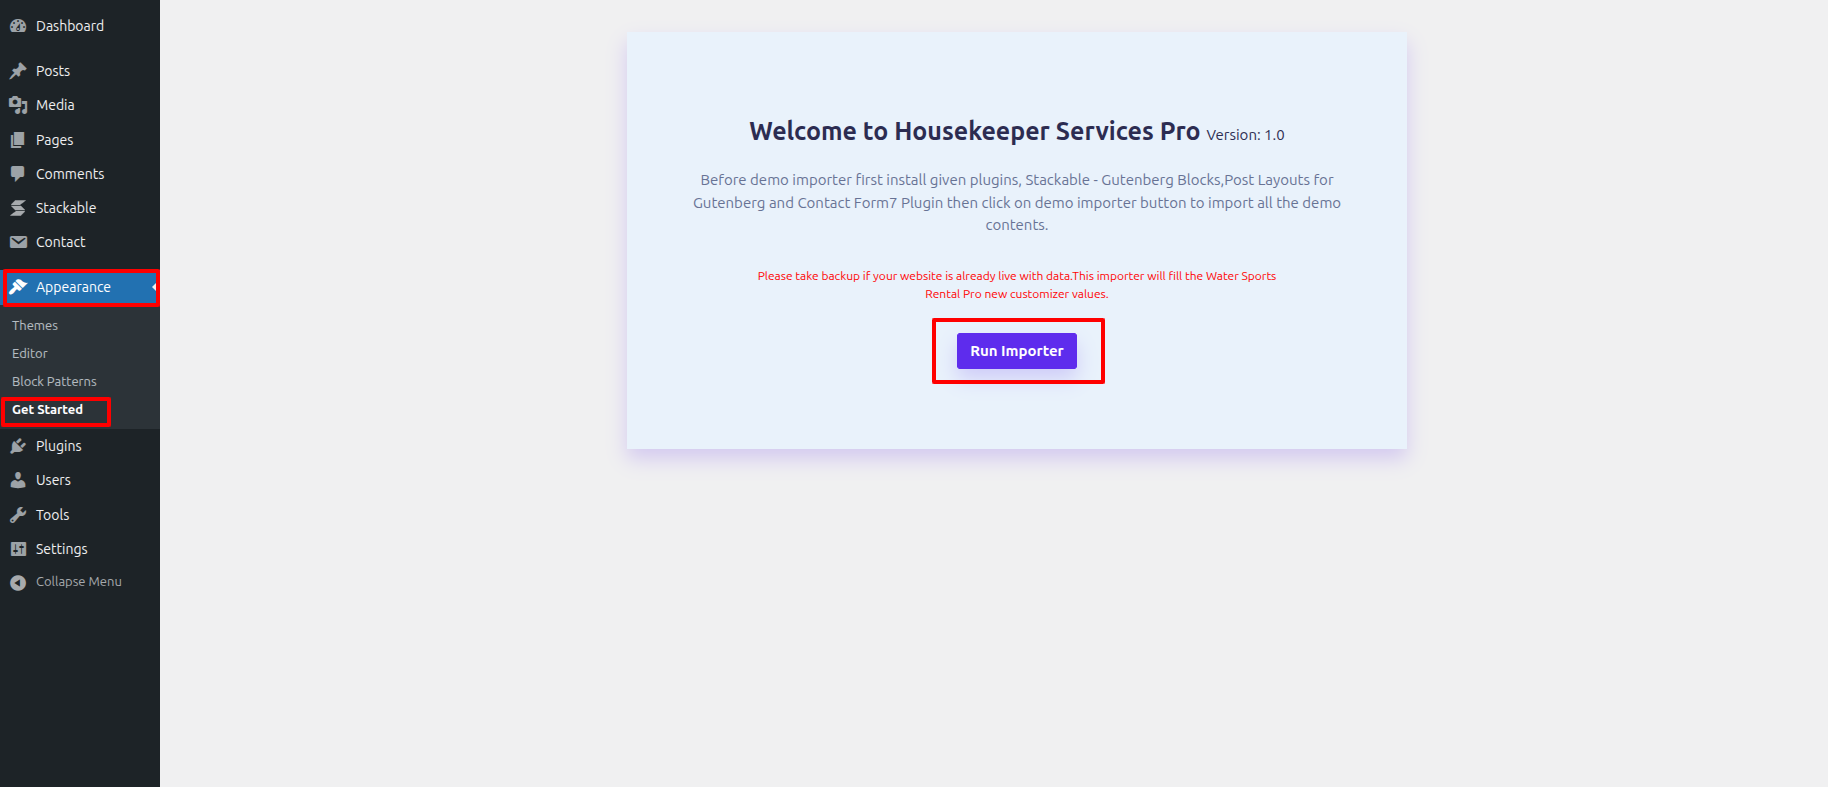
As the demo importer process finish then check your site, all the content will imported and theme will display like live demo.
Necessary Plugins
When you initially activate the theme, you'll be asked to install these plugins on your Dashboard. You can ignore the message if you don't want to install these plugins on theme activation, and if you change your mind later, you can install them manually.
In the Dashboard, click on Plugins >> Install Plugins.
CoBlocks
Plugin download link CoBlocks
Stackable - Gutenberg Blocks
Plugin download link Stackable - Gutenberg Blocks
Contact Form 7
Plugin download link Contact Form 7
Setup Menu
Setup Menu
In the dashboard, go to Appearance >> Editor and touch on the plux icon.
You can search, provide a URL, or select a page from the list..
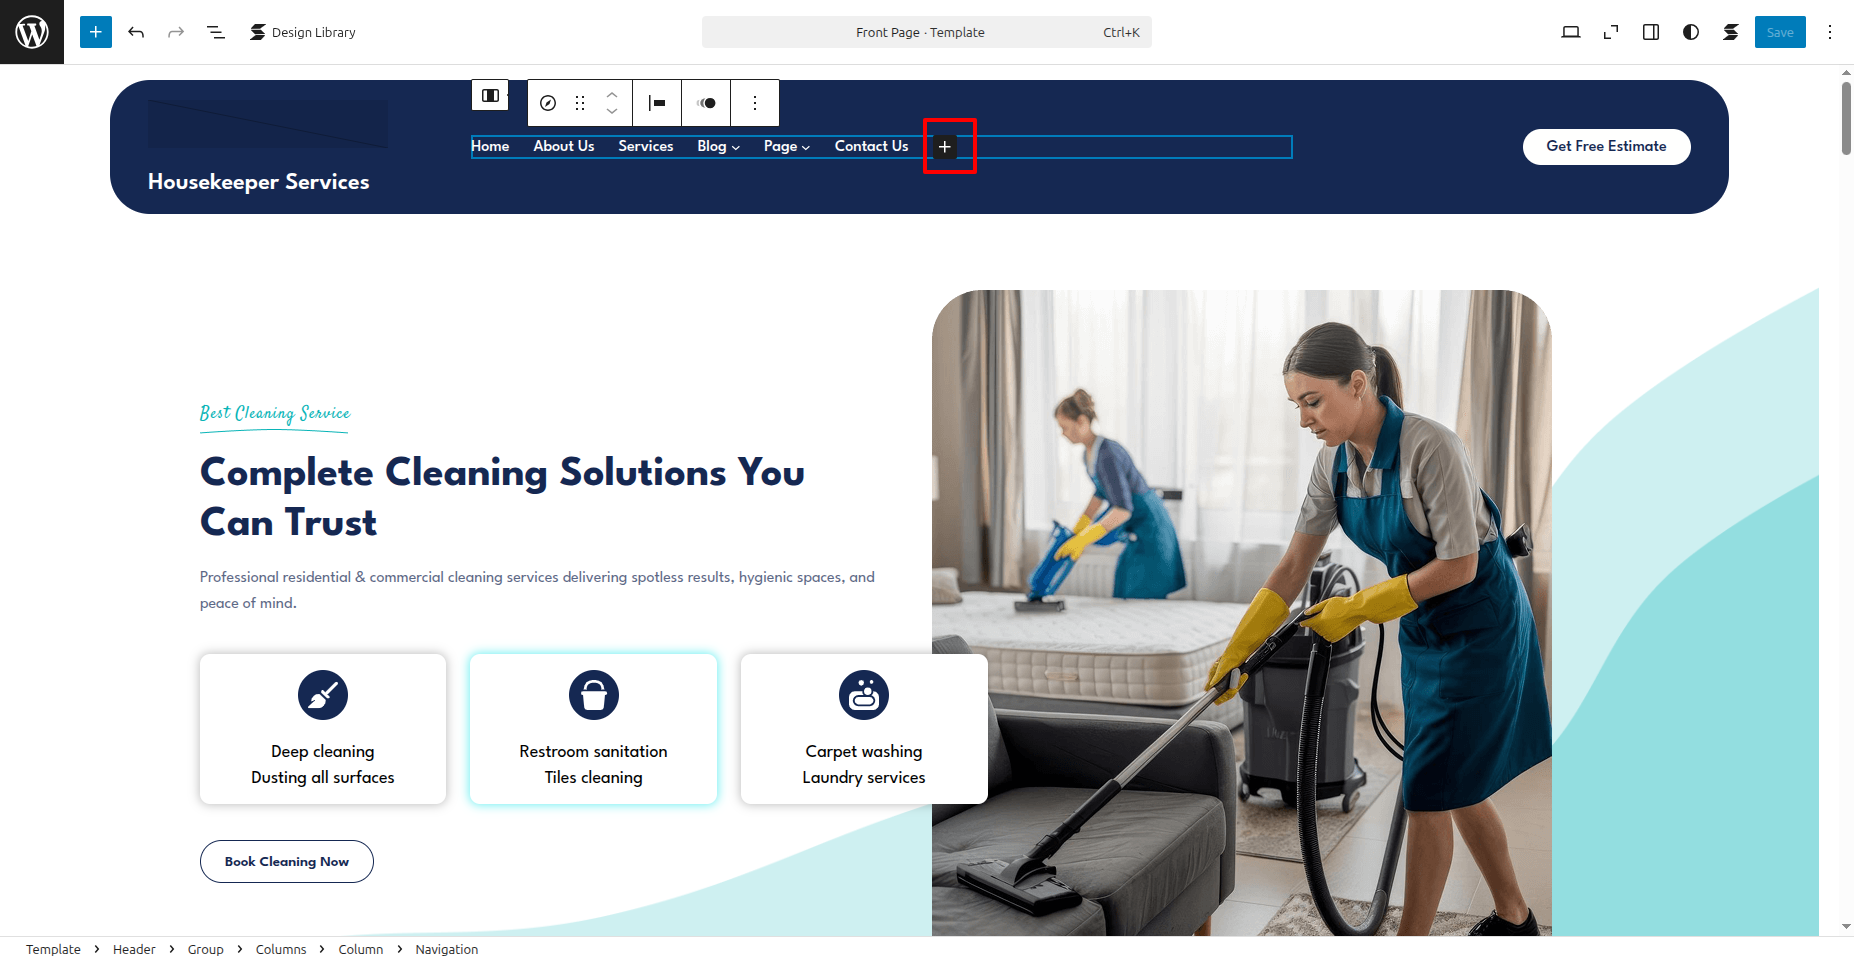
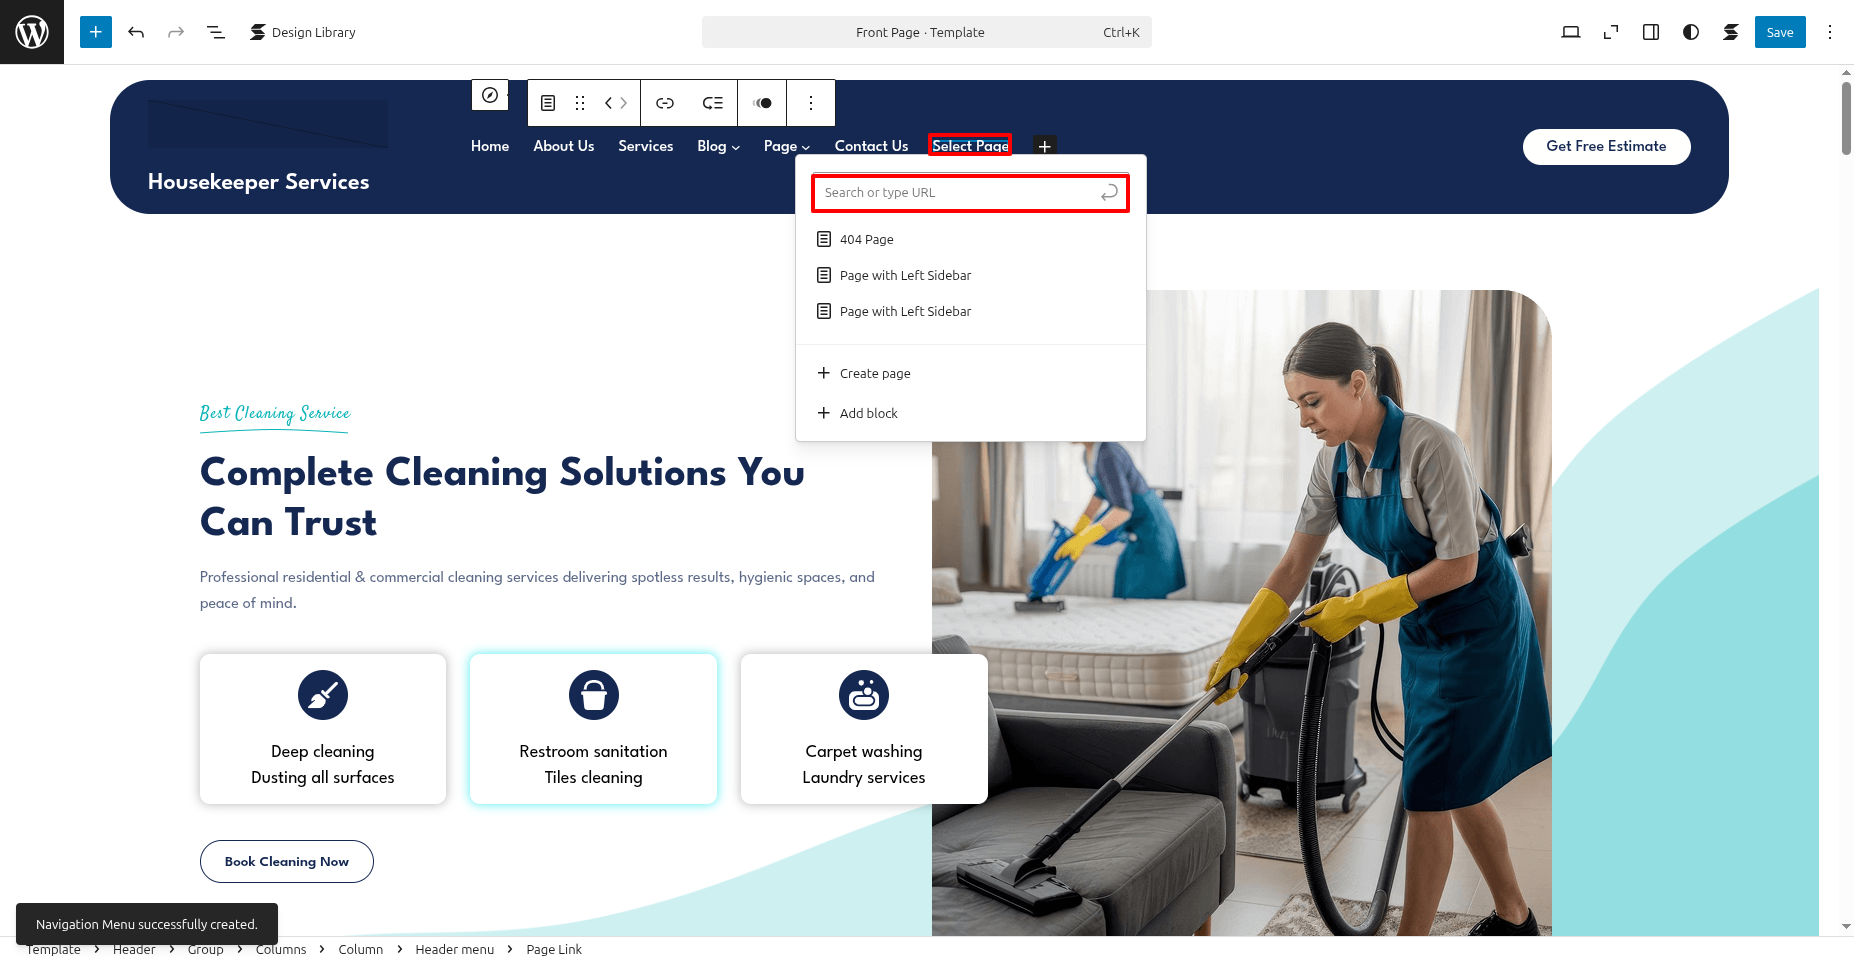
In front end, it will look like this.

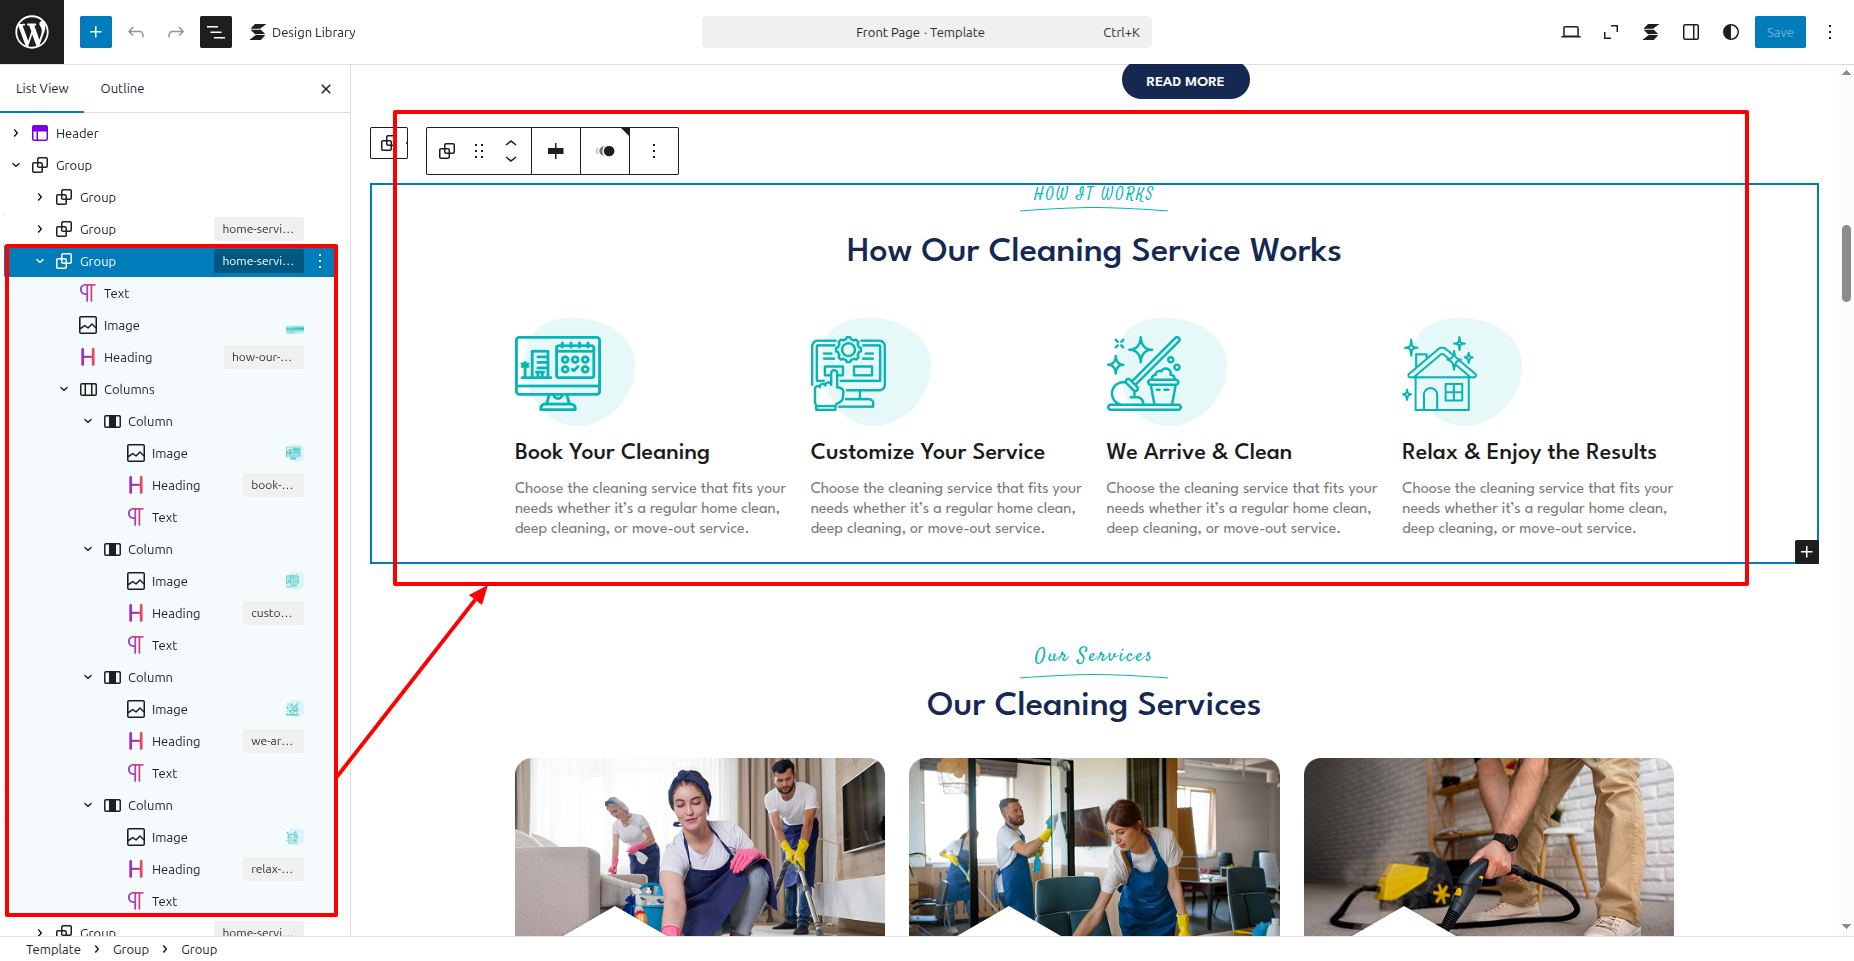
Housekeeper Services Pro Theme Setup
Header Setup & Menu Setup
In order to proceed with you can follow the instructions given below.
the dashboard, go to Appearance >> Editor
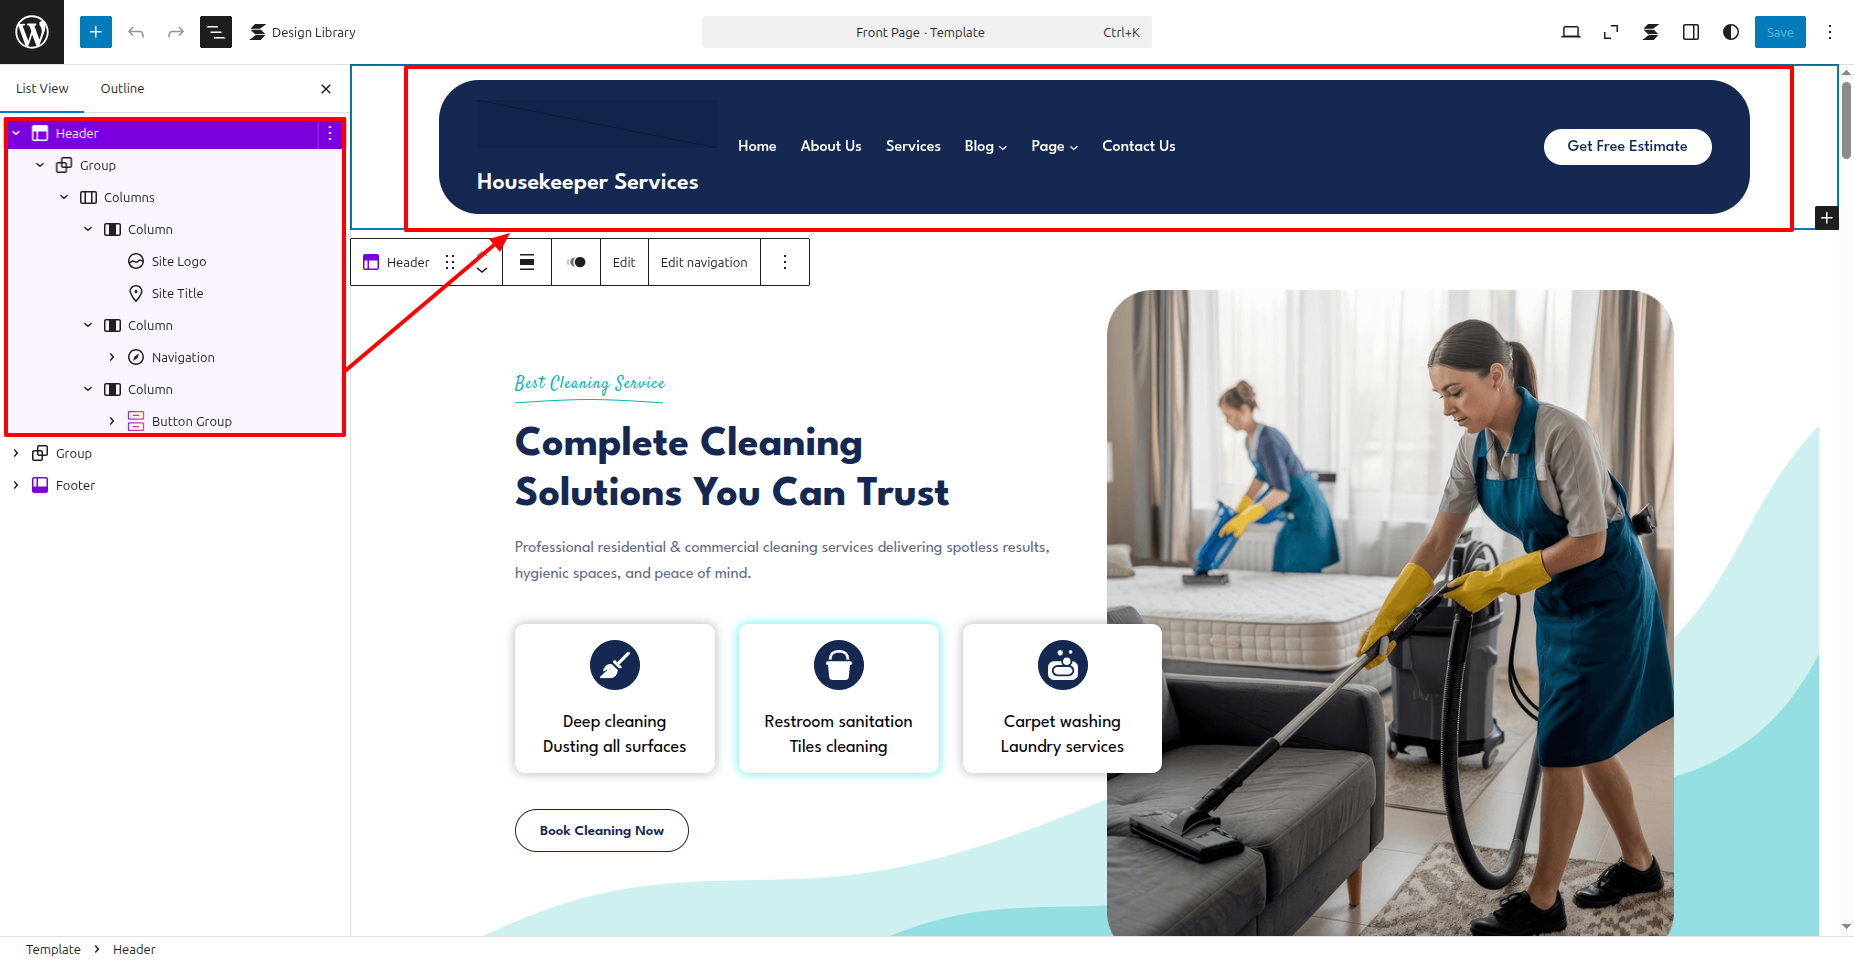
In front end, it will look like this.

Logo Setup
In order to proceed with Theme Logo setup, you can set site title and tagline, follow the instructions given below.
the dashboard, go to Appearance >> Editor
In front end, it will look like this.
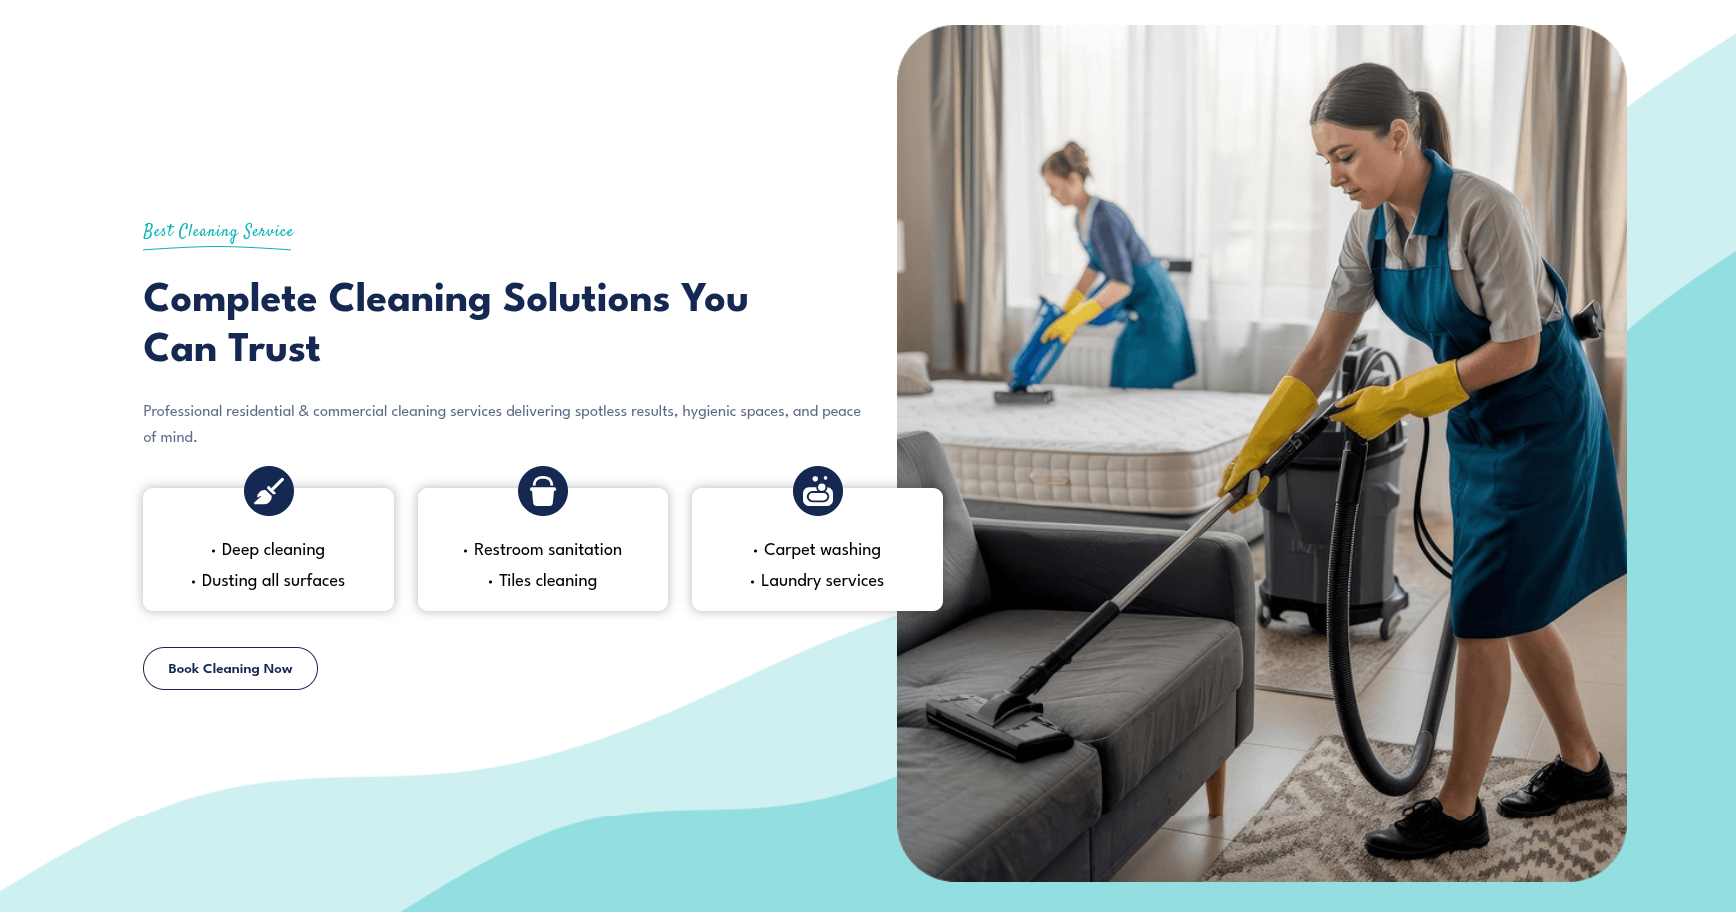
Banner Section
Banner Settings
In order to proceed with Theme Banner Settings , you can set slide show , follow the instructions given below.
the dashboard, go to Appearance >> Editor
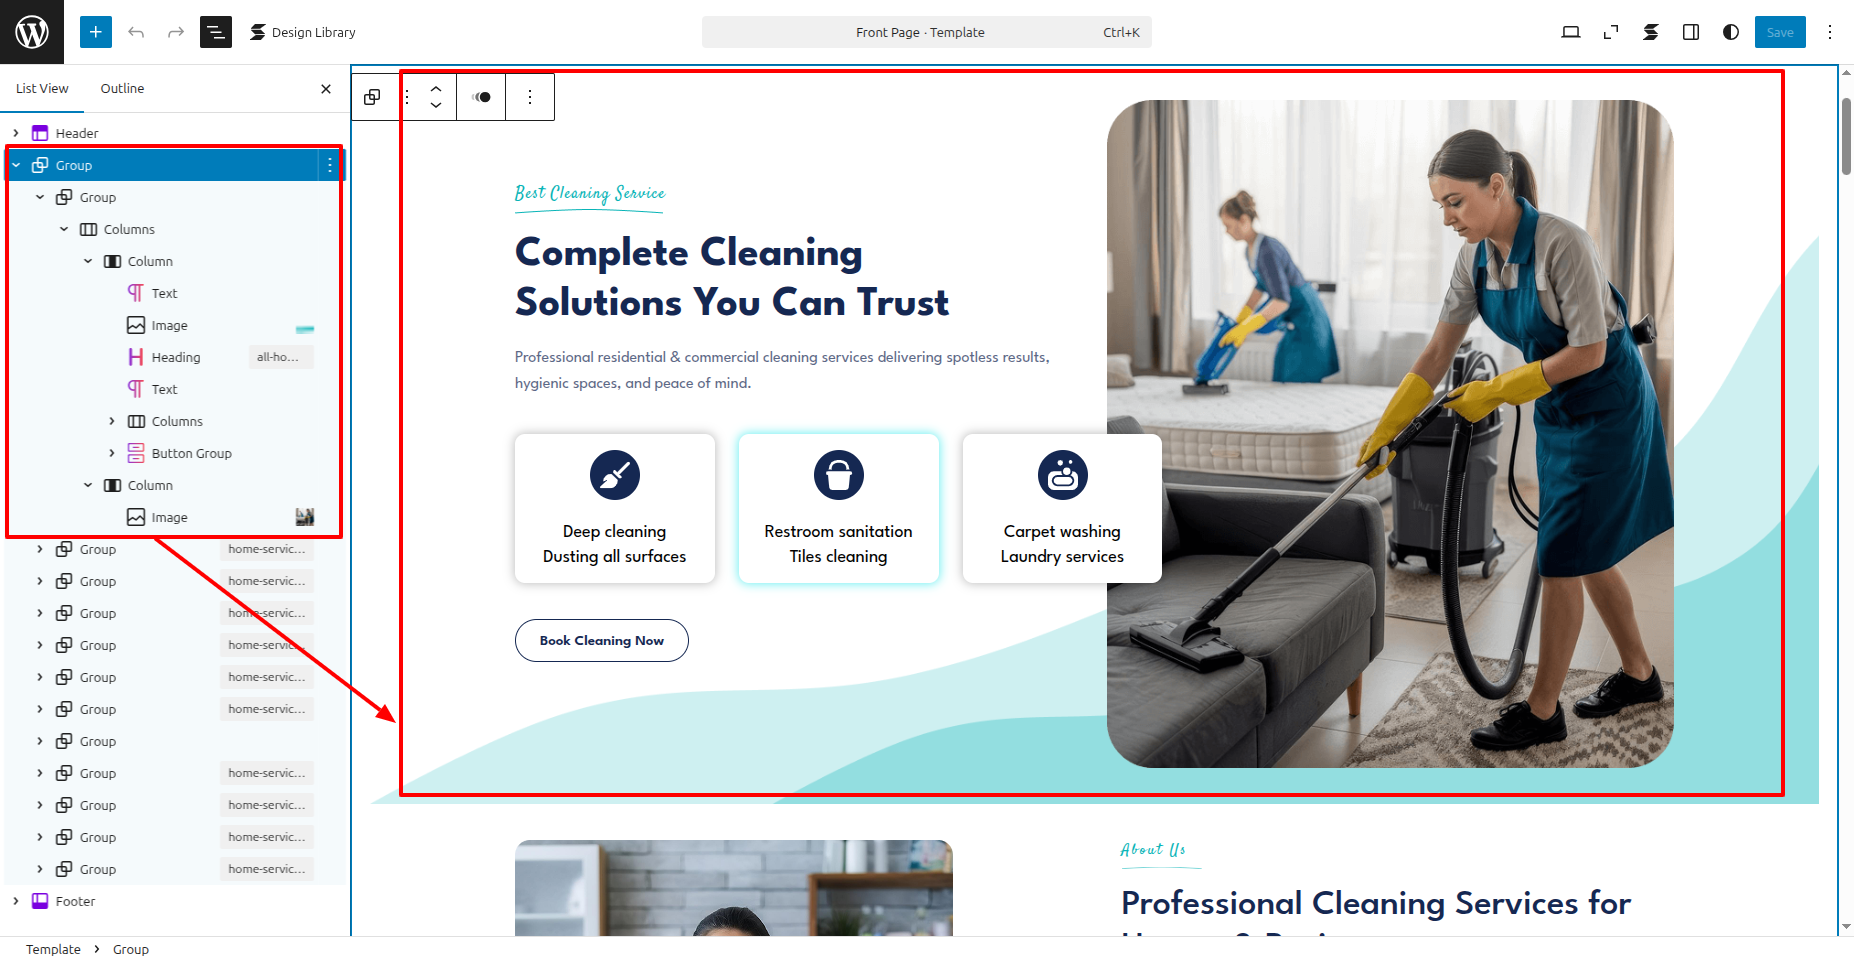
In front end, it will look like this.
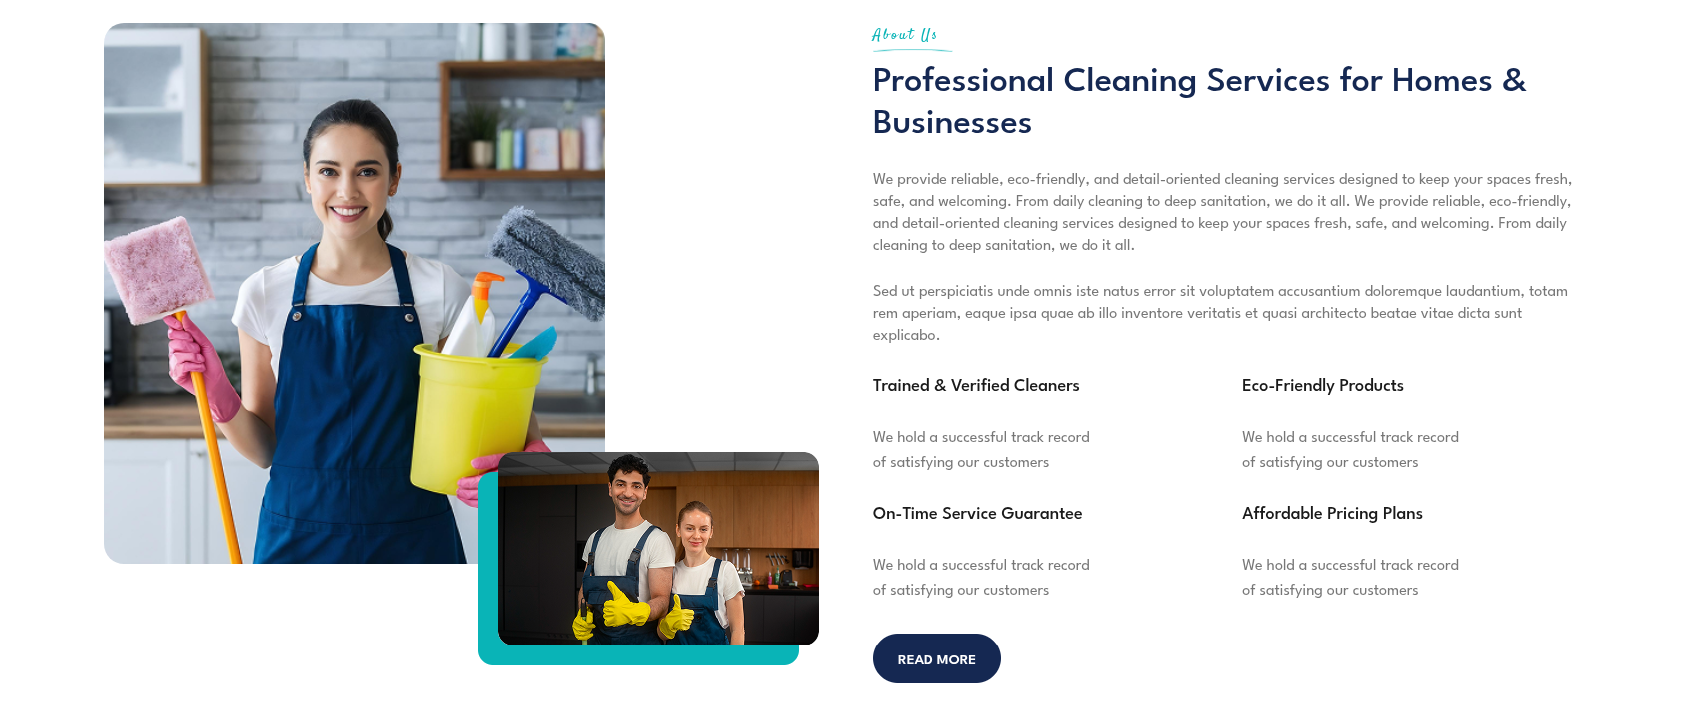
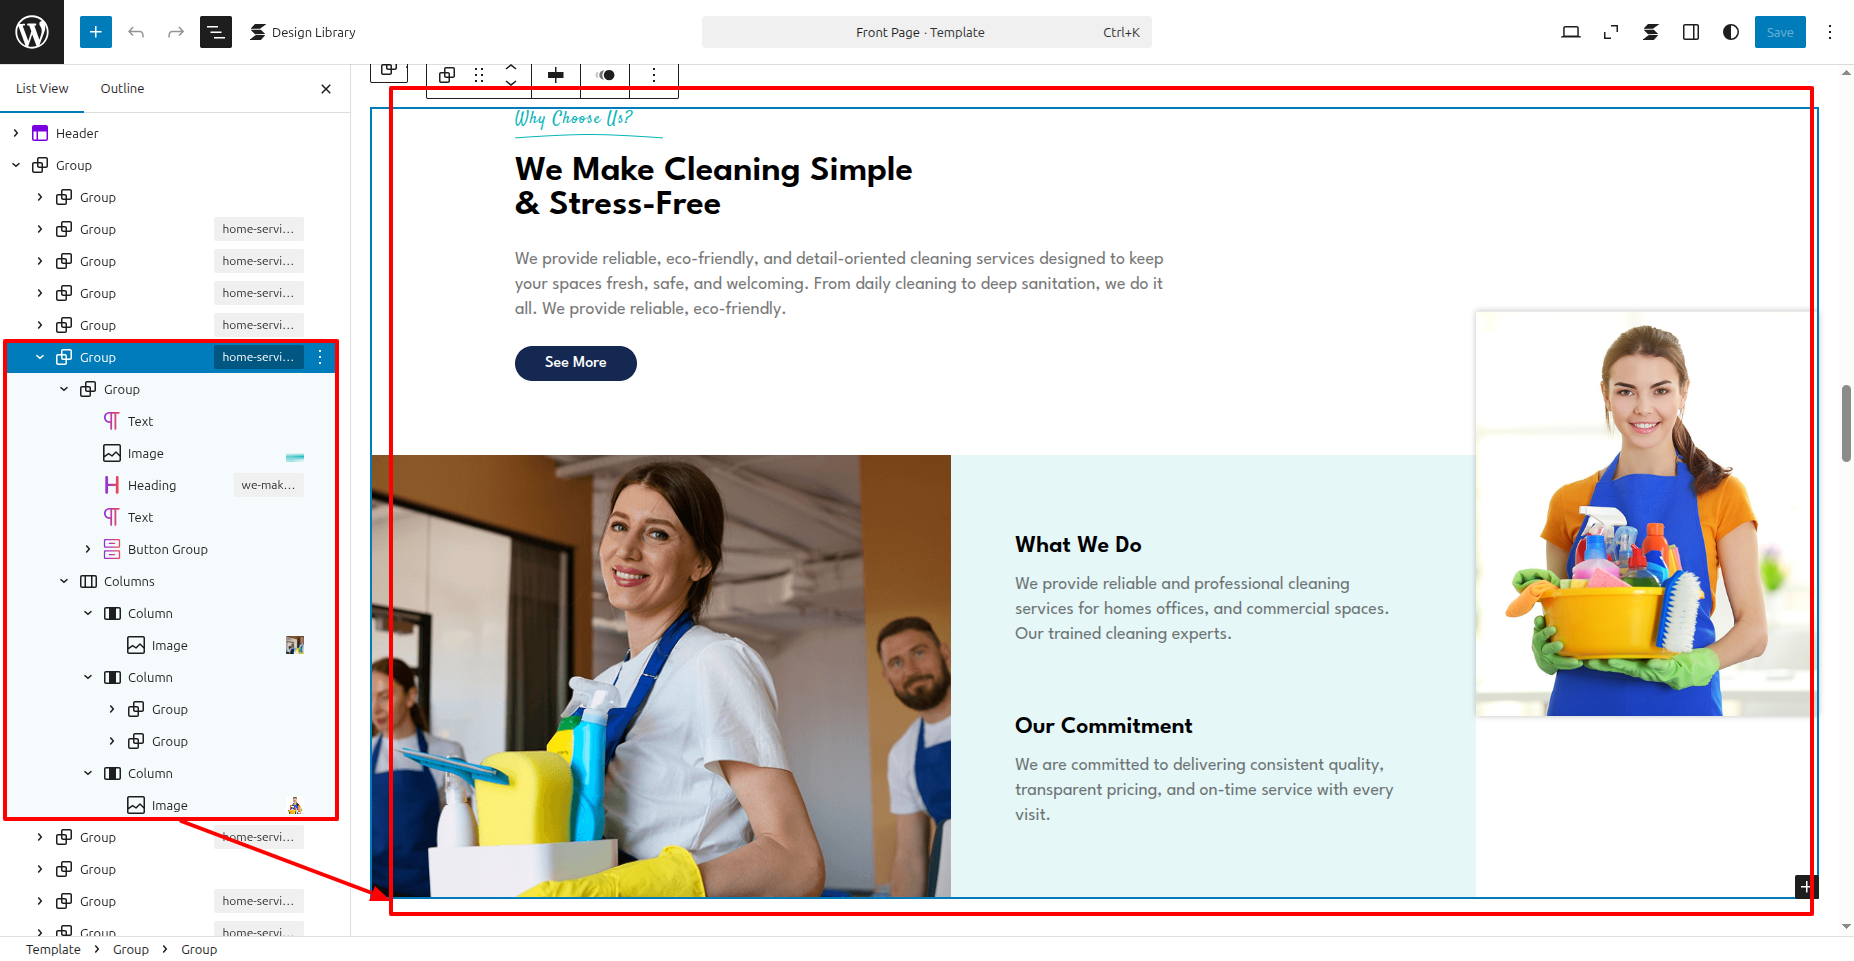
About Us Settings
About Us Settings
In order to proceed with About Us Settings follow the instructions given below.
the dashboard, go to Appearance >> Editor
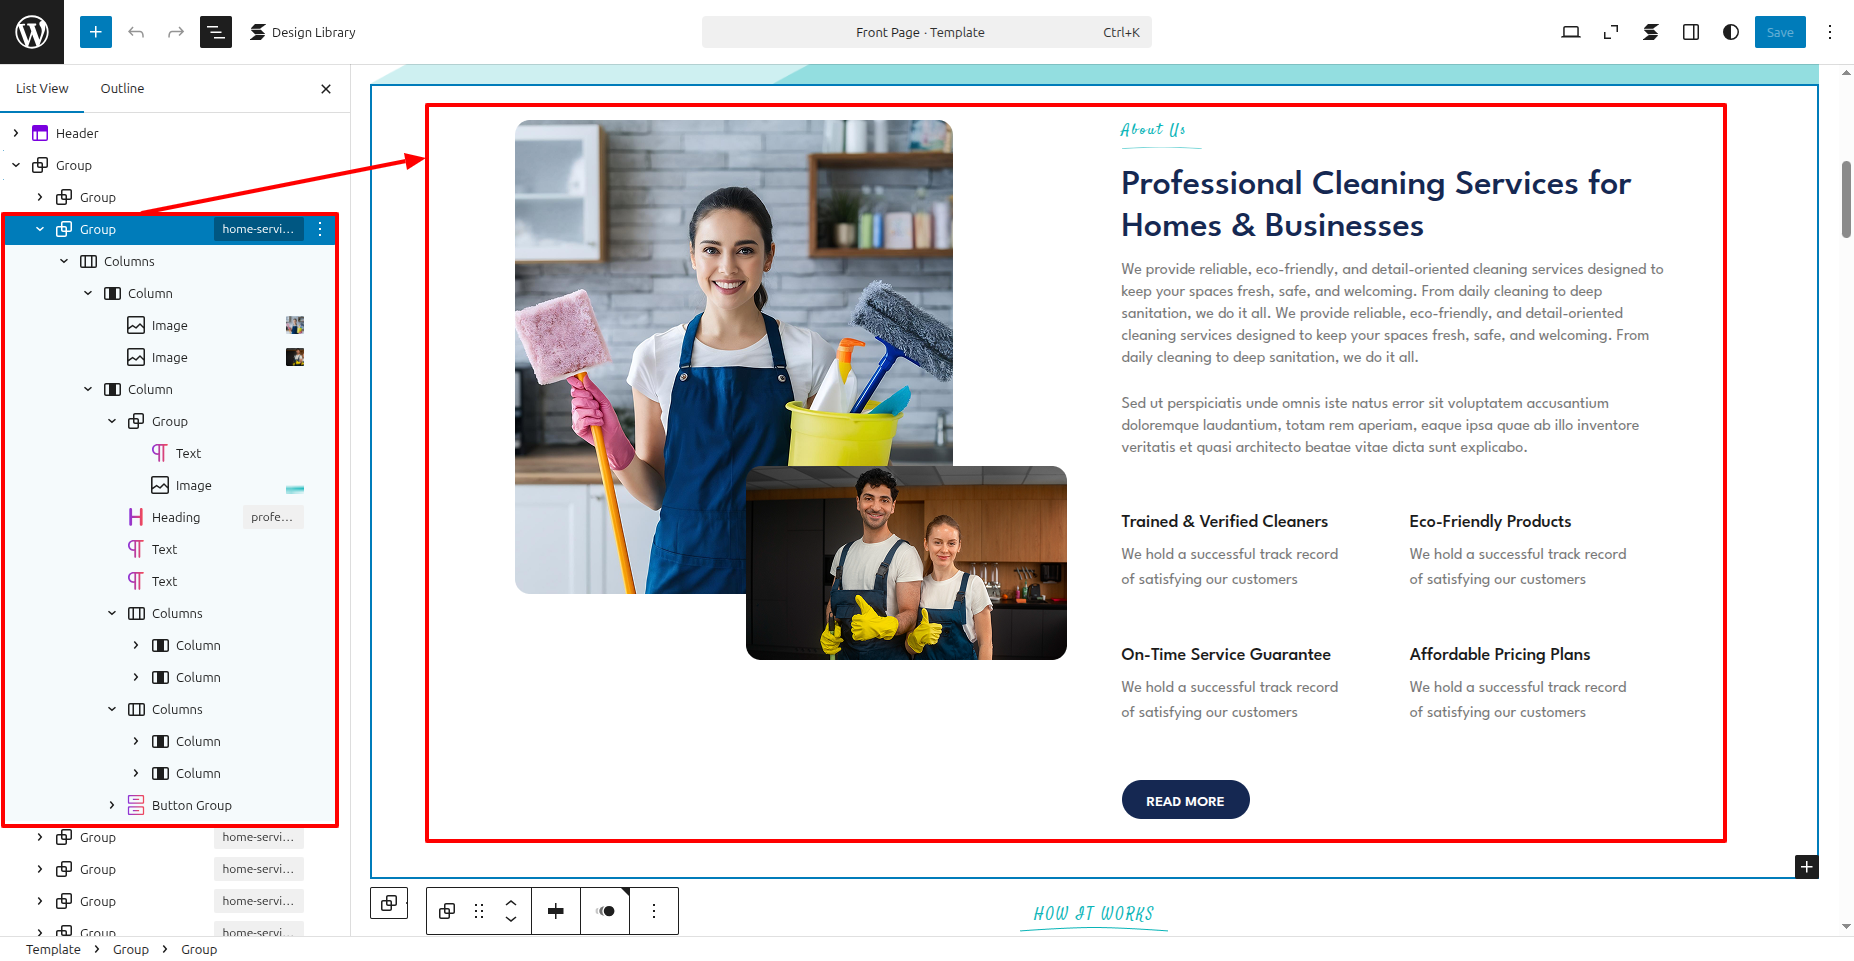
In front end, it will look like this.
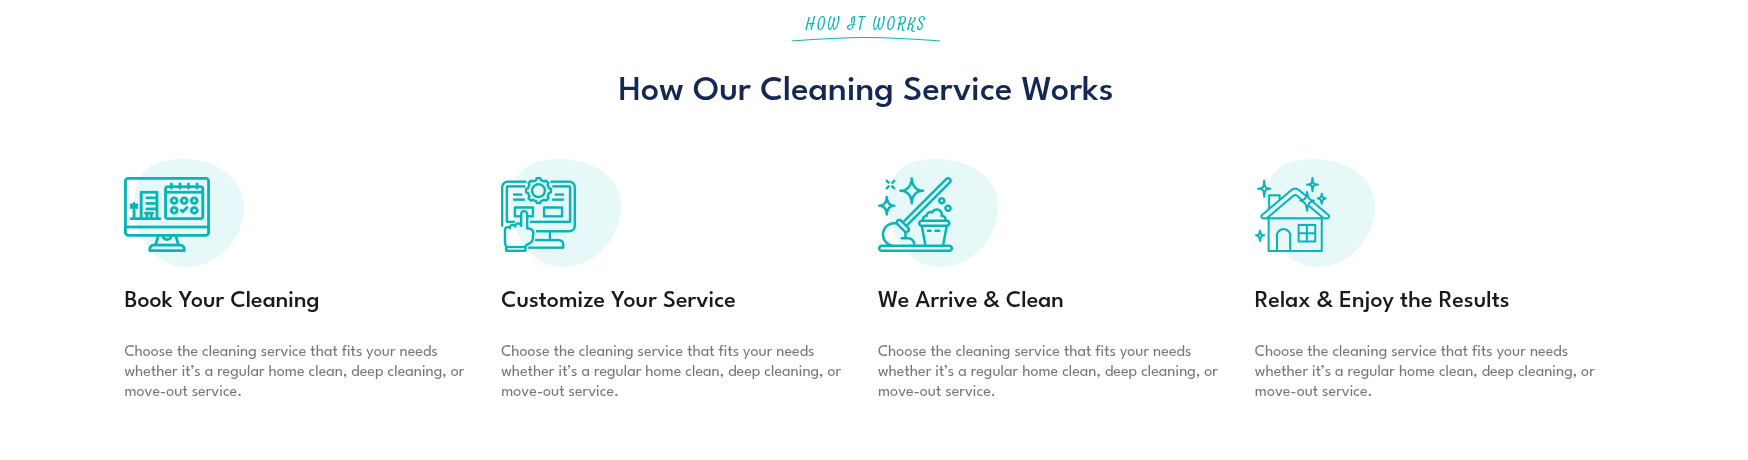
How It Work Settings
How It Work Settings
In order to proceed with How It Work Settings follow the instructions given below.
the dashboard, go to Appearance >> Editor
In front end, it will look like this.
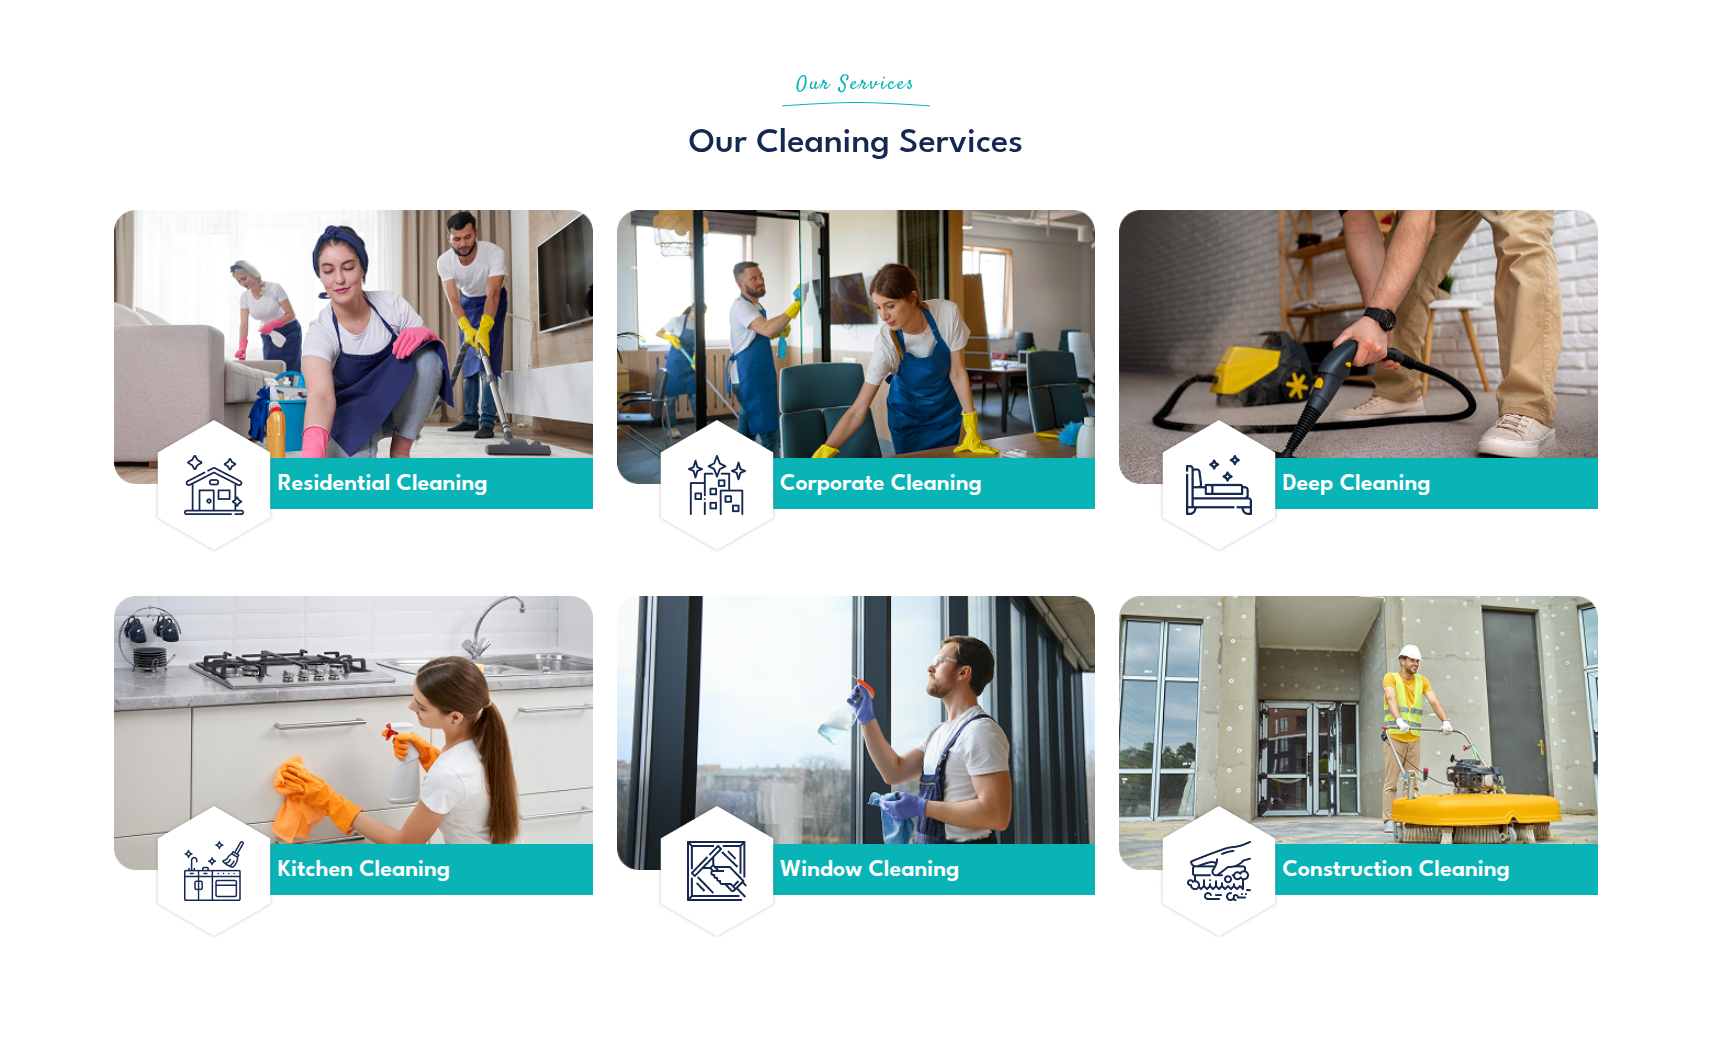
Our Services Settings
Our Services Settings
In order to proceed with Our Services Settings follow the instructions given below.
the dashboard, go to Appearance >> Editor

In front end, it will look like this.
Video Settings
Video Settings
In order to proceed with Video Settings follow the instructions given below.
the dashboard, go to Appearance >> Editor
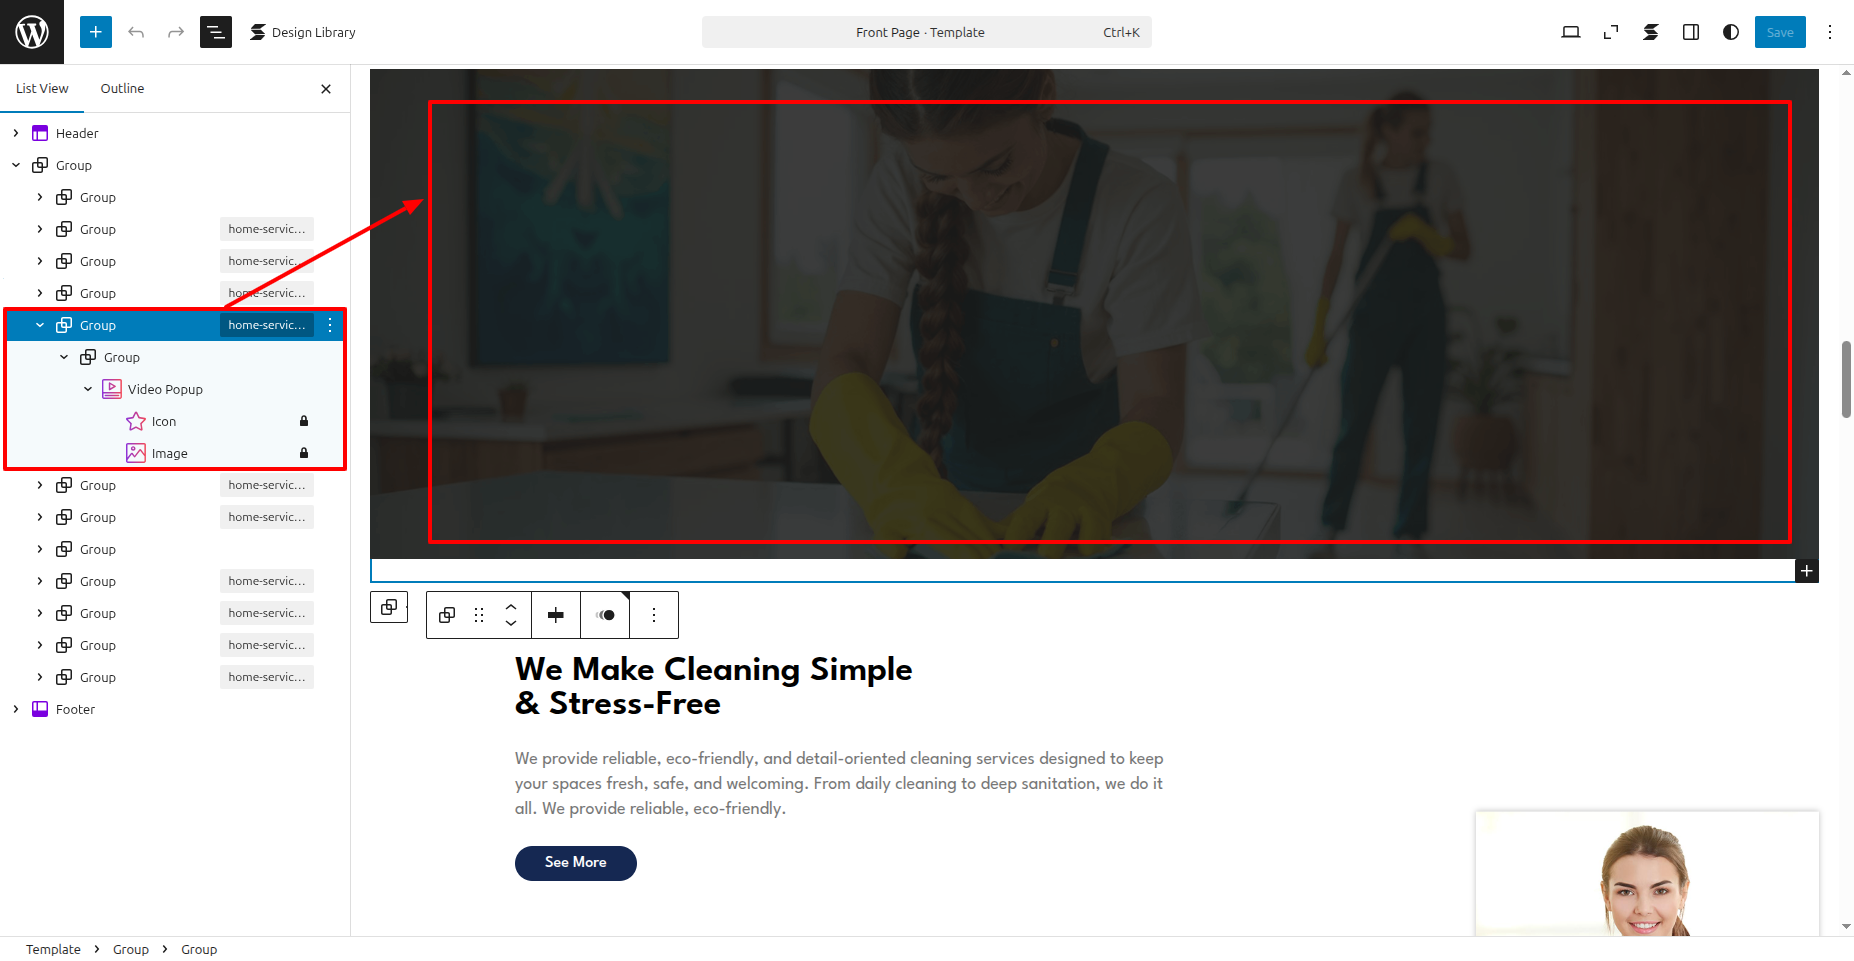
In front end, it will look like this.

Why Choose Us Settings
Why Choose Us Settings
In order to proceed with Theme Why Choose Us Settings , you can set tab post , follow the instructions given below.
the dashboard, go to Appearance >> Editor
In front end, it will look like this.

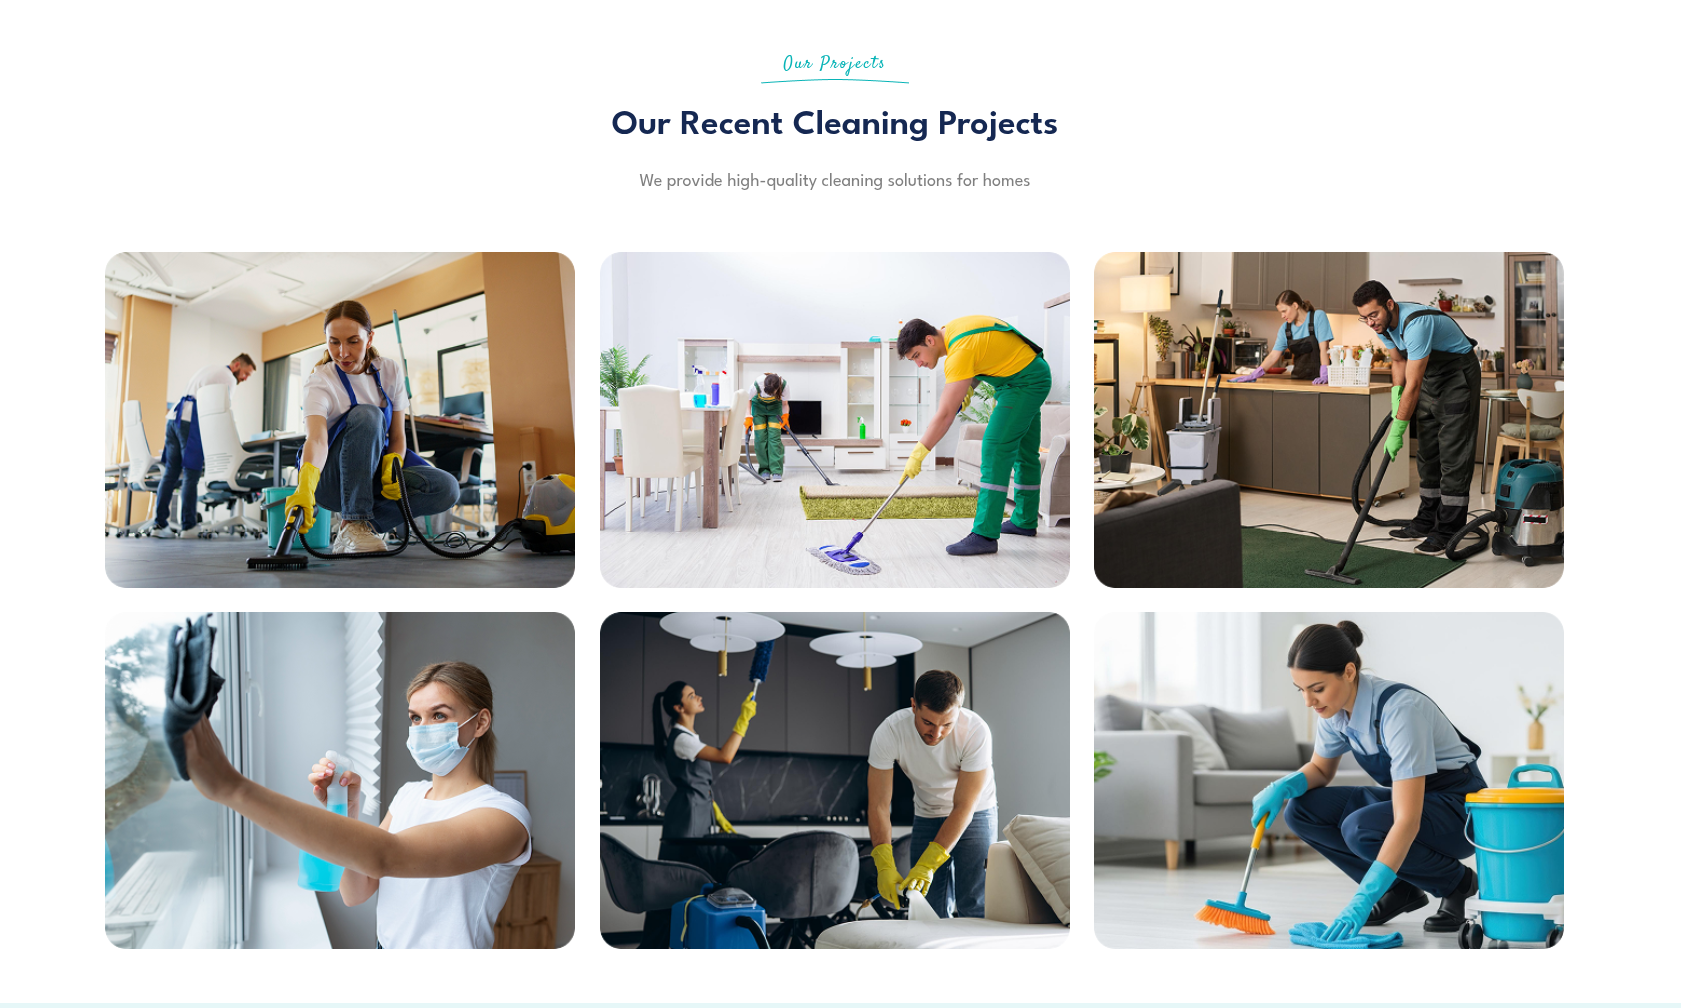
Our Projects Settings
Our Projects Settings
In order to proceed with Our Projects Settings follow the instructions given below.
the dashboard, go to Appearance >> Editor
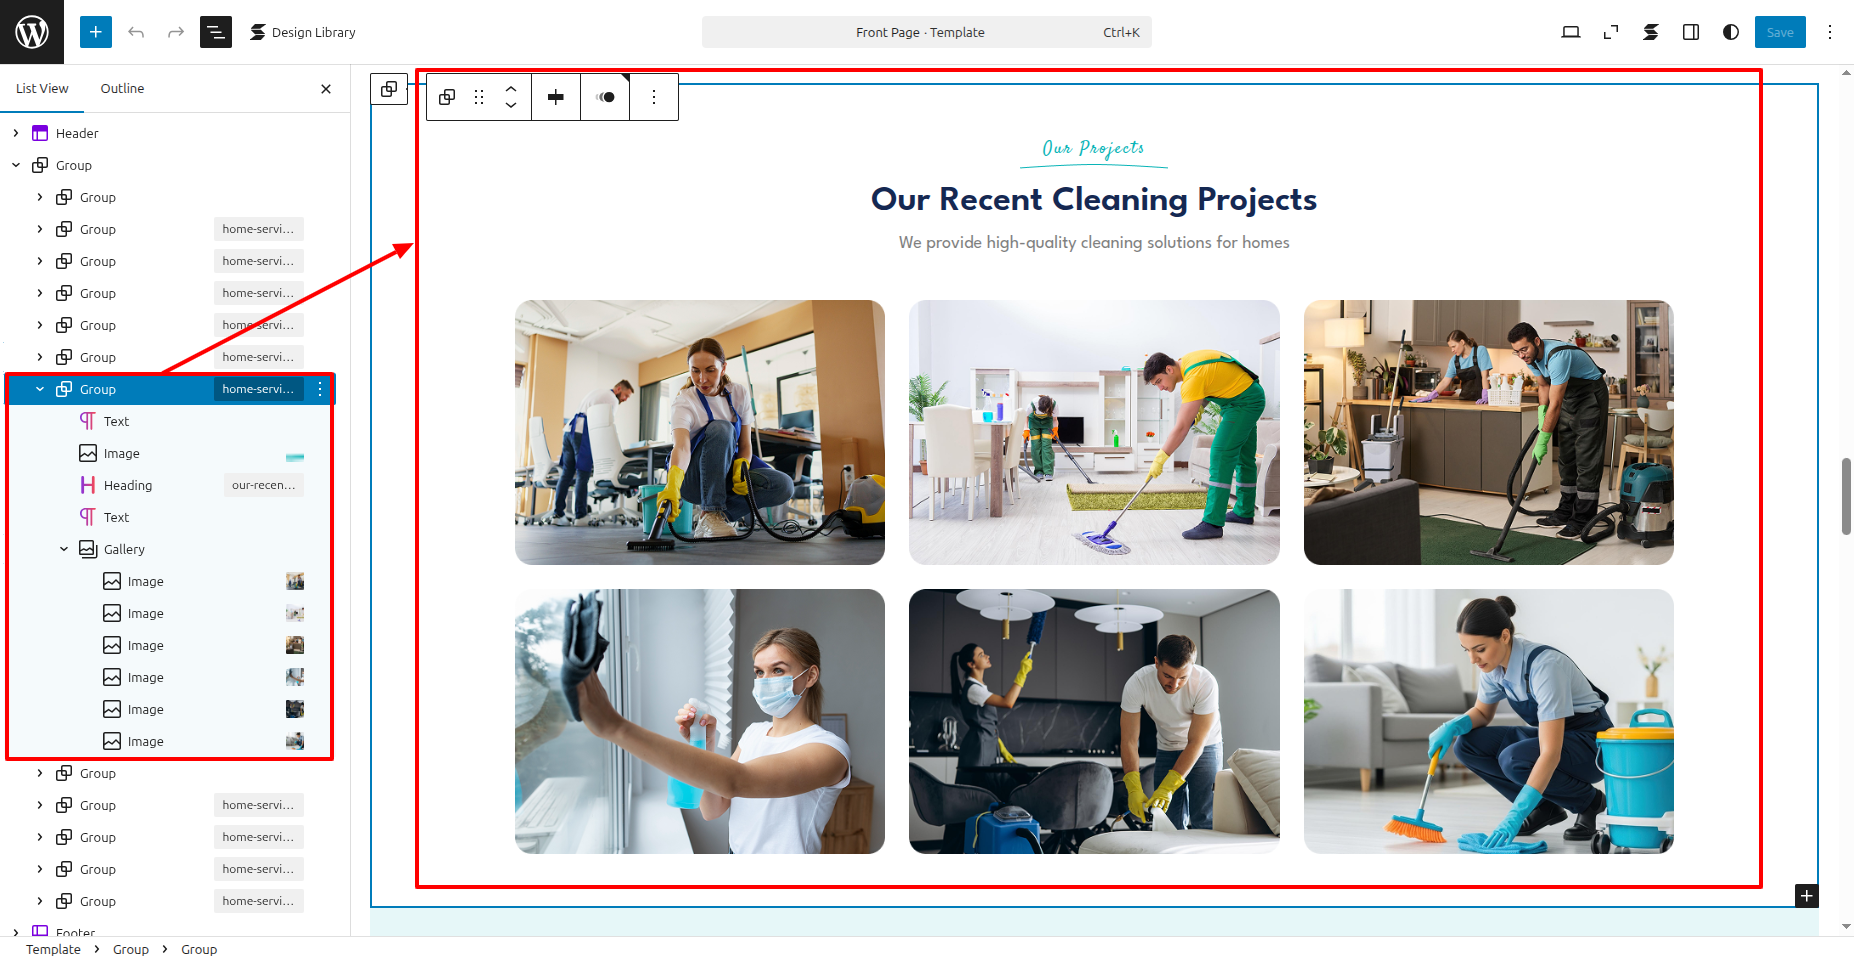
In front end, it will look like this.
Counter Settings
Counter Settings
In order to proceed with Counter Settings follow the instructions given below.
the dashboard, go to Appearance >> Editor

In front end, it will look like this.

Testimonials Settings
Testimonials Settings
In order to proceed with Testimonials Settings follow the instructions given below.
the dashboard, go to Appearance >> Editor
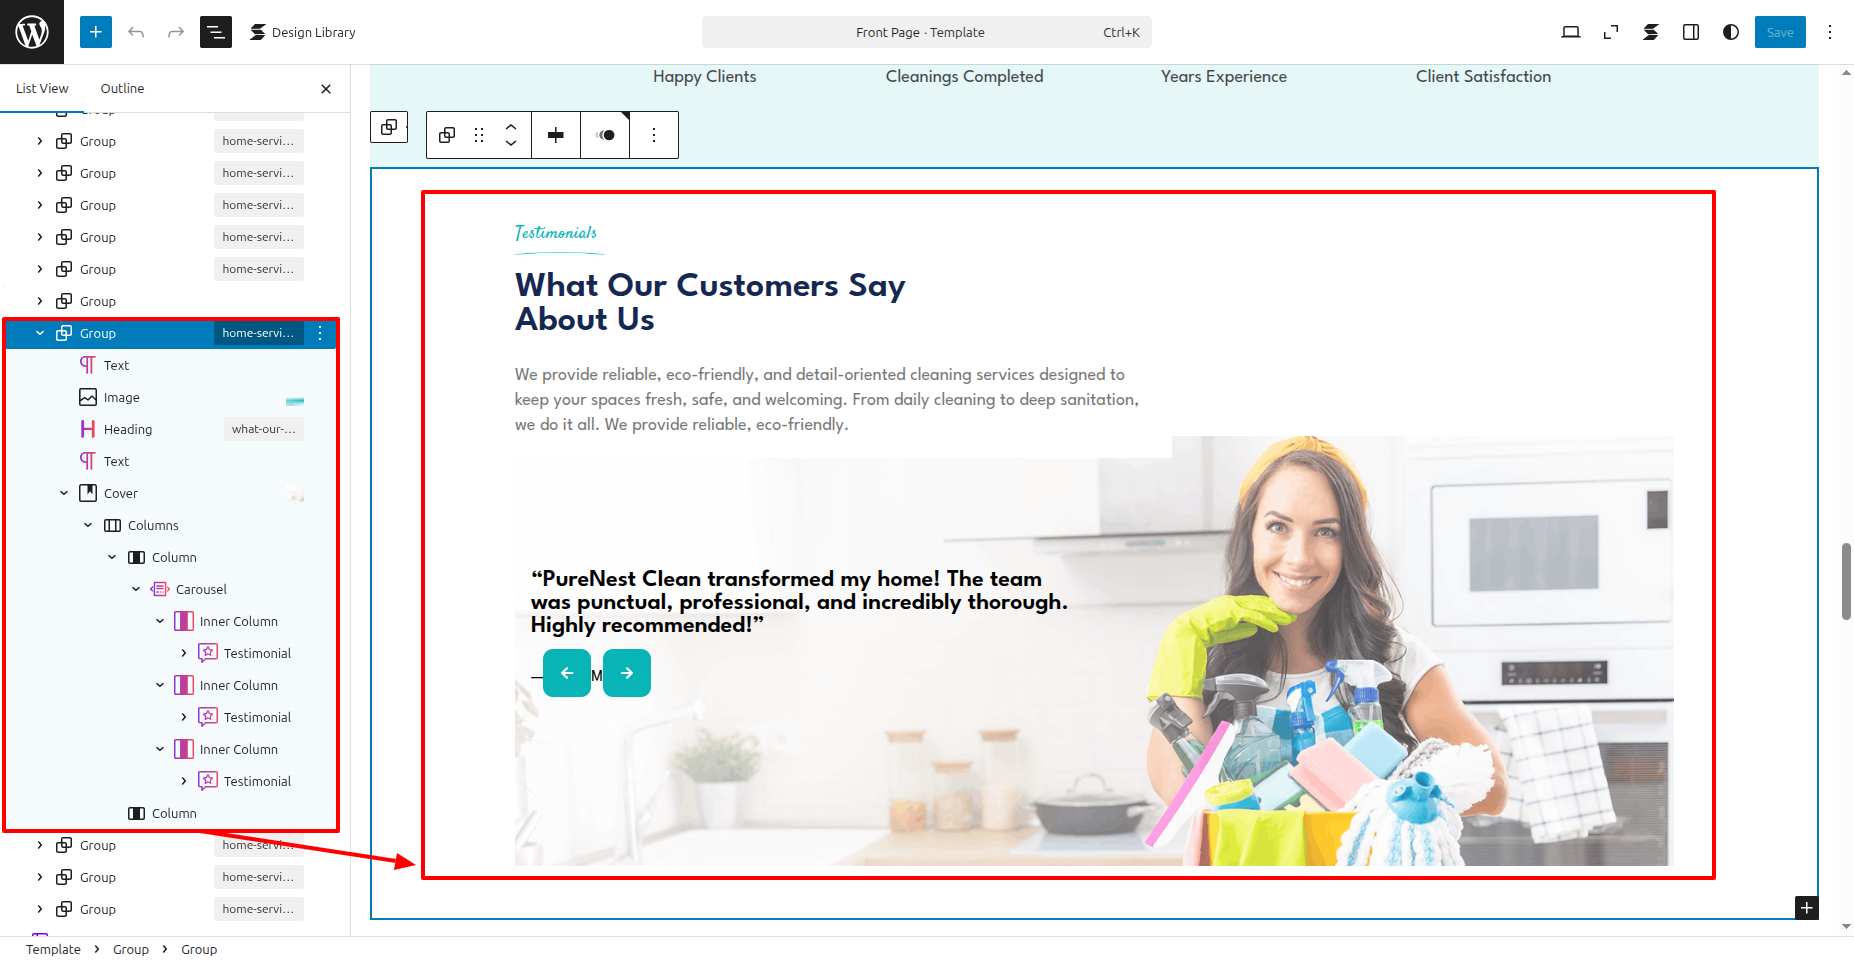
In front end, it will look like this.

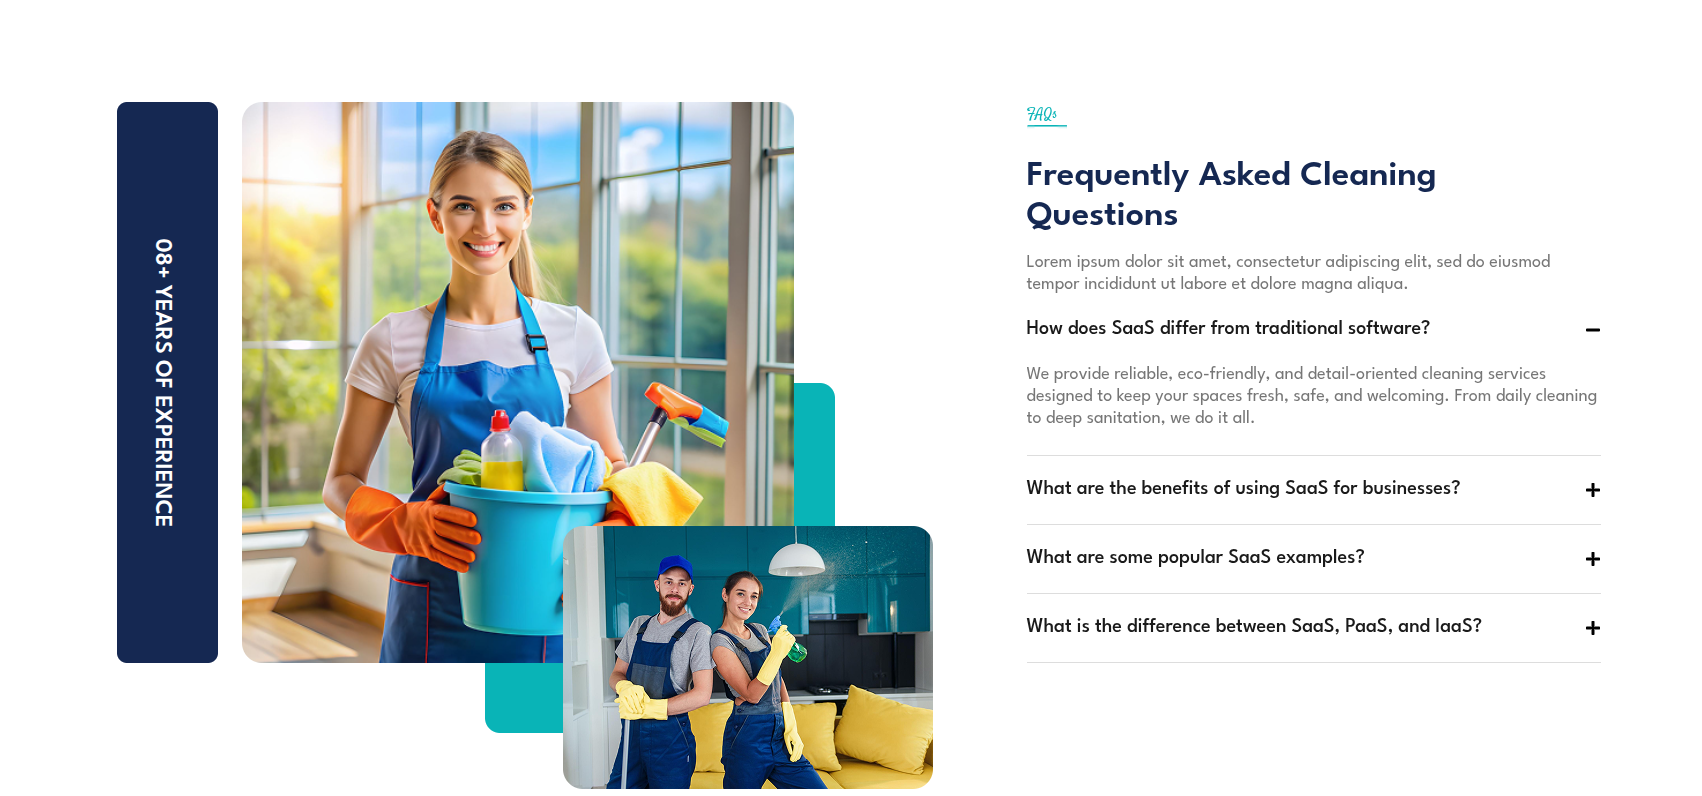
FAQs Settings
FAQs Settings
In order to proceed with FAQs Settings follow the instructions given below.
the dashboard, go to Appearance >> Editor
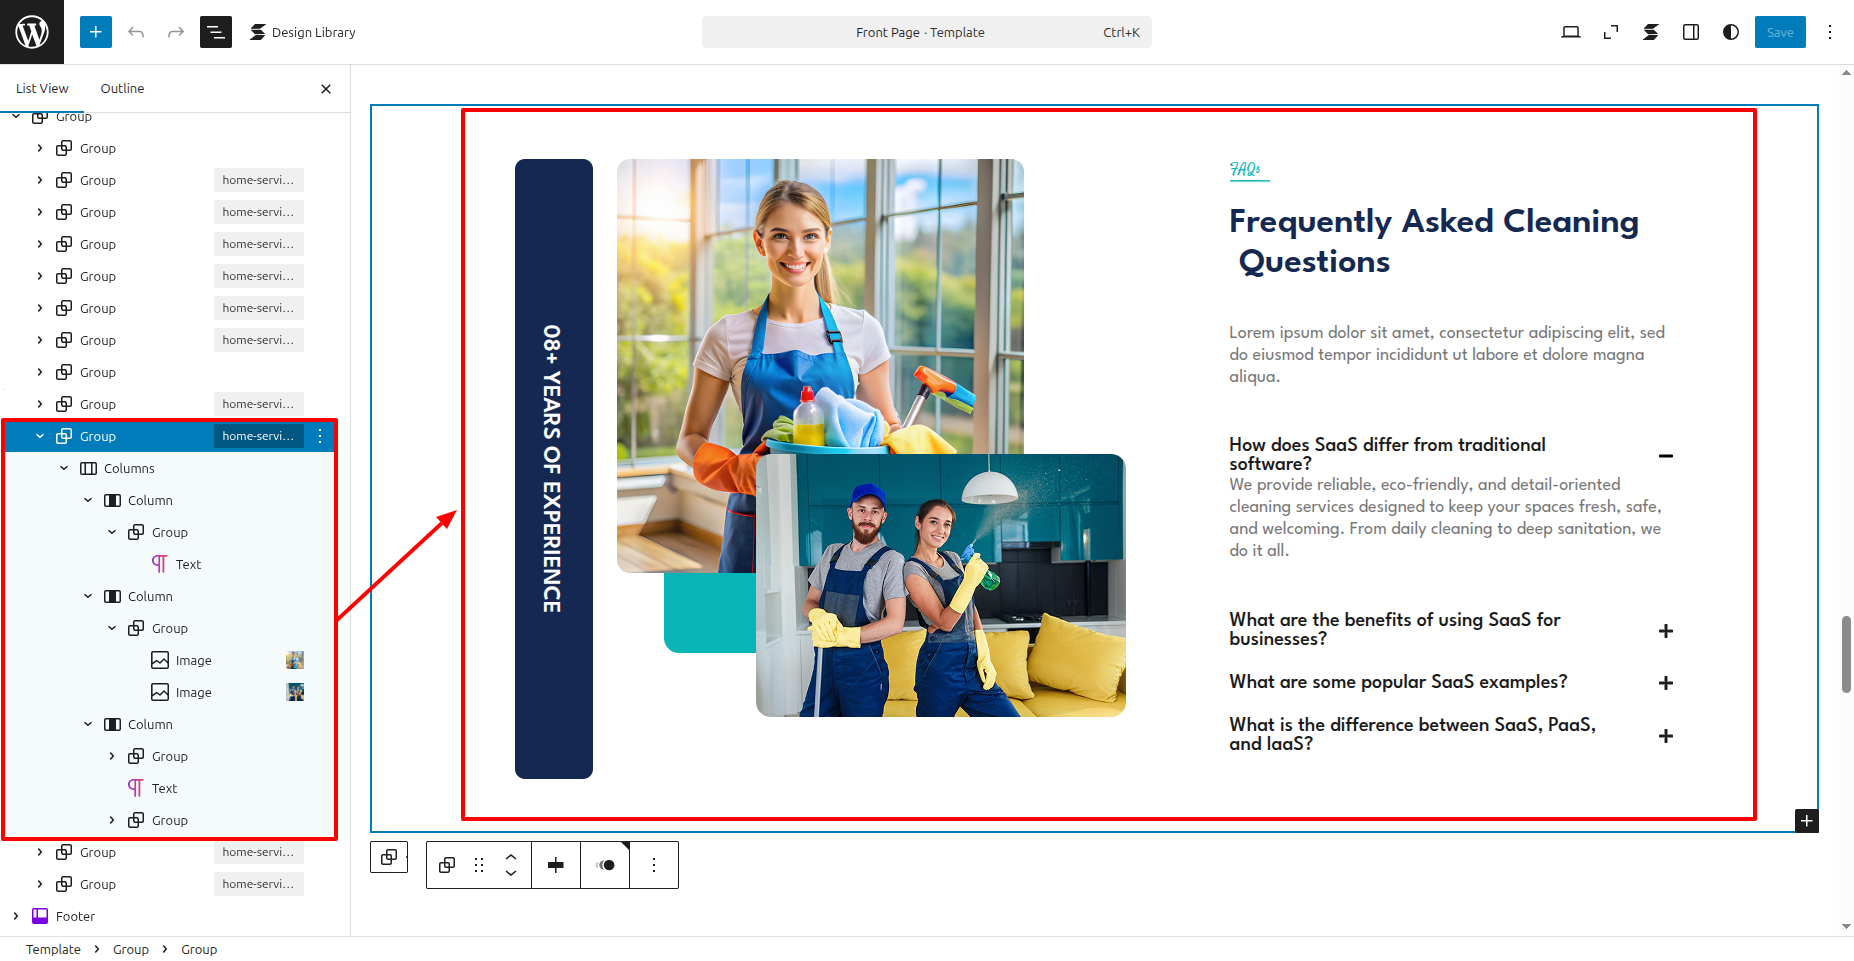
In front end, it will look like this.
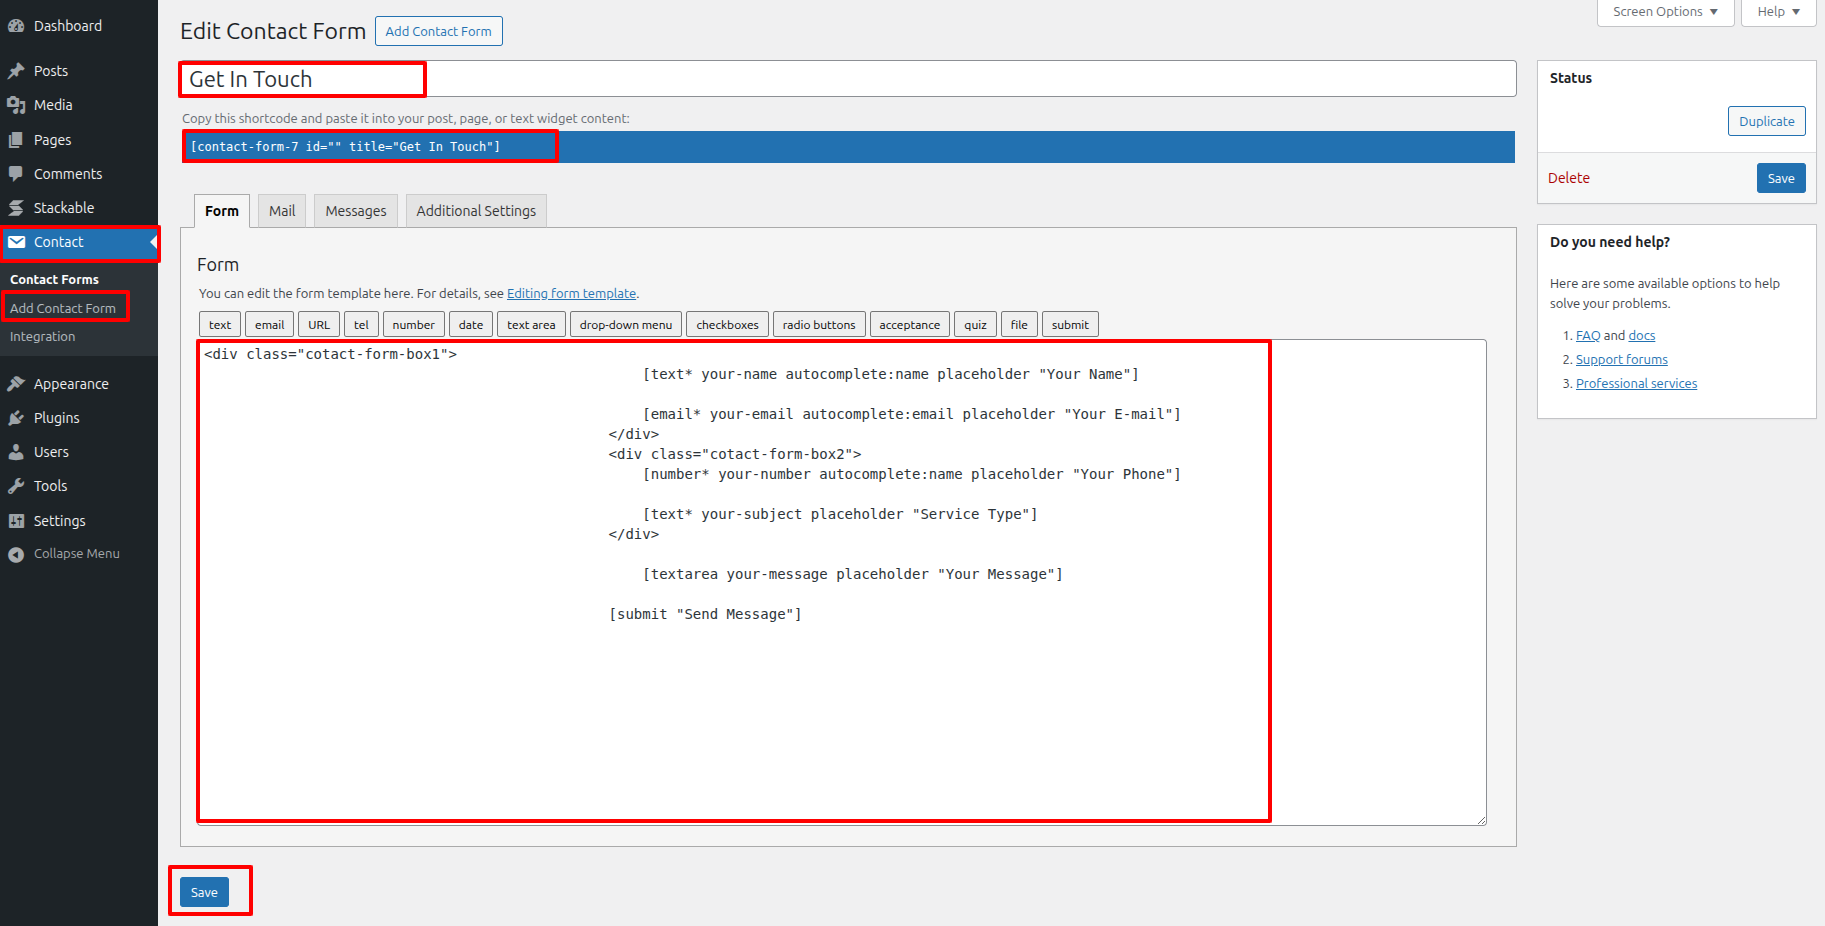
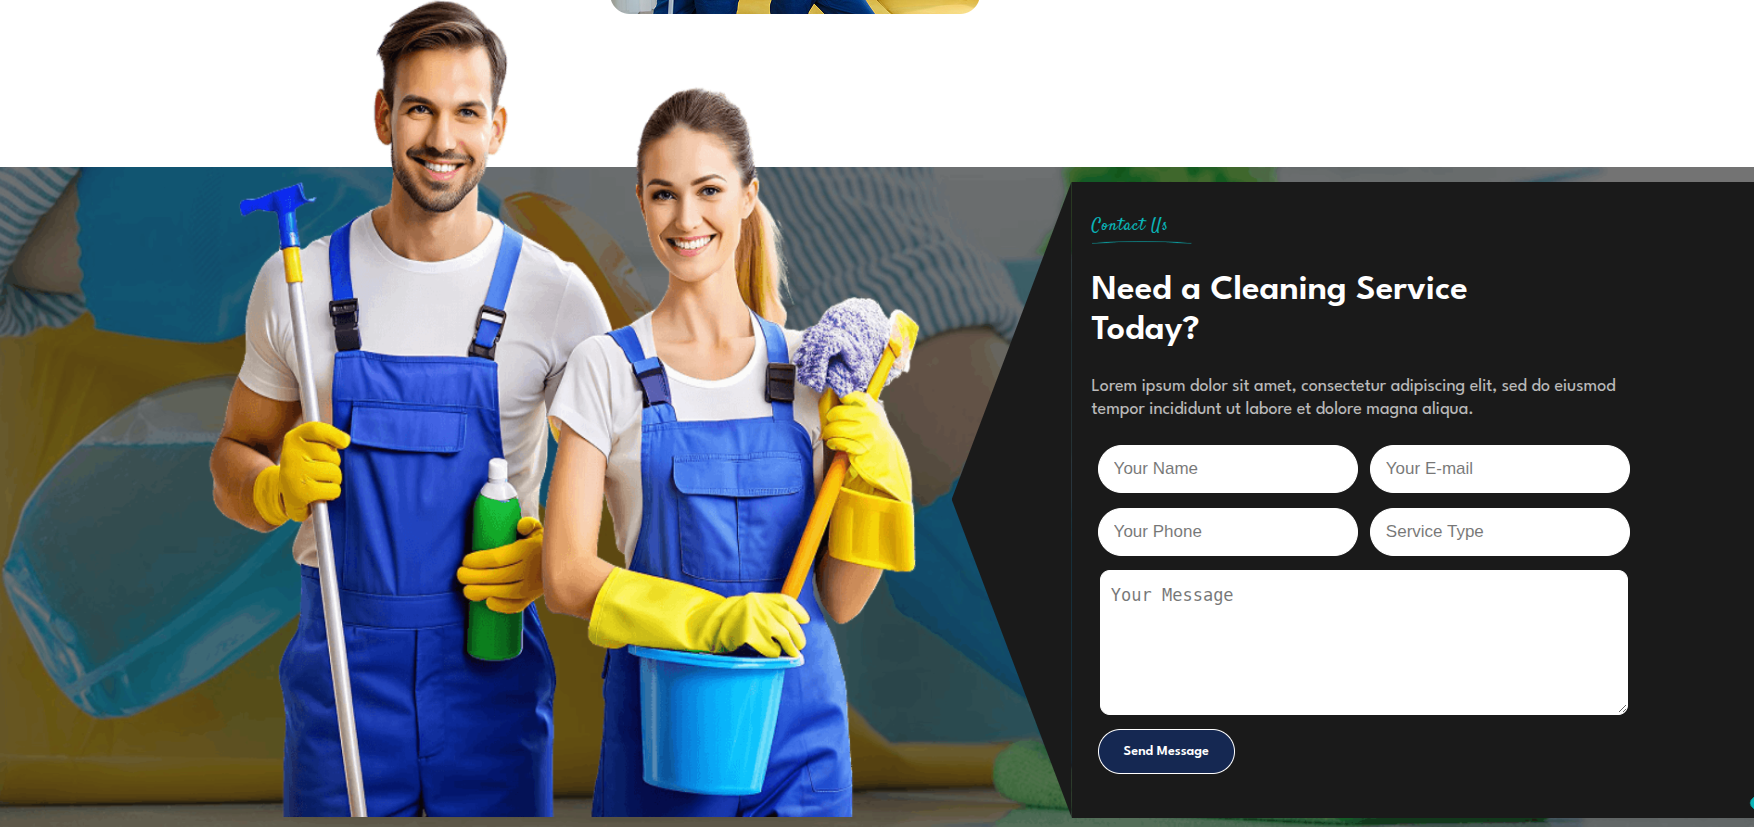
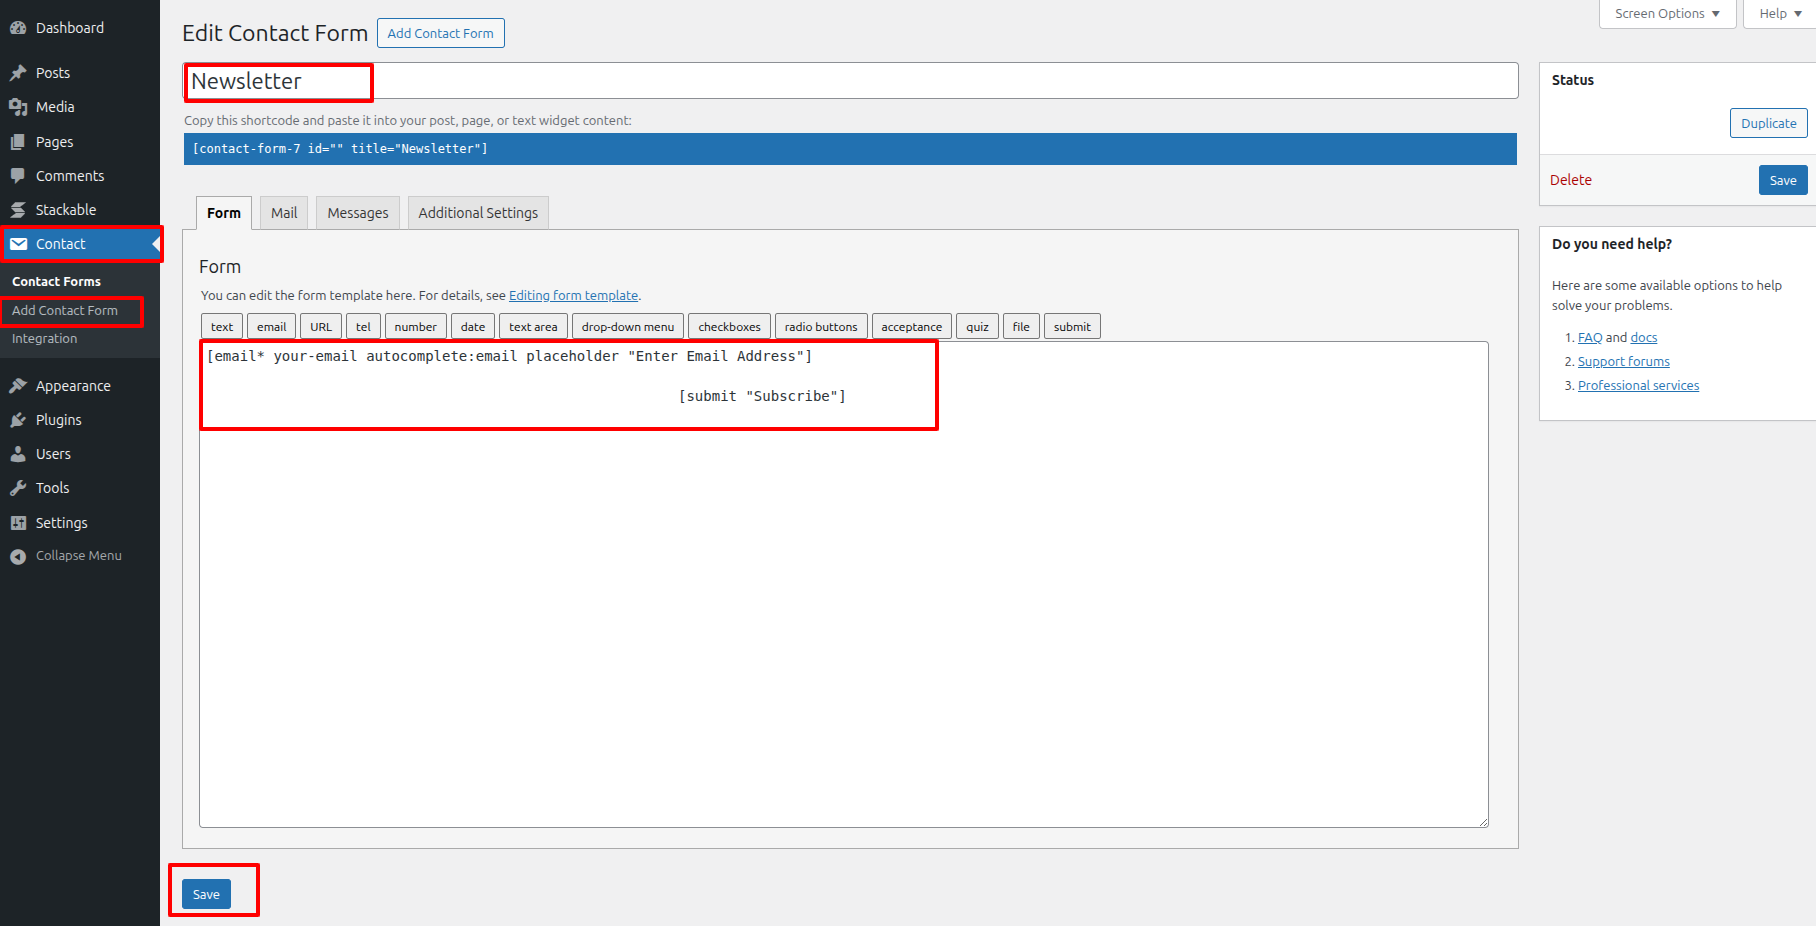
Contact Us Settings
Contact Us Settings
In order to proceed with Contact Us Settings follow the instructions given below.
In the Dashboard, go to Contact >> Add Contact Form
the dashboard, go to Appearance >> Editor
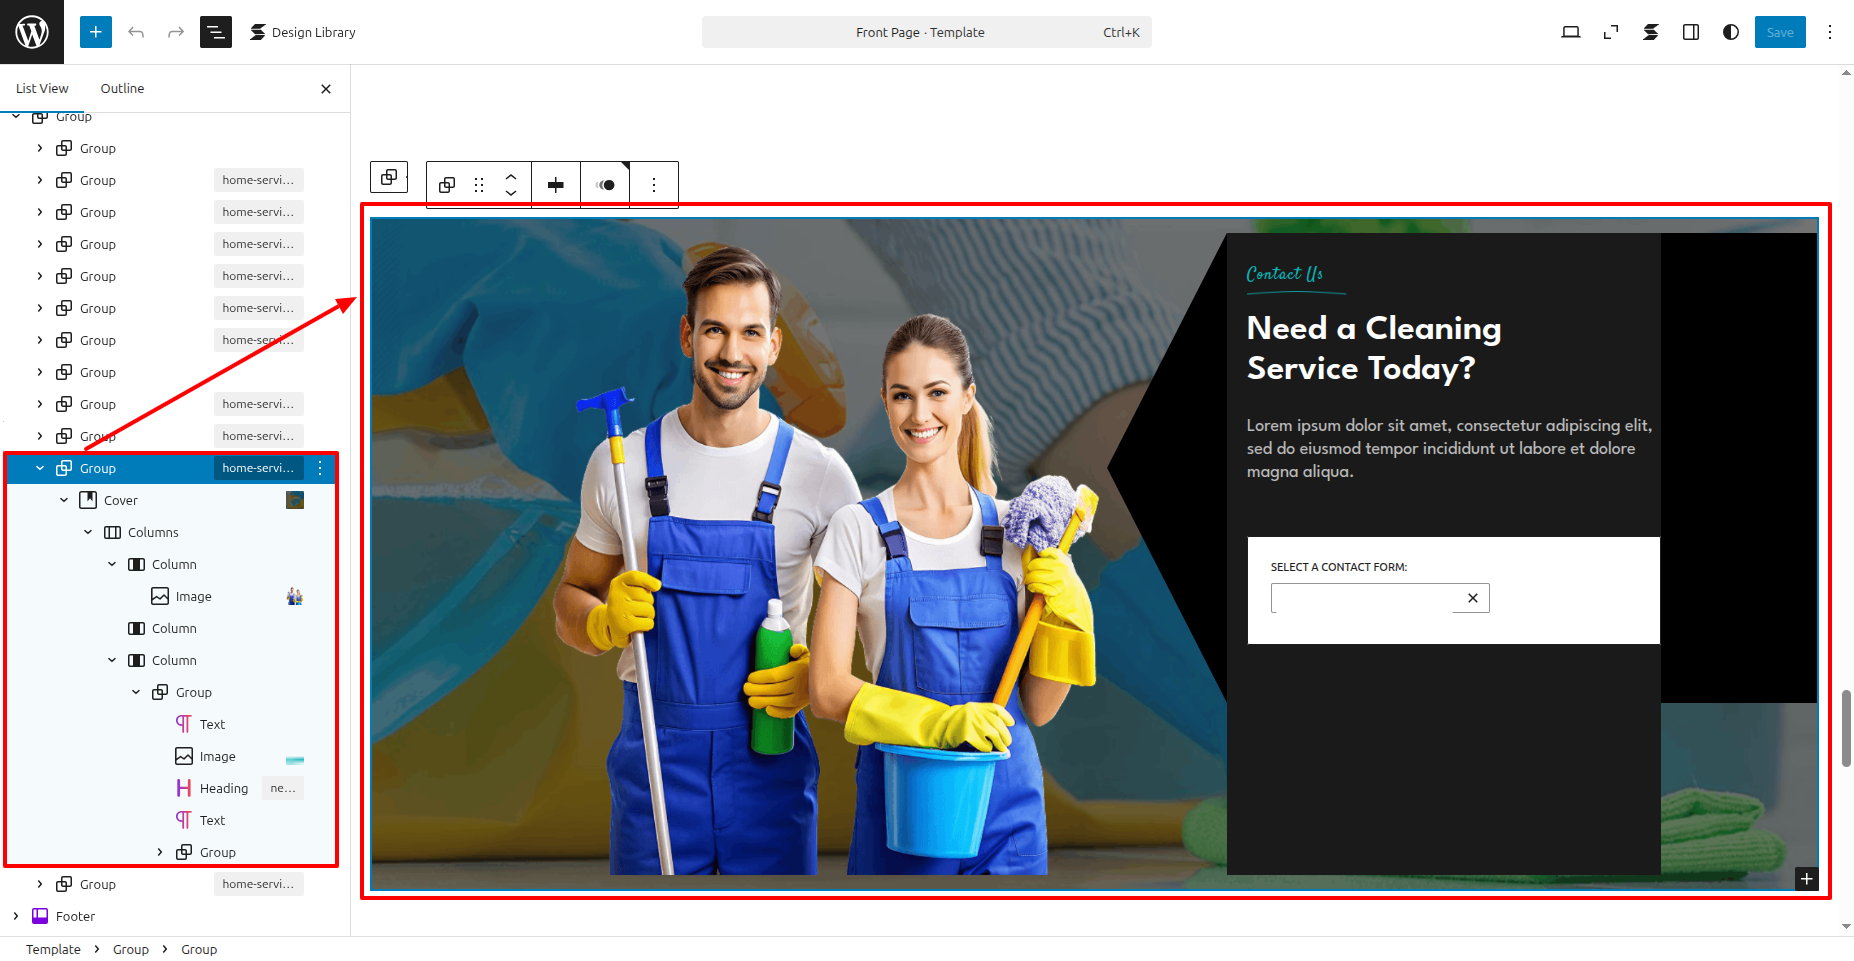
In front end, it will look like this.
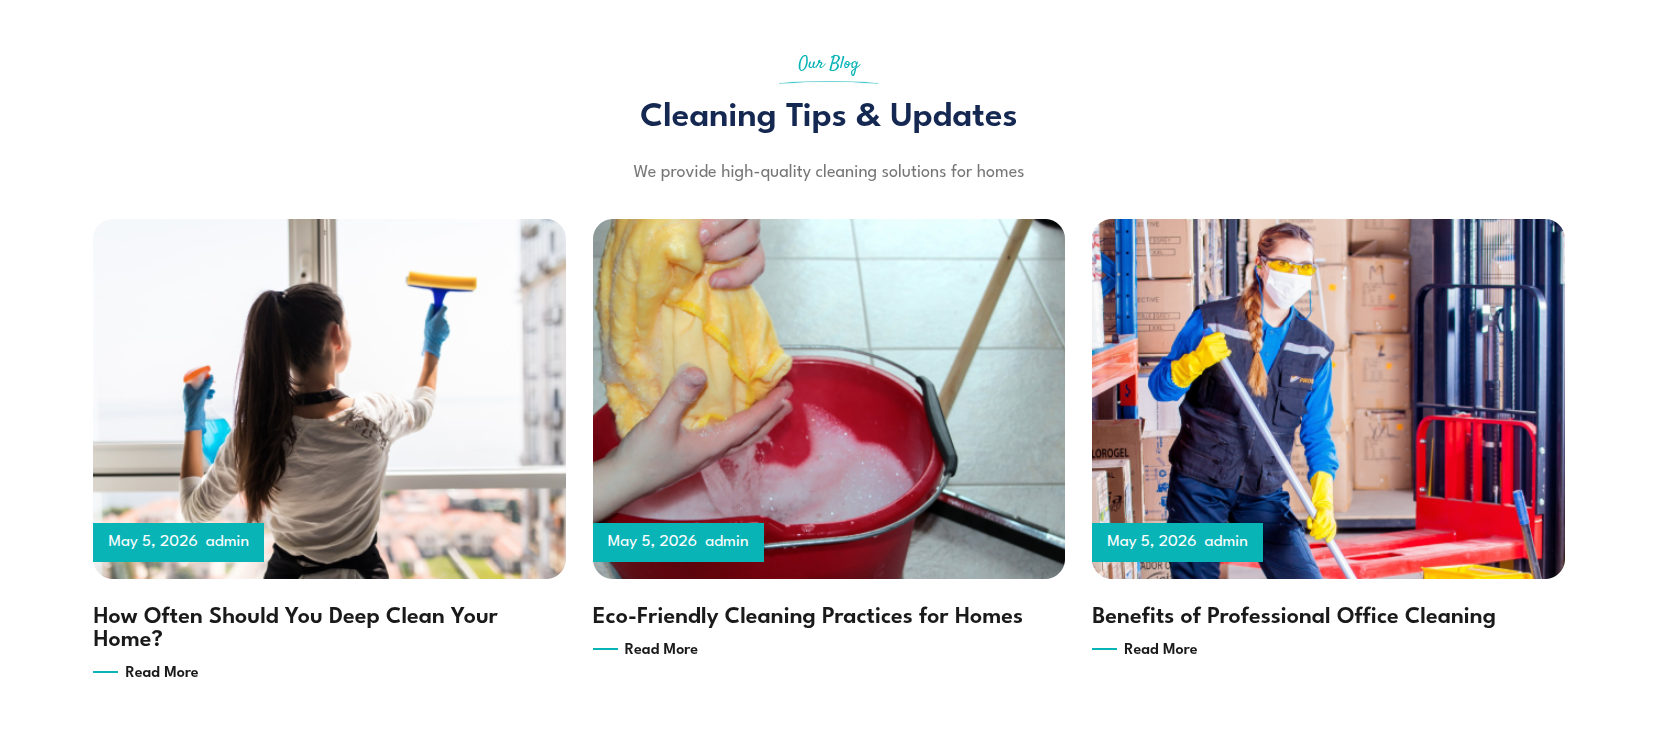
Our Blogs Settings
Our Blogs Settings
Fetch Posts
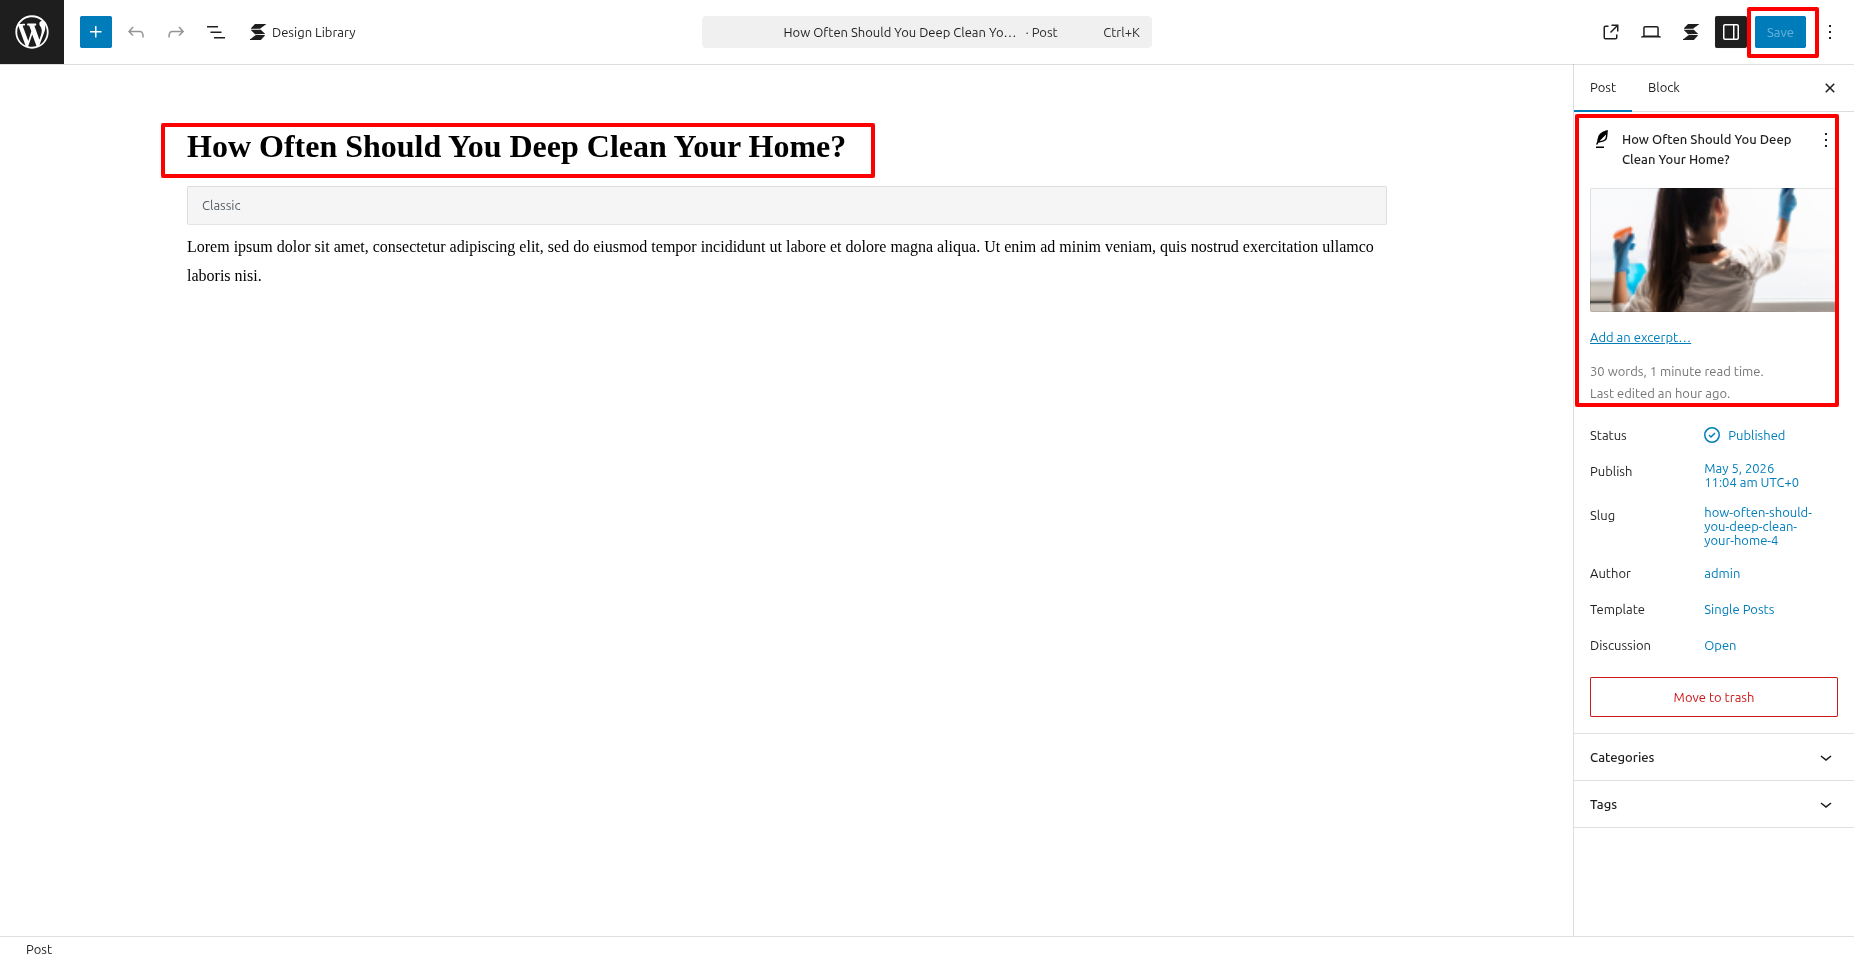
In the Dashboard, go to Posts >> Add New Post
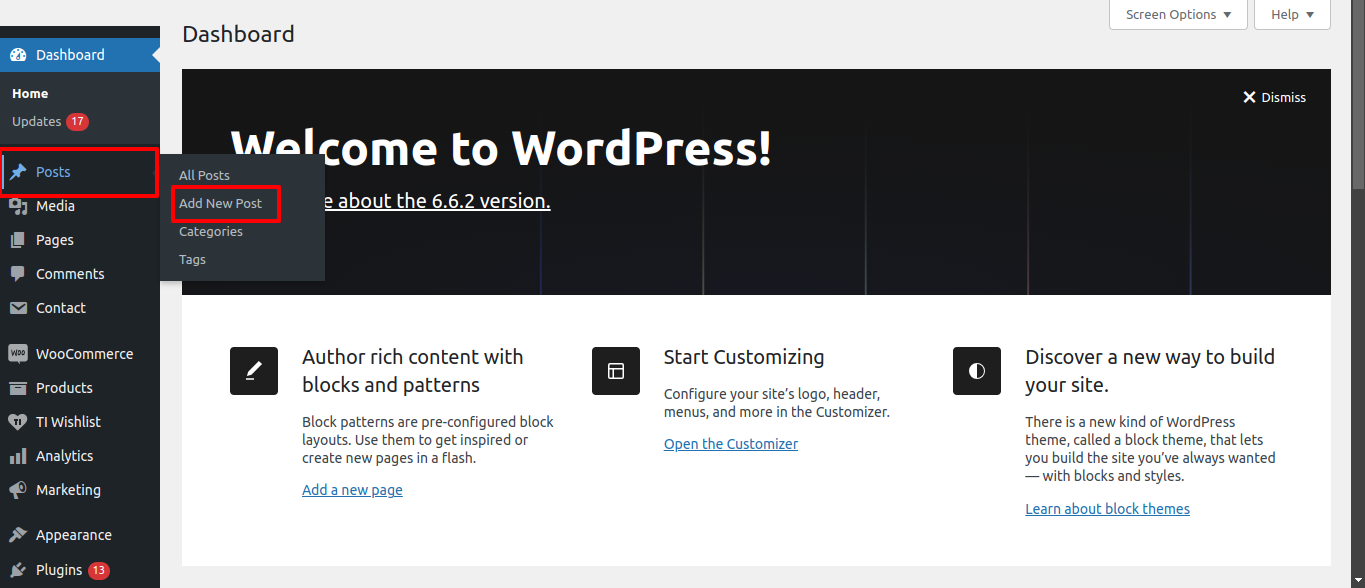
In this section, you have to add new posts.
In order to proceed with Our Plans Settings, You can set title, content, image. And select which category you want this services to show.
Follow the instructions given below to setup Our Plans Settings.
You can make multiple Our Plans.
In order to proceed with Theme Recent Blogs Post Settings , you can set tab post , follow the instructions given below.
the dashboard, go to Appearance >> Editor
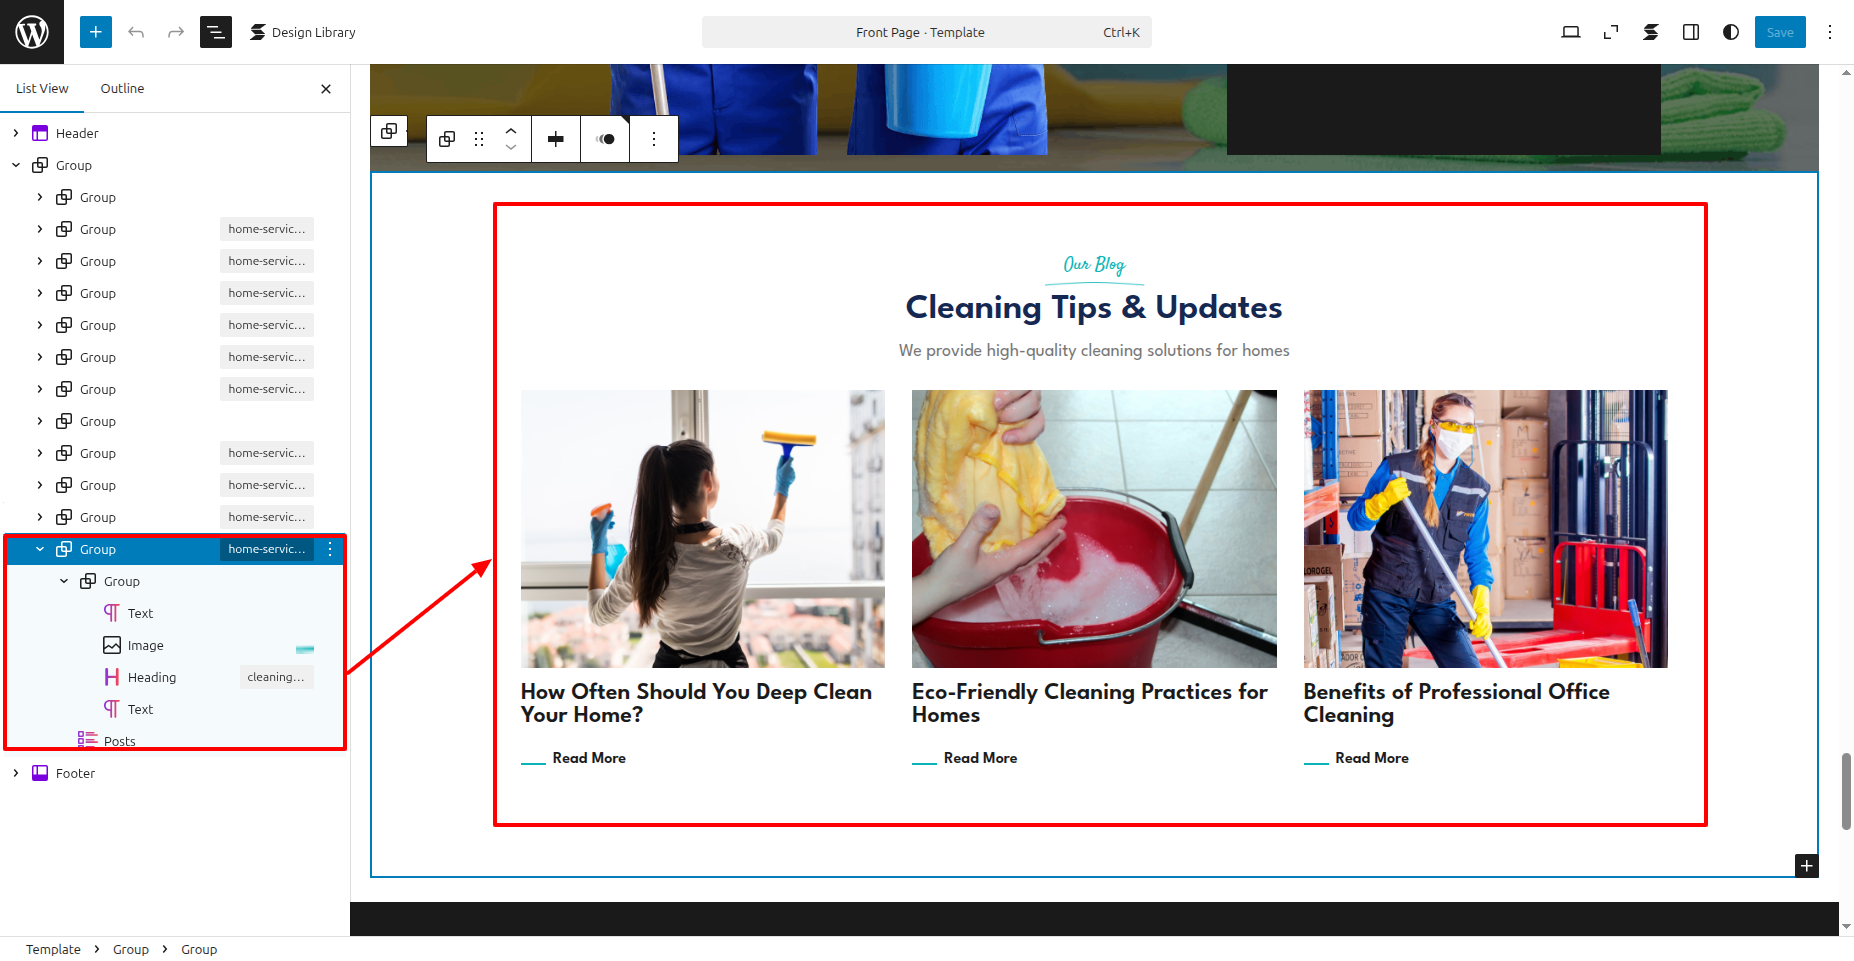
Once you have done with this you will see the post on your front page.
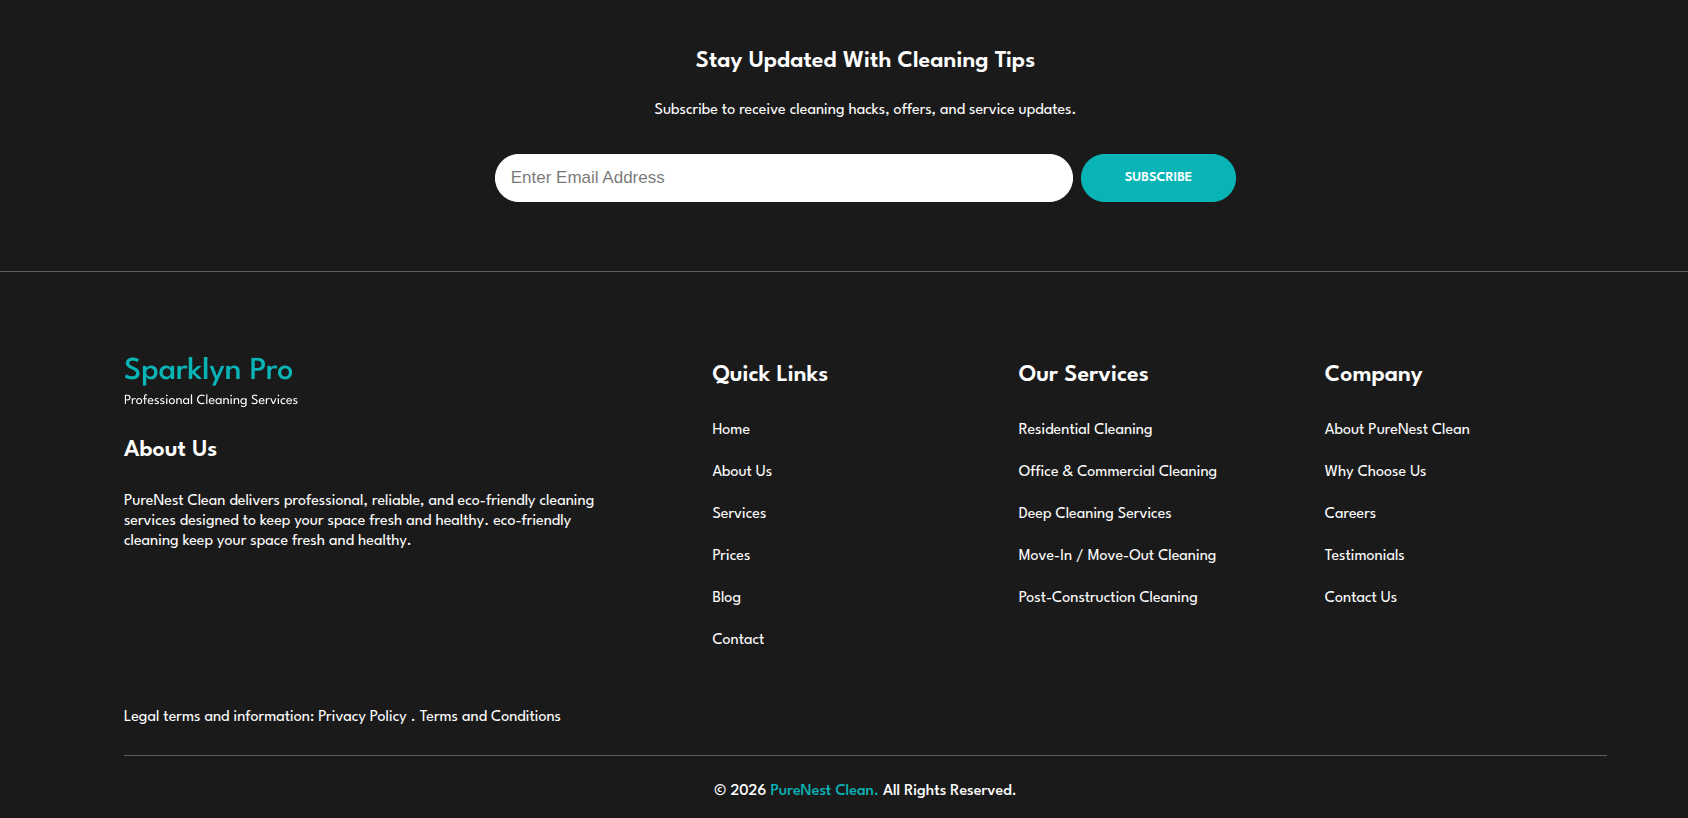
Footer Setup Section
In order to proceed with footer Settings, You can fill the copyright content to footer copyright Settings.
In the Dashboard, go to Contact >> Add Contact Form
the dashboard, go to Appearance >> Editor
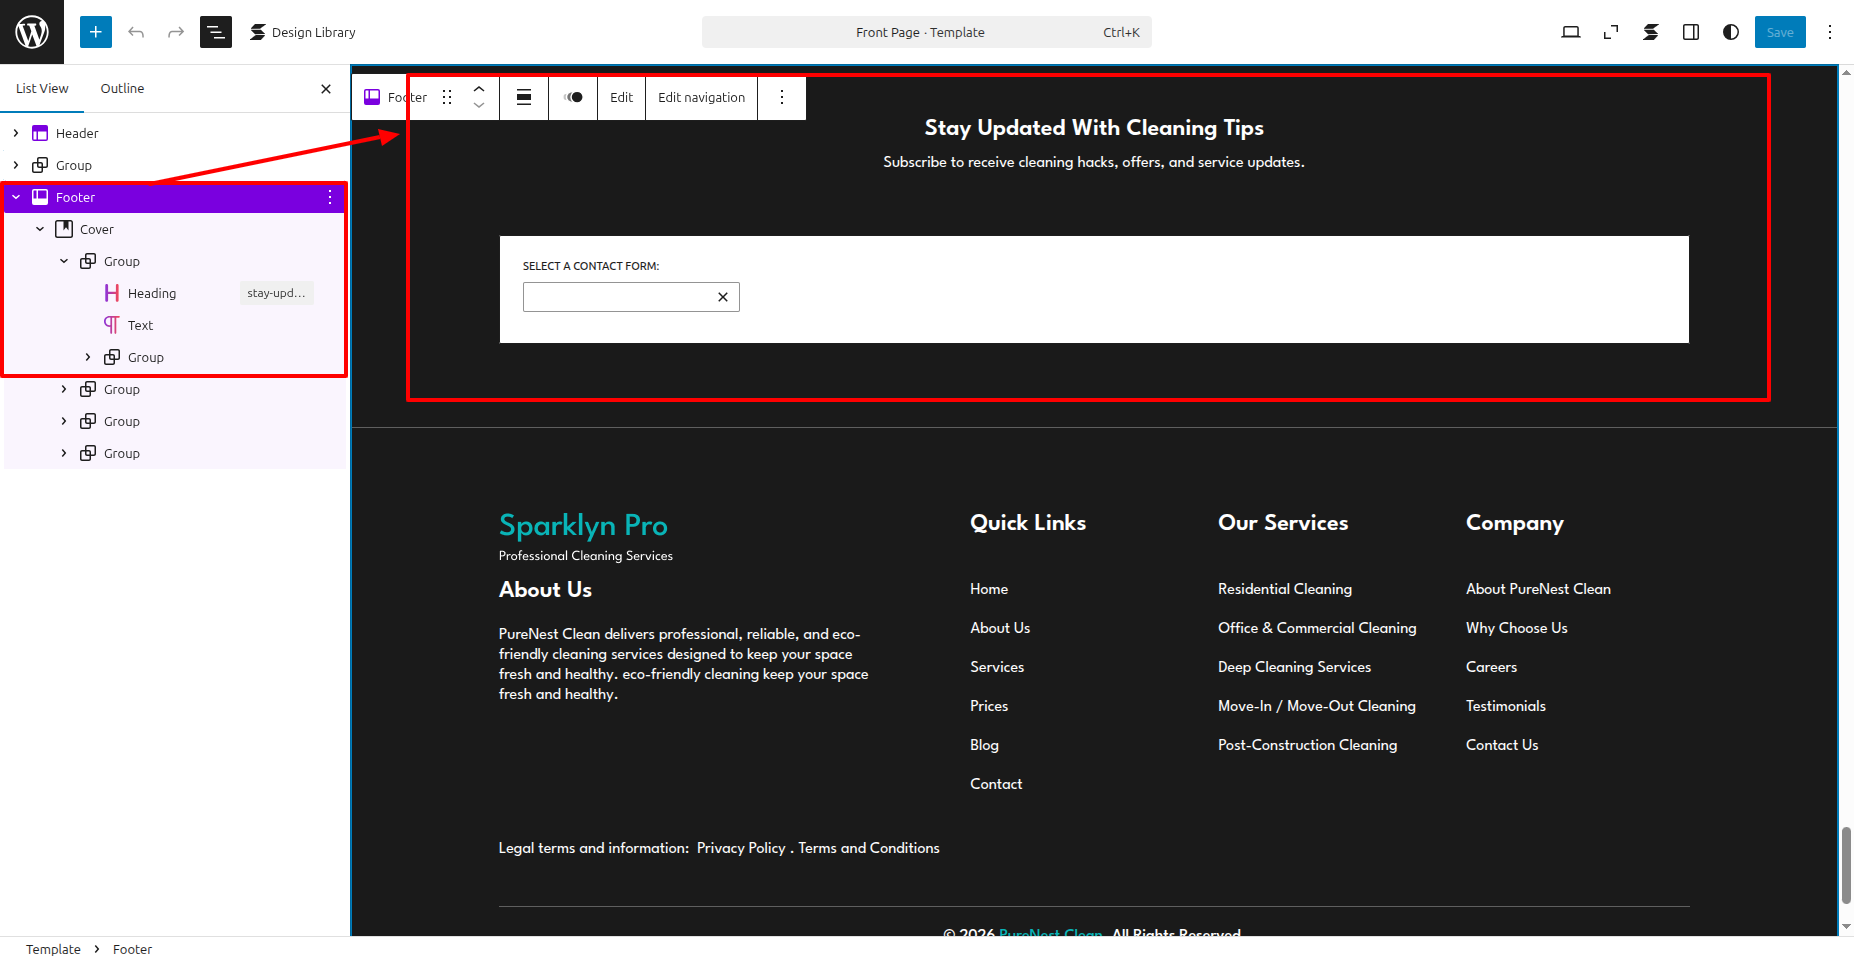
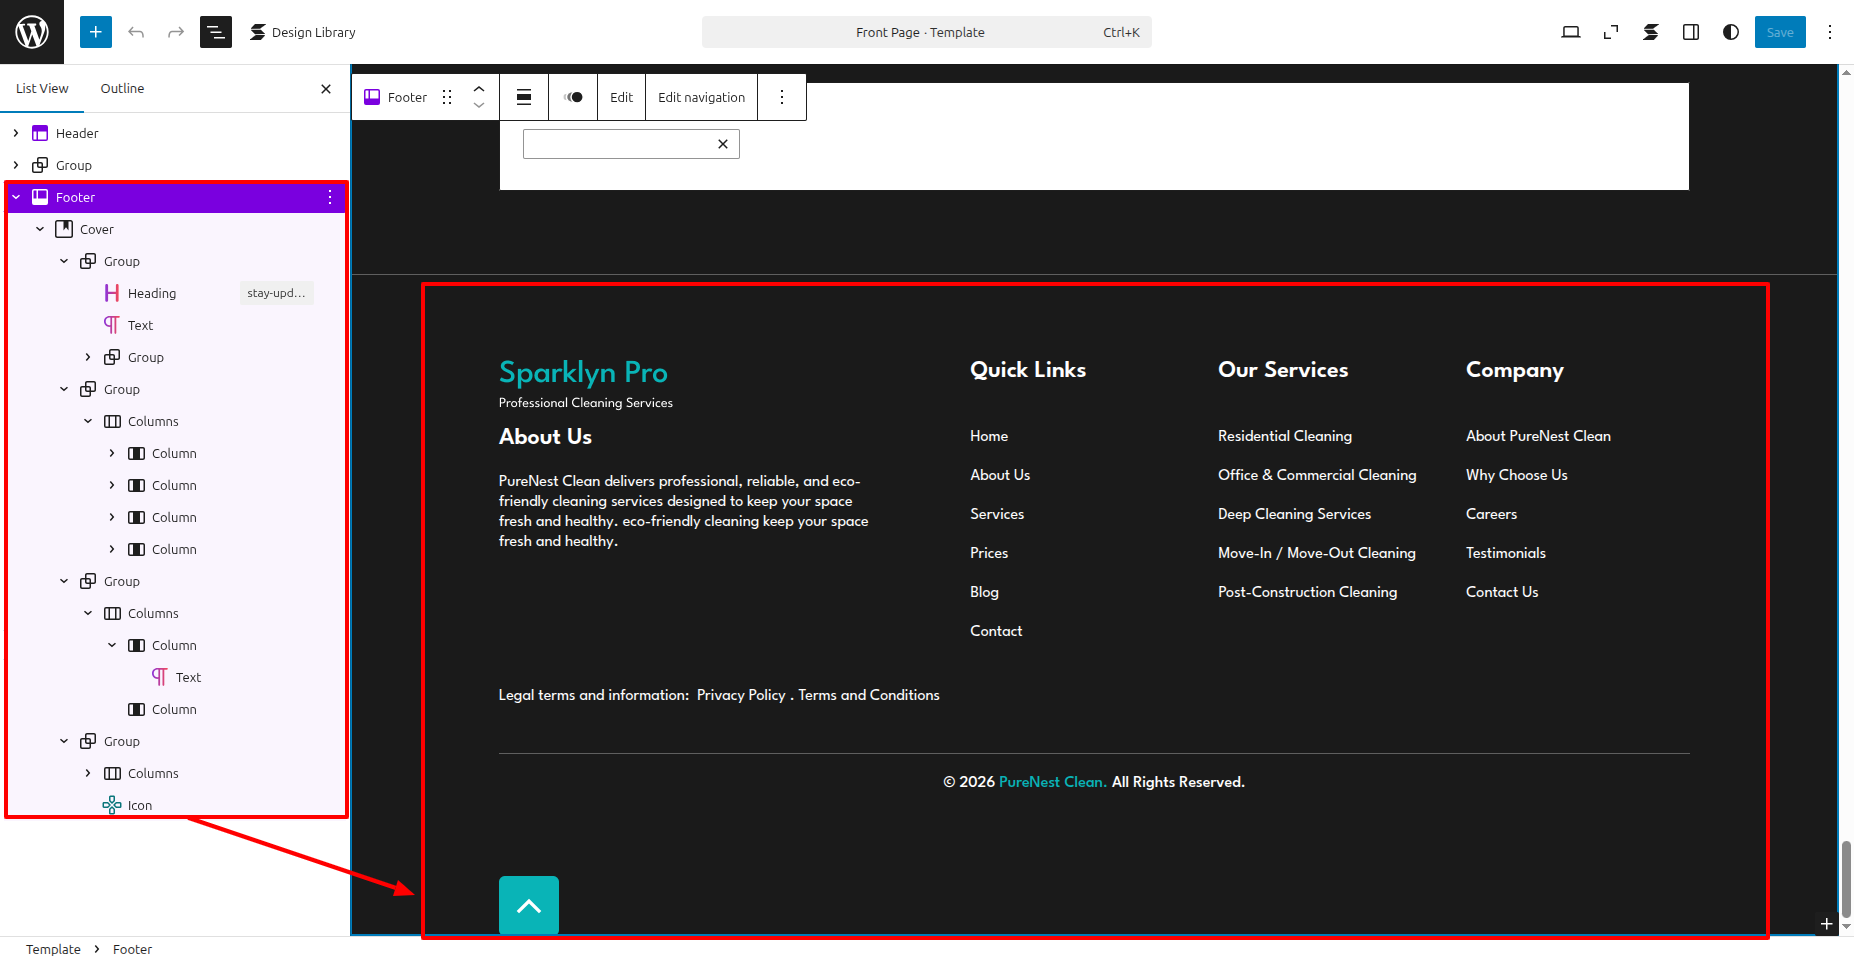
In front end, it will look like this.