The Home Decor Free Documentation
Your awesome theme / template documentation
Introduction
- Theme Name : The Home Decor
- Author : misbahwp
- Support Forum : https://wordpress.org/support/theme/the-home-decor/
- License : GNU General Public License v3 or later
- Discription :The Home Decor is a versatile WordPress theme designed specifically for bakeries and pastry shops. Ideal for businesses offering bakery sweets, artisan bread, and gourmet pastries, this theme helps create a professional online presence for bakeries of all sizes. It is perfect for showcasing bakery products, including cakes, muffins, cupcakes, and gluten-free options, with features tailored to enhance online ordering and customer engagement. The theme boasts a clean, modern design that emphasizes visual appeal and usability. Its customizable layout allows you to highlight bakery specials, promotions, and seasonal items like birthday cakes and bakery gift baskets. The The Home Decor WordPress Theme includes features such as an integrated online store for bakery orders, easy-to-use menu displays for breakfast items and baked goods, and options for bakery delivery and wholesale inquiries. This premium theme ensures your website is visually engaging and user-friendly, making it easier for customers to browse, order, and connect with your bakery. Visual elements of the theme include stunning full-width banners, high-resolution images of your bakery products, and elegant typography that enhances the overall aesthetic. The responsive design ensures that your website looks fantastic on all devices, from desktops to smartphones. Additionally, the theme supports various customization options, allowing you to tailor the site to match your brand’s identity and style.
How to Establish the Theme
Setup Theme
Template installation is very simple process.
You can also install your theme using WP Admin
The first task is to log in to your WordPress admin area. Next, click on
1. In dashboard click on Appearance >> Themes

2. Click on the Add New button at the top of the themes page once page is loaded.
3. Click the button labelled as 'Upload Theme'.

4. Click on Browse Button then select your the-home-decor.zip theme and click on install now button.
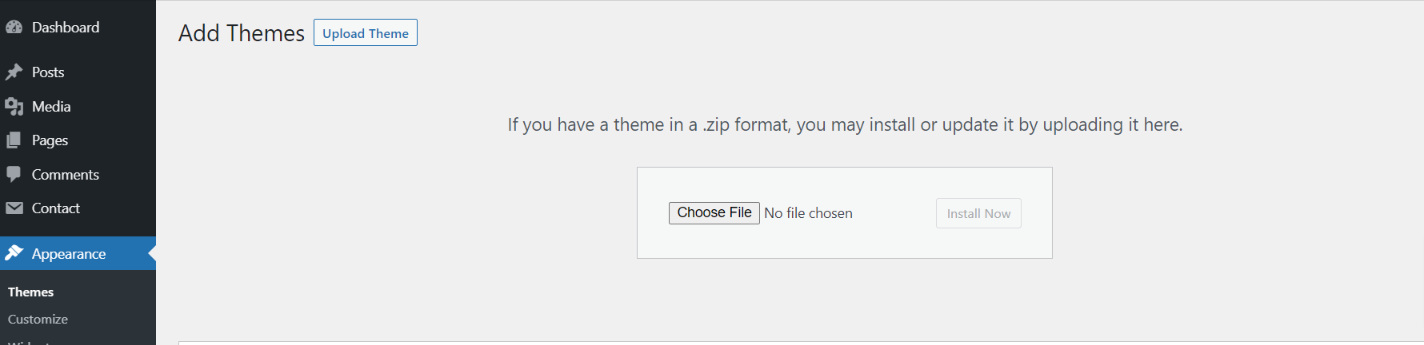
5. WordPress will now install your theme and display a success message, as well as a link to activate or to see the live preview. Congratulations on completing the installation of your theme.
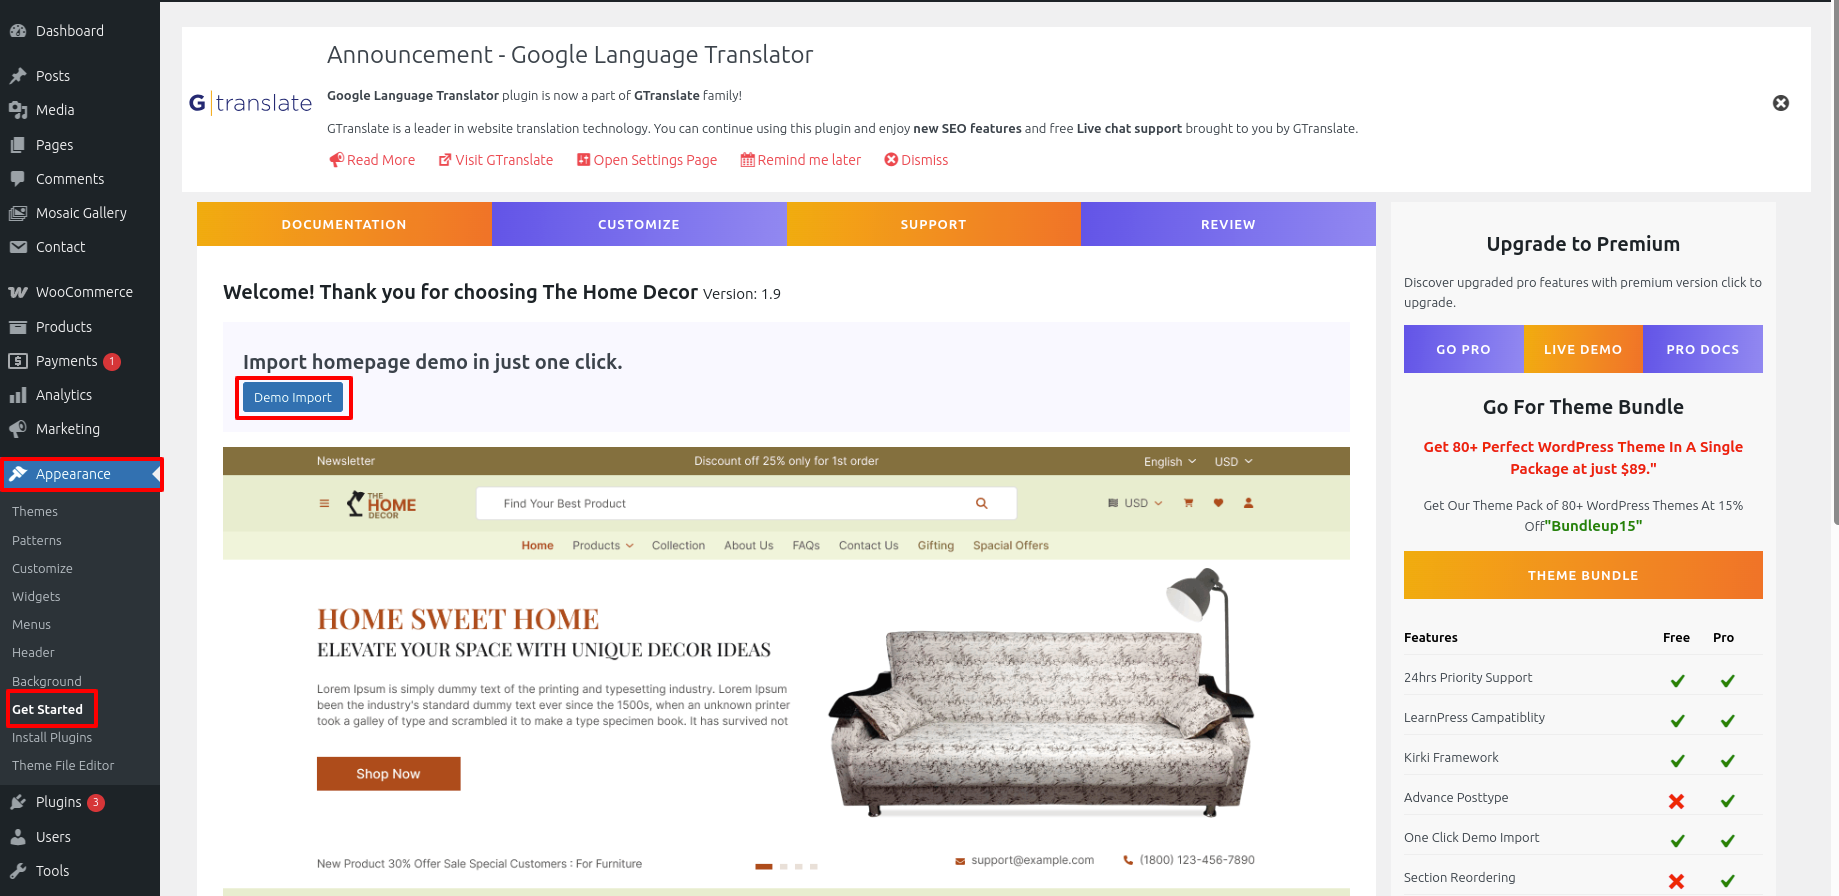
Demo Importer -
Follow below instructions to setup The Home Decor theme.
In the Dashboard, go to Appearance >> Get Started
Once you are on the Get Started, click on the ONE CLICK DEMO IMPORTER button.
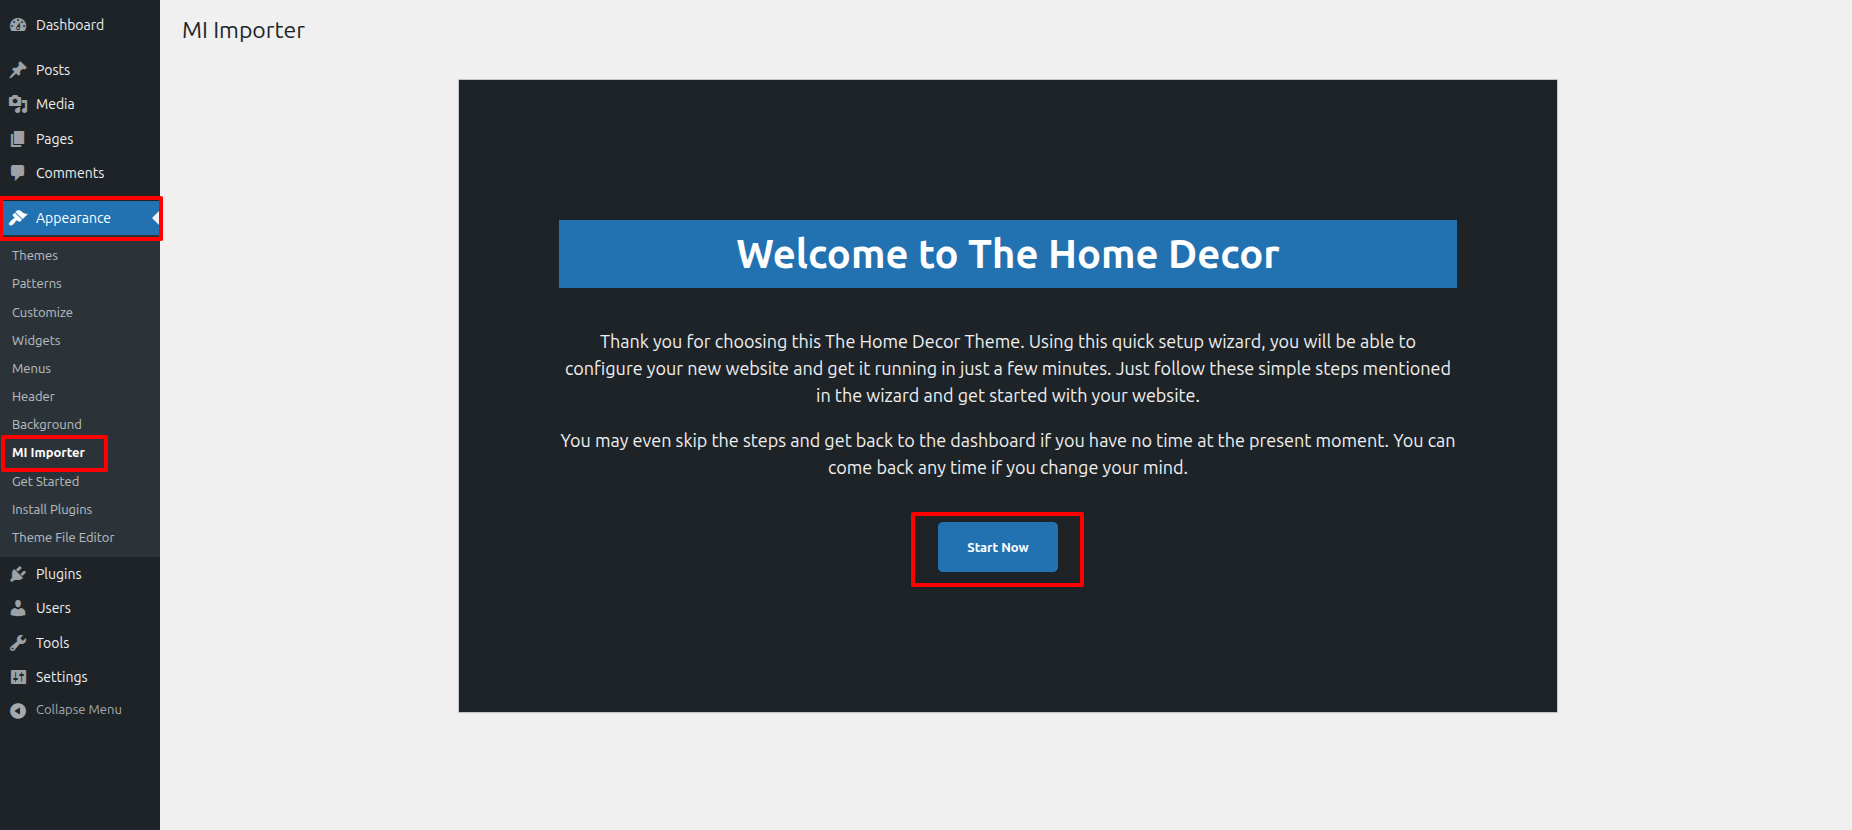
Then your next step is to tap 'Start Now' .
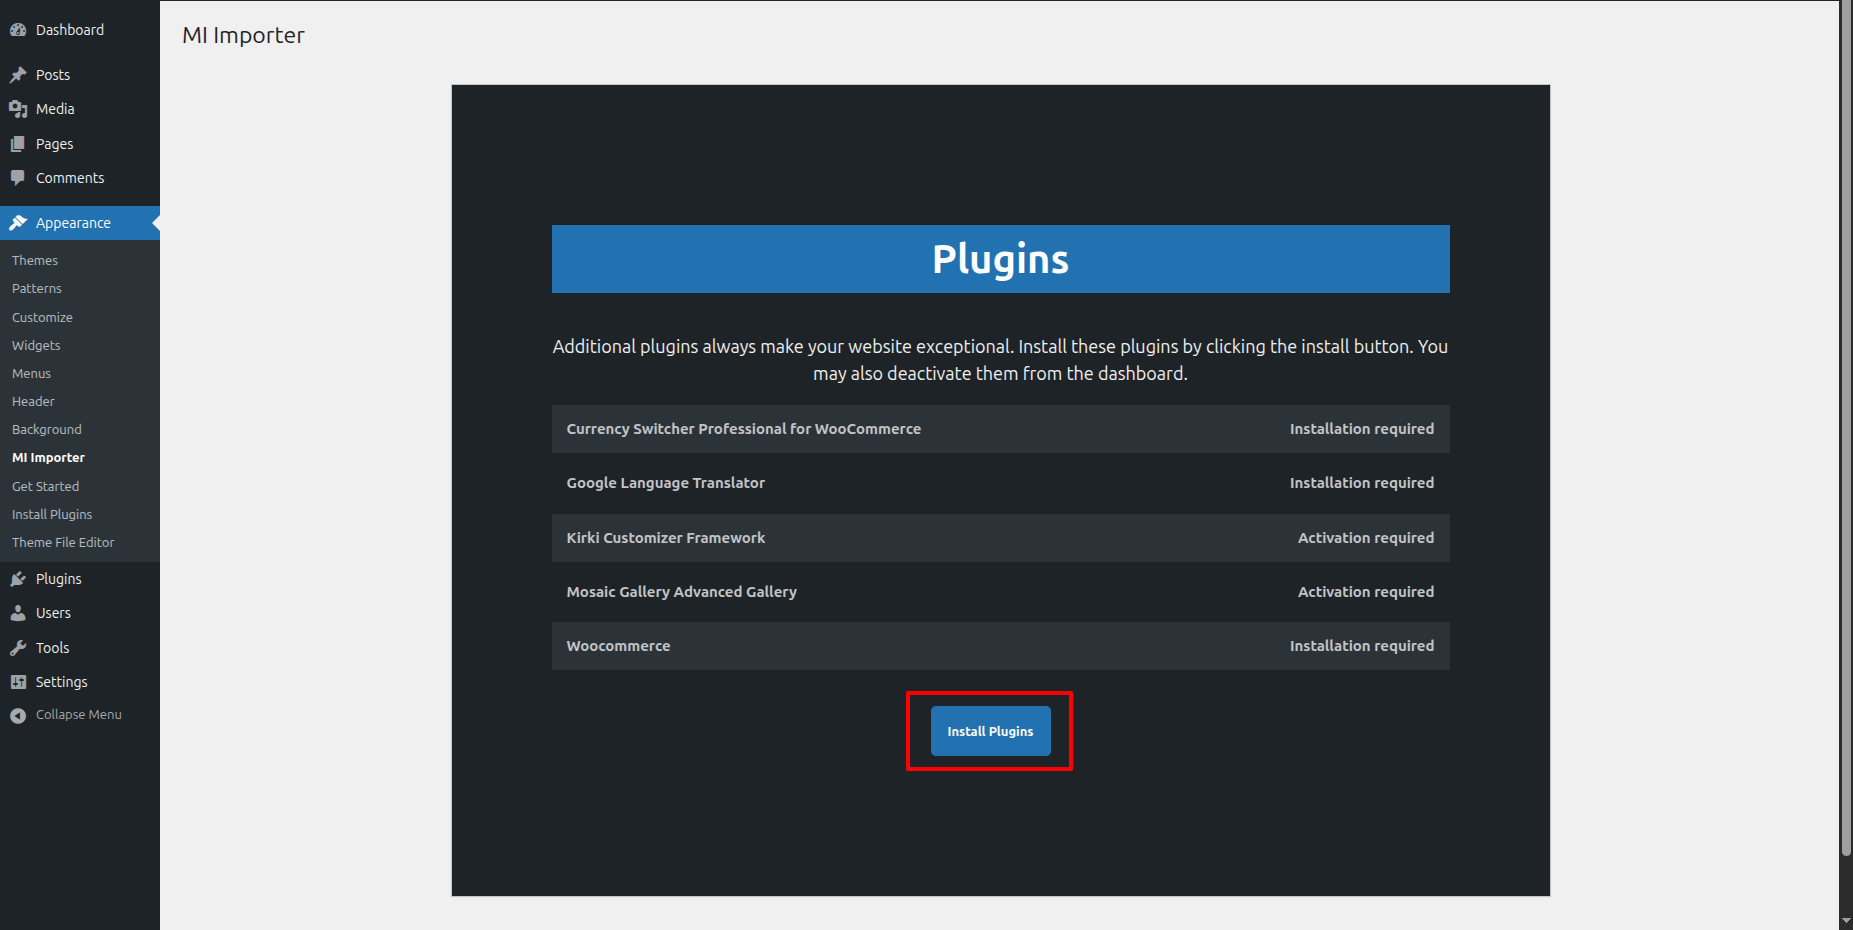
Then your next step is to tap 'Install Plugins' .
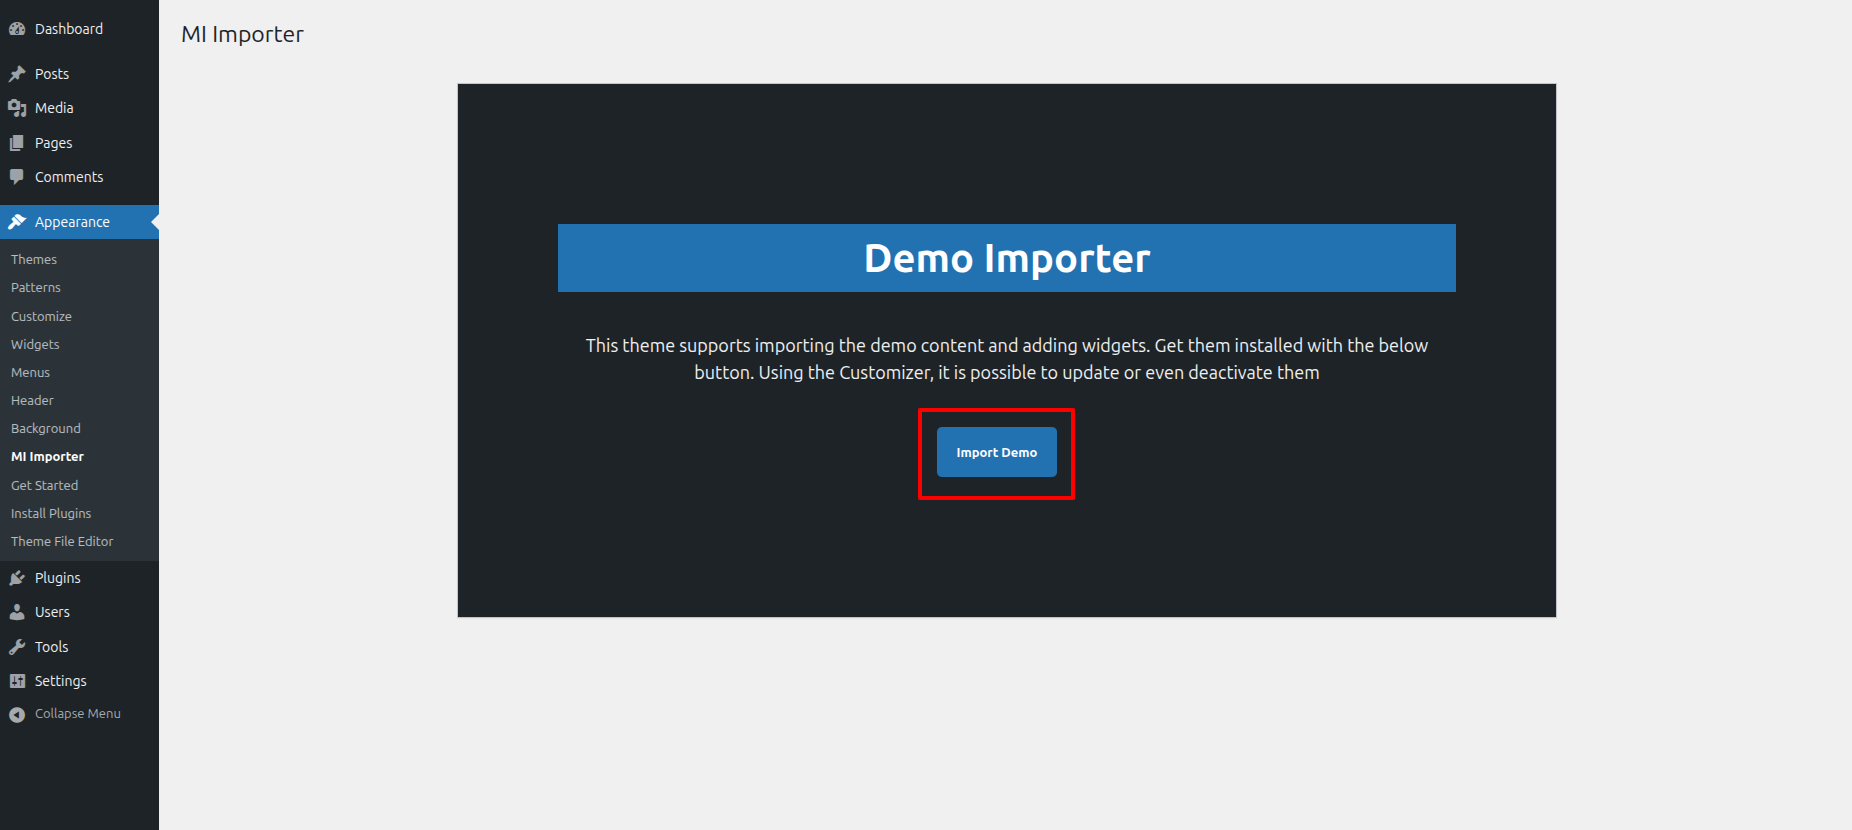
Then your next step is to tap 'Import Demo' .
Then your next step is to tap 'Visit Site' .
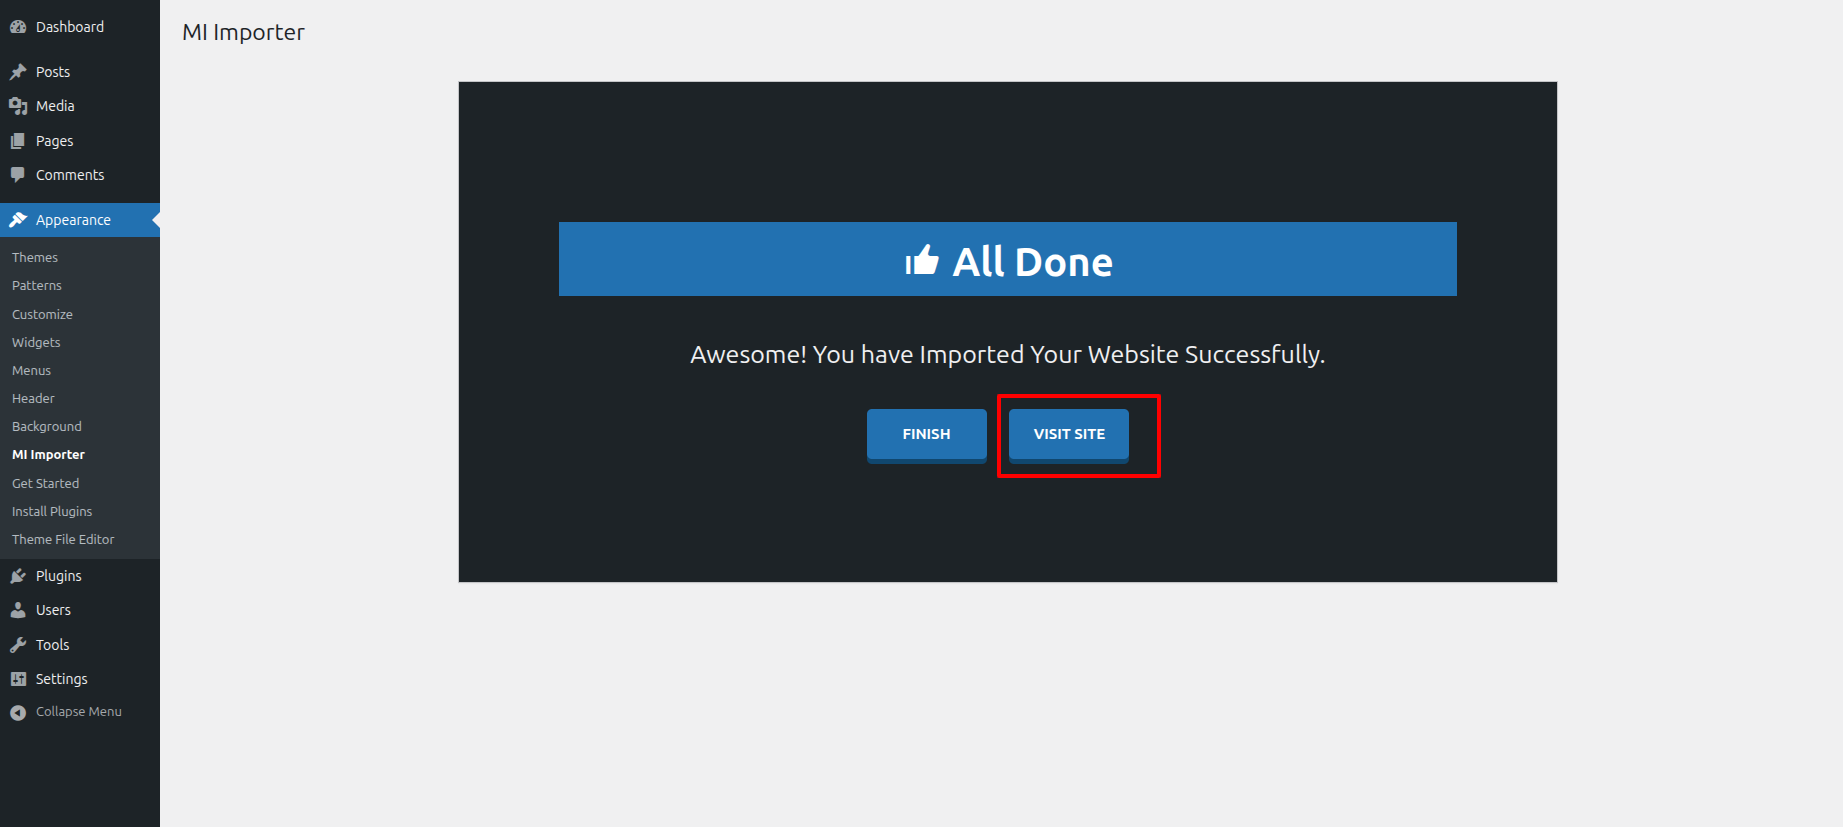
As the demo importer process finish then check your site, all the content will imported and theme will display like live demo.
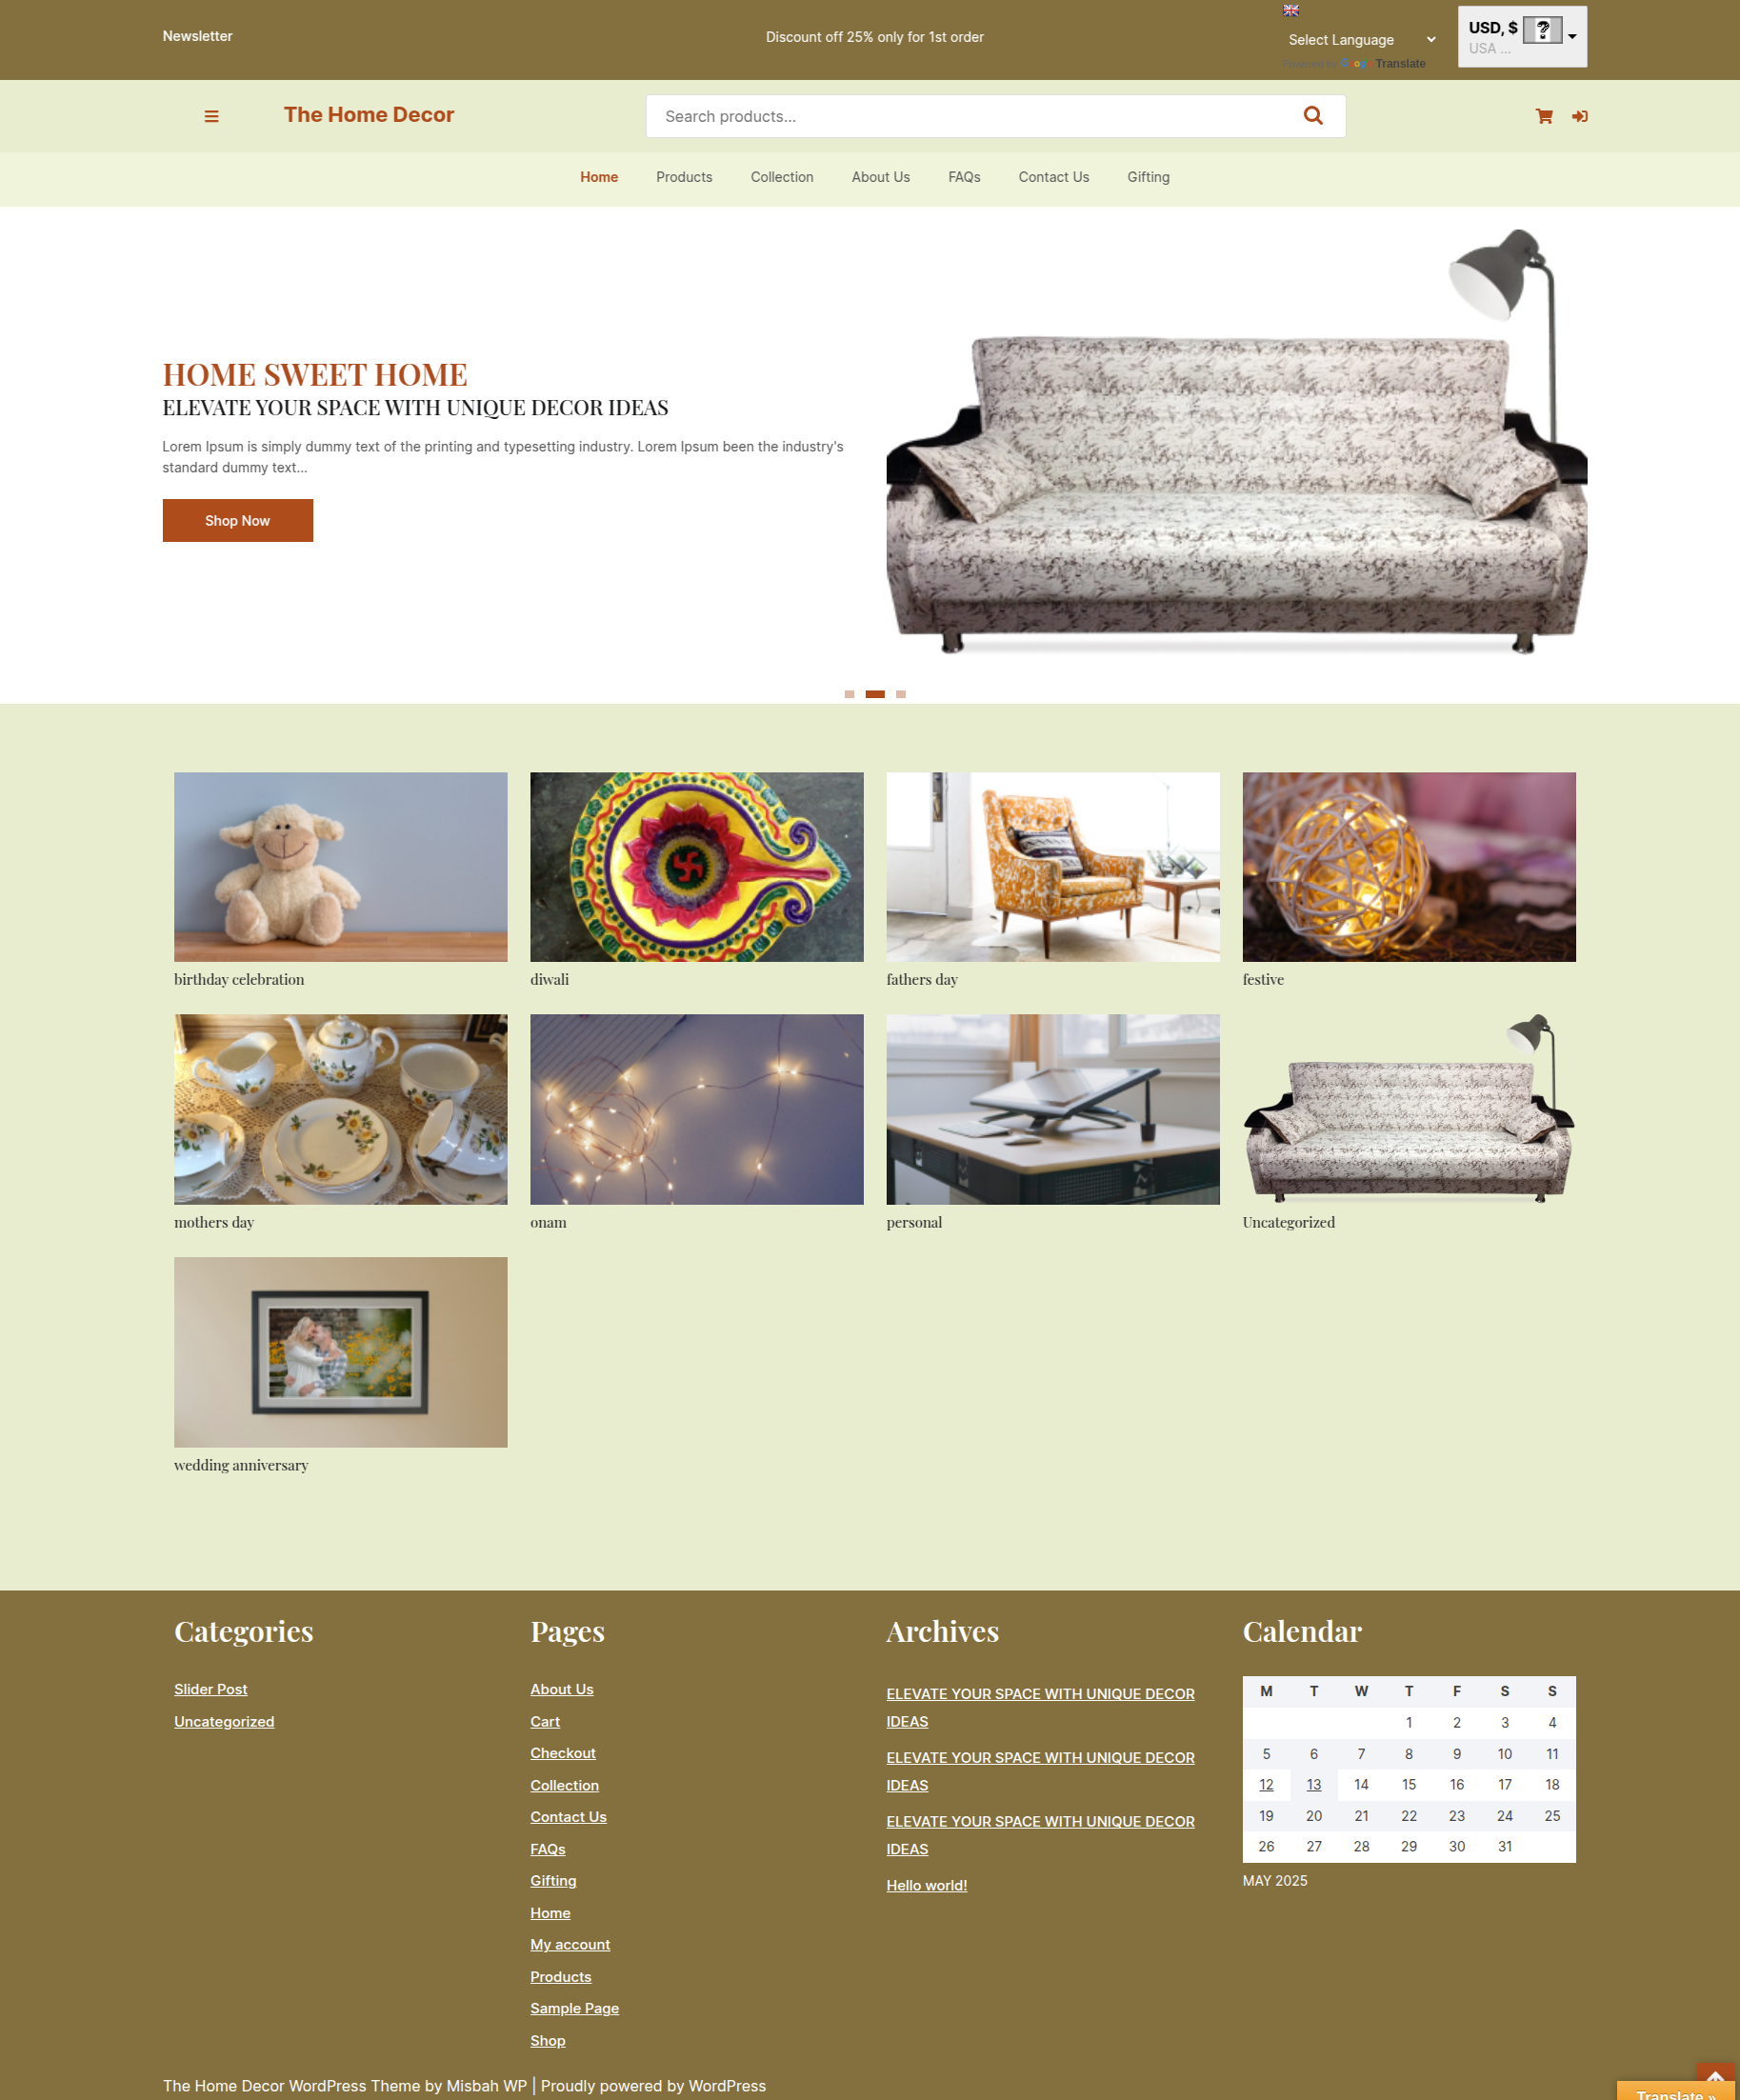
In front end, it will look like this.
Configure Menu
Configure Menu
In the dashboard, visit Appearance >> Menu
To access the Menu Editor, visit the Dashboard and click on the 'Appearance' menu on the left-hand side. From there, select the 'Menus' option.
To create a new menu, follow these steps:At the top of the page, select "Create a new menu".Enter a name for your new menu in the "Menu Name" box.Click on the "Create Menu" button.
Your new custom menu has been successfully created.

On the front end, the menu will appear as follows.

The Home Decor Free Theme Setup
Configure Header
In order to proceed with You can set top header text and header button , so follow the below steps.
In the dashboard, go to Appearance >> Customize >> Theme Options >> Header Settings
In front end, it will look like this.
Logo Setup
In order to proceed with Theme Logo setup, you can set site title and tagline, follow the below steps.
In the dashboard, go to Appearance >> Customize >> Site Identity >> Set Logo , Site Title and Tagline You can also make the tagline hidden.
In front end, it will look like this.
Slider Section
Fetch Categories
This screen is divided into 2 sections, the Add New Category and category table sections.
All of the categories are listed in this table. Categories are organized alphabetically and hierarchically.
In order to proceed with Theme social icon, so follow the below steps.
Follow the below steps to setup Category Settings.
In the dashboard, go to Posts >> Categories >> Add New

Once you have done with this you will see the categories on your theme customize.
In this section, you have to add new category for each post.
Fetch Post
In the dashboard, go to Posts >> Add New

In order to proceed with Post Settings, You can set post title and content. And Select which Category you want this post to show.
Follow the below steps to setup Post Settings.
In the dashboard, go to Posts >> Add New
You can make multiple posts for category.

Once you have done with this you will see the post on your front page.
Slider Settings
In order to proceed with Theme Slider Settings , you can set slide show , follow the below steps.
In the dashboard, go to Appearance >> Customize >> Theme Options >> Slider Settings
Select number slides to show, then select the category which you have to show on slider.

In front end, it will look like this.

Top Categories Section
Fetch Categories
This screen is divided into 2 sections, the Add New Category and category table sections.
All of the categories are listed in this table. Categories are organized alphabetically and hierarchically.
Follow the below steps to setup Category Settings.
In the dashboard, go to Products >> Categories >> Add New

Once you have done with this you will see the categories on your theme customize.
Top Categories Settings
In order to proceed with Theme Top Categories Settings , follow the below steps.
In the dashboard, go to Appearance >> Customize >> Theme Options >>Top Categories Settings

In front end, it will look like this.

Setup Footer Section
There are four columns in the footer. Any widget can be added there..
For Adding widgets first you have to add classic widget plugins.
1. In the dashboard, go to Appearance >> Widgets
To add widgets to the footer, see the screenshot below.

You can add footer coloumns, for that you need to select widgets like text, image, gallery, etc which allows you to add text or image as per your choice with ease.
In order to manage content for footer and add some widgets, navigate to, follow the below steps.
2. In the dashboard, go to Appearance >> Widgets >> Footer Sidebar

Your footer will appear like this once you have added widgets to it.

Footer Copyright Text
In order to proceed with footer Settings, You can fill the copyright content to footer copyright Settings.
5. In the dashboard, go to Appearance >> Customize >> Theme Options >> Footer Setting

In front end, it will look like this.